Spring Boot快速入门
一、什么是Spring Boot
springboot(spring+springmvc):不是对spring功能的增强,而是提供了一种快速开发spring应用的方式。
特点: 简化xml配置,简化maven配置,内嵌tomcat。
二、springboot项目搭建
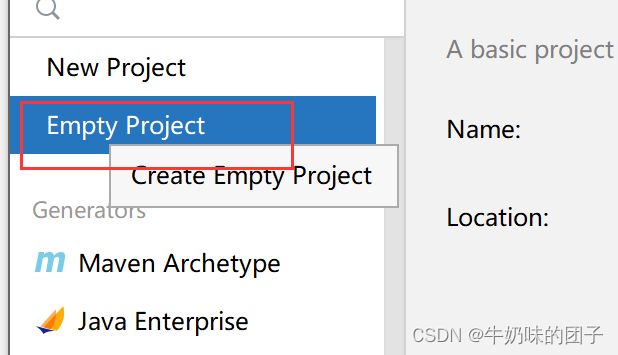
1、创建maven工程,不要使用骨架,创建一个空项目。
2、 继承springboot父工程,添加项目依赖
        org.springframework.boot
        spring-boot-starter-parent
        2.3.2.RELEASE
3、设置项目编码格式和jdk编码
        UTF-8
        UTF-8

        8
        8
4、创建启动类
创建启动类(放到controller、service、mapper的上级目录,eg:com.yy),SpringBoot提供了starter(启动器)的功能来解决Sring的两个痛点 :依赖导入问题、配置繁琐。
package com.yy.controller;//springboot默认扫描的包

import org.springframework.boot.SpringApplication;
import org.springframework.boot.autoconfigure.SpringBootApplication;

@SpringBootApplication//标识当前类是springboot工程的启动类
public class SpringBootHelloApplication {
    public static void main(String[] args) {
        SpringApplication.run(SpringBootHelloApplication.class, args);
    }
}
5、编写控制器类
package com.yy.controller;

import org.springframework.stereotype.Controller;
import org.springframework.web.bind.annotation.RequestMapping;
import org.springframework.web.bind.annotation.ResponseBody;

import java.util.HashMap;
import java.util.Map;

@Controller
public class HelloController {
    @RequestMapping("/hello")
    @ResponseBody
    public Map showHelloWorld() {
        Map map = new HashMap<>();
        map.put("msg", "HelloWorld");
        return map;
    }
}
三、Starter是什么
starter(启动器):是一对依赖和配置类的集合
Spring Boot通过将我们常用的功能场景抽取出来,做成的一系列的启动器,我们只需要在项目中引入这些starter,相关的所有依赖就会全部被导入进来,并且我们可以抛弃繁杂的配置,例如:
Ø spring-boot-starter-web:支持全栈式的 web 开发,包括了 tomcat 和 springMVC 等 jar包
Ø spring-boot-starter-jpa:支持 spring 以 jpa方式操作数据库的 jar 包的集合
Ø spring-boot-starter-redis:支持 redis 键值存储的数据库操作
在导入的starter之后,SpringBoot主要帮我们完成了两件事情:
Ø 相关依赖的自动导入
Ø 相关环境的自动配置
四、Starters命名
-
官方启动器命名:
-
前缀:spring-boot-starter-
-
规范:spring-boot-starter-模块名
-
举例:spring-boot-starter-web、spring-boot-starter-jdbc
-
-
第三方启动器命名:
-
后缀:-spring-boot-starter
-
规范:模块名-spring-boot-starter
-
举例:mybatis-spring-boot-starter
-
五、自定义banner,更改Spring Boot 项目启动时的logo信息
1、banner生成网站:Spring Boot banner在线生成工具
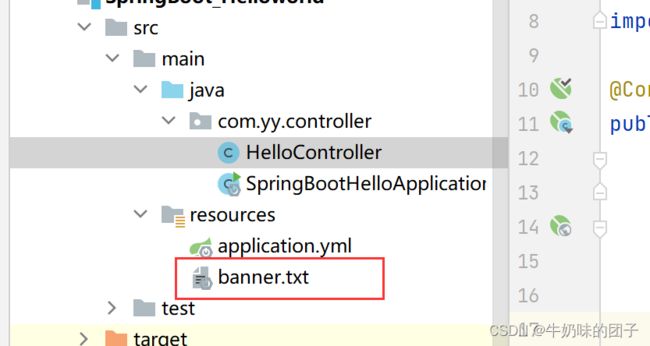
2、将生成的banner.txt复制到resources目录中
六、Spring Boot的全局配置文件
SpringBoot项目使用一个全局的配置文件application.properties或者是application.yml,在resources目录下或者类路径下的/config下,一般我们放到resources下
yml与 properties的区别:
1、在 yml 中使用“ :”进行分割
3、在 yml中缩进时不允许使用tab键,缩进的空格数不重要,只要是左对齐的一列数据,都是同一个层级
3、每个K的冒号后面一定要加一个空格
 1、application.properties
        server.port=8888//修改tomcat的端口为8088
        server.servlet.context-path=/springboot_helloworld//修改访问项目时的名字
    2、application.yml(树状结构)
        server:
           port: 8888
           servlet:
              context-path: /springboot_helloworld
        yml语法:
            ①“.”------>“:”
            ②“=”------>“:空格”
            ③空格缩进
七、Spring Boot项目的两种发布方式
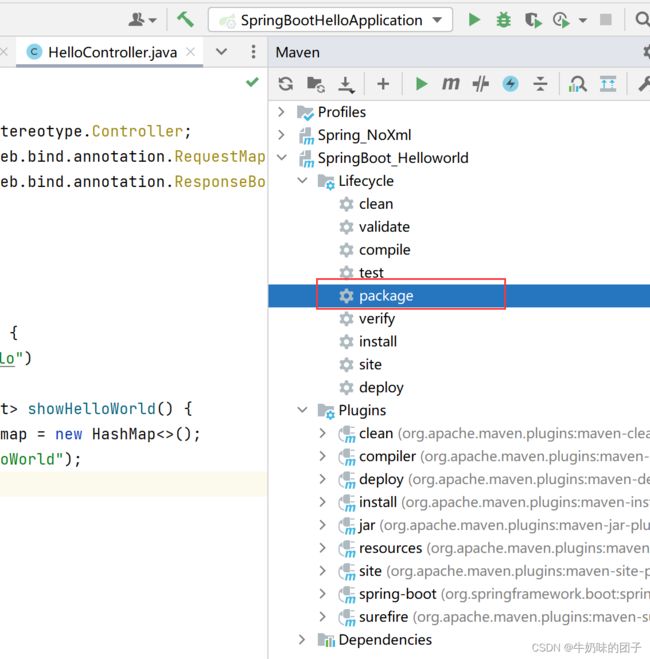
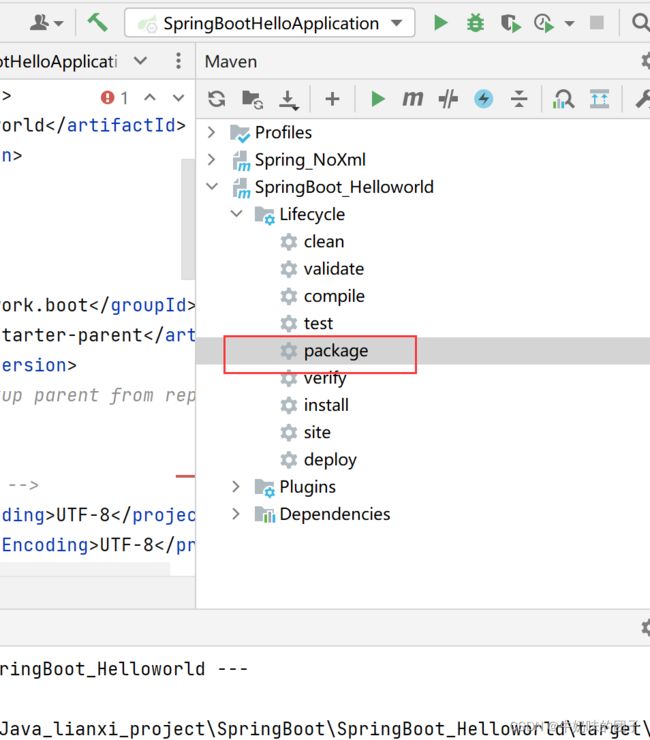
1、方式1:通过jar包发布,选择maven下的package打包。
打包完成后在target目录下有打包好的jar包
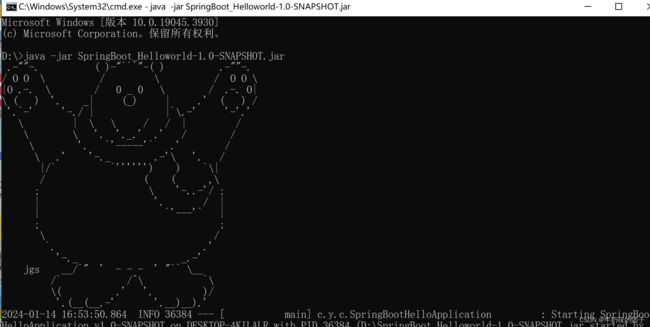
在cmd终端发布项目
java -jar xxx.jar
复制到D盘运行结果
2、方式2:通过war包发布
在pom.xml文件中将jar修改为war
war 设置war包的名字(可选,下文未选)
                org.apache.maven.plugins
                maven-war-plugin

                    hello
修改启动类
package com.yy.controller;

import org.springframework.boot.SpringApplication;
import org.springframework.boot.autoconfigure.SpringBootApplication;
import org.springframework.boot.builder.SpringApplicationBuilder;
import org.springframework.boot.web.servlet.support.SpringBootServletInitializer;

@SpringBootApplication
public class SpringBootHelloApplication extends SpringBootServletInitializer {
    @Override
    protected SpringApplicationBuilder configure(SpringApplicationBuilder builder) {
        return builder.sources(SpringBootHelloApplication.class);
    }

    public static void main(String[] args) {
        SpringApplication.run(SpringBootHelloApplication.class, args);
    }
}
运行下项目后点击打包
打包成功后打好的jar包在target目录下
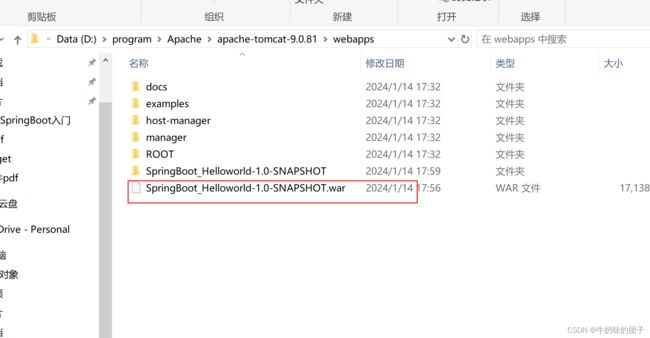
 测试:把打包好的jar包复制到tomcat目录下webapps目录中
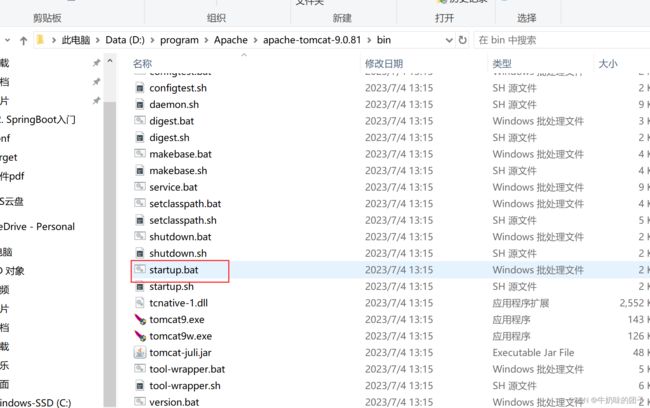
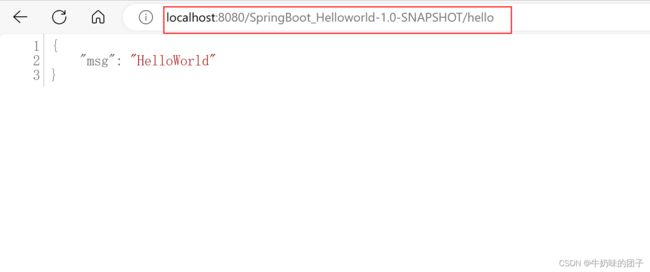
在tomcat 目录下bin目录中点击startup.bat运行
