nginx初学者指南
一、启动、停止和重新加载配置
前提:先要启动nginx
在Windows上启动nginx的步骤如下:
1. 下载并安装nginx。可以从nginx官网下载适合自己操作系统的版本,一般是zip压缩包,解压到指定目录中。
2. 进入nginx的安装目录,找到nginx.exe文件。
3. 双击nginx.exe文件,启动nginx服务。
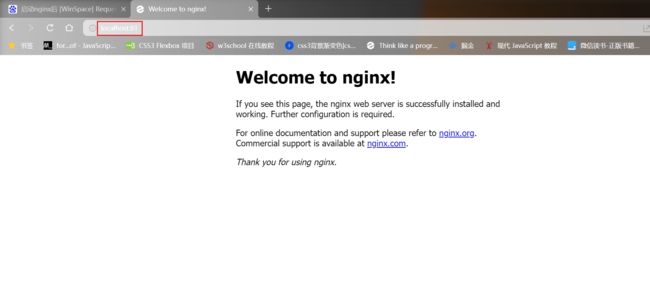
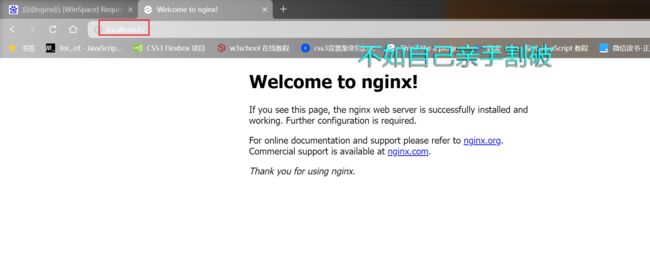
4. 启动完成后,可以通过输入http://localhost来访问nginx默认页面,如果看到“Welcome to nginx”字样,说明nginx已经成功启动。
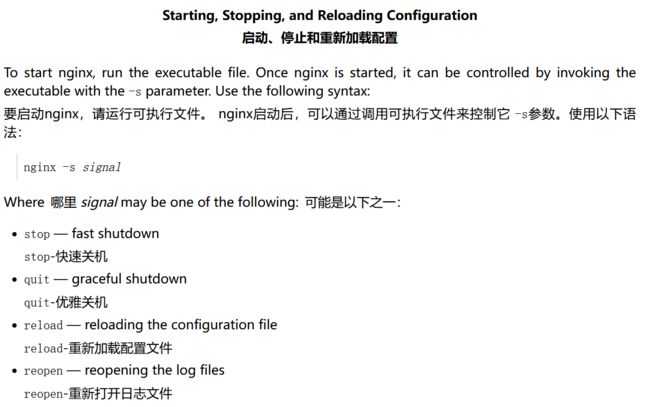
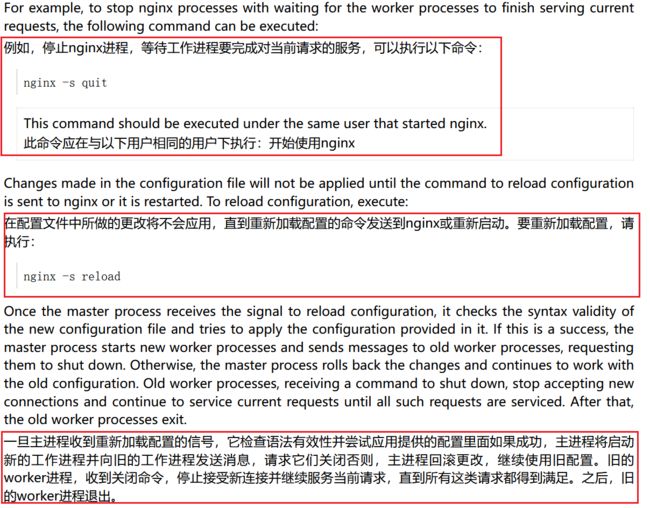
如果想要停止nginx的运行,可以使用命令nginx -s stop。如果需要重启nginx,可以使用命令nginx -s reload。
接下来:
实践如下:
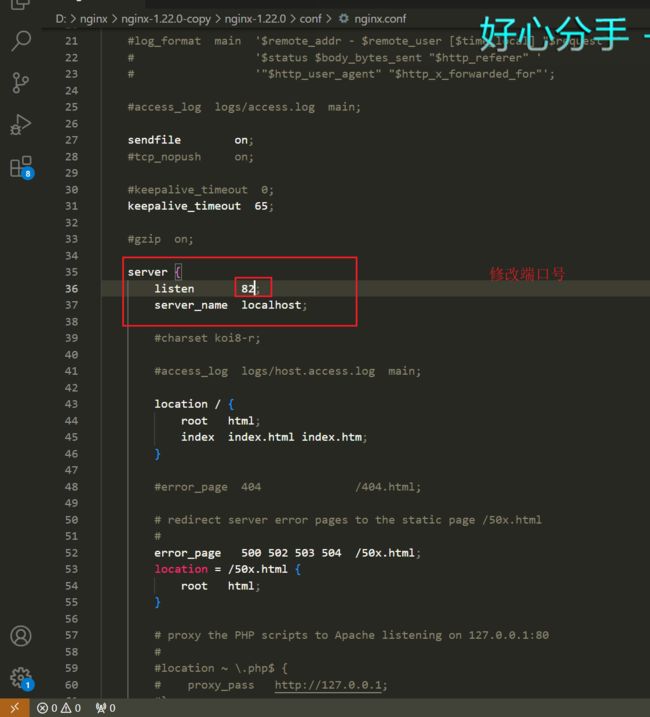
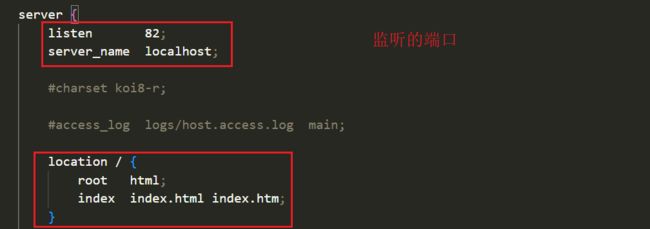
现在端口号是81,我改下配置,改成82。
然后执行 nginx -s reload 重新加载
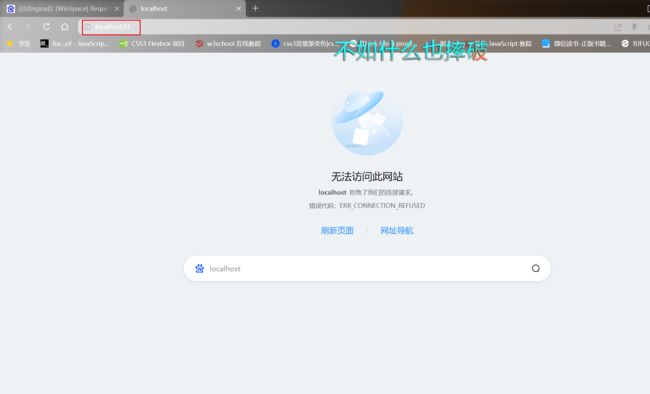
此时,由于更改了配置,原先的端口就不能用了
需要更改位82端口
好的,这就完成了nginx配置的重加载。
原理
二、提供静态功能
准备:
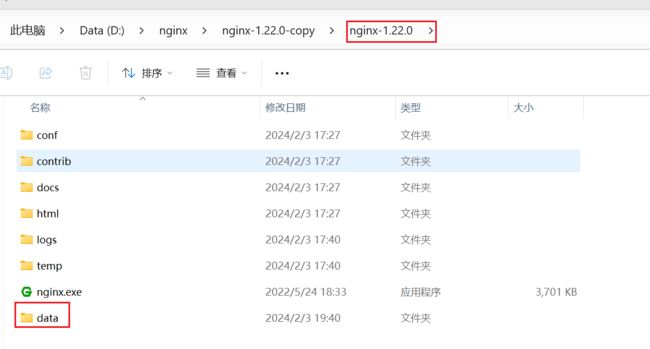
新建一个 data/www 目录(用来放置自己的html页面)
新建一个 data/images 目录 (用来放置自己的图片)
往images里放张图片
往ww放个自己的html页面
实践
更改一下nginx.conf 配置文件
①注释掉其中所有的内容。
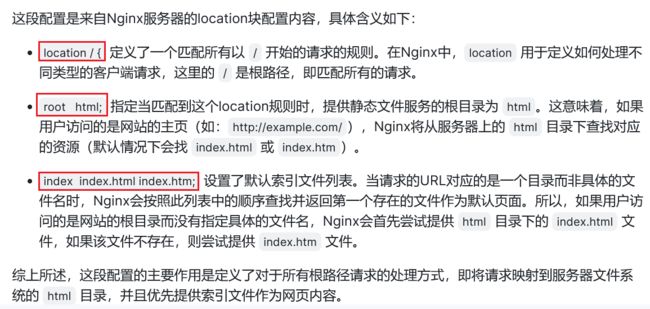
在注释之前,我讲述一下部分的代码的作用。
② 编写nginx.conf文件
这个location块指定了 “/”前缀与来自请求的URI进行比较。 对于匹配请求,URI将添加到 根 指令,也就是说,到/data/www, 在本地文件系统上形成所请求文件的路径。 如果有几个匹配的location块,nginx 选择前缀最长的一个。 上面的location块提供了最短的 前缀,长度为1, #36825;,如果所有其他的location 块无法提供匹配,将使用此块。
http {
    server {

        location / {
             root /data/www;
        }

    }
}接下来,添加第二个location块:
它将匹配以/images/开头的请求 (location / 虽然也匹配这样的请求, 但它是较短的前缀)。
http {
    server {

        location / {
             root /data/www;
        }

        location /images/ {
           root /data;
        }
    }
}
③重新加载一下配置文件 nginx -s reload
但是报错了???说没有配置事件,那就给它配置一个。
顺便配置一下它监听的端口(ps:因为我的80端口被占用。默认是localhost:80)
events {
#     worker_connections  1024;
}
http {
    server {
        listen 82;

        location / {
             root /data/www;
        }

        location /images/ {
           root /data;
        }
    }
}
现在就可以了。
你试一下,是不是发现还不行!!!因为root配错了
/data 在windows下指的是 D:/data .........
"D:/data/www/index.html" is not found (3: The system cannot find the path specified), client: 127.0.0.1, server: , request: "GET / HTTP/1.1", host: "localhost:82"
因此换成相对路径
events {
#     worker_connections  1024;
}
http {
    server {
        listen 82;

        location / {
        #  等价于下面  root D:/nginx/nginx-1.22.0-copy/nginx-1.22.0/data/ww  ;
            root data/ww  ;
        }

        location /images/ {
        #  root D:/nginx/nginx-1.22.0-copy/nginx-1.22.0/data/images/
        #  这个要认真辨别一下, 当 访问 /images/ , 此时以 data为父路径,data/images/ 。
        #  http://localhost:82/images/1.jpg   意味着访问  data/images/1.jpg

           root data;
        }
    }
}
三、设置简单代理服务器
1. 准备一个springboot应用、修改nginx.conf
events {
#     worker_connections  1024;
}
http {
    server {
        listen 82;

        location / {
        #  等价于下面  root D:/nginx/nginx-1.22.0-copy/nginx-1.22.0/data/ww  ;
            root data/ww  ;
        }

        location /images/ {
        #  root D:/nginx/nginx-1.22.0-copy/nginx-1.22.0/data/images/
        #  这个要认真辨别一下, 当 访问 /images/ , 此时以 data为父路径,data/images/ 。
        #  http://localhost:82/images/1.jpg   意味着访问  data/images/1.jpg
           root data;
        }


        # 配置反向代理
        location /api/ {
            proxy_pass  http://localhost:8080/ ;
        }
    }
}
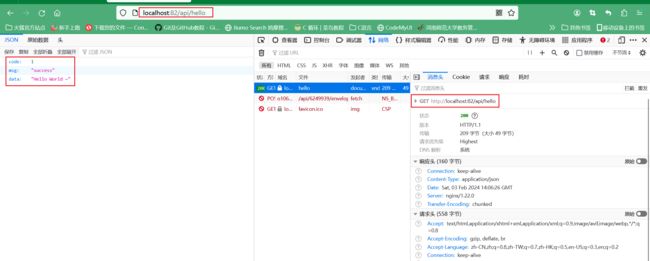
2. 访问 http://localhost:82/api/hello
很明显,当访问这个地址时,我们被 代理到了 http://localhost:8080/hello
