第二章 Electron自定义界面(最大化、最小化、关闭、图标等等)
一、介绍
Electron是一个使用 JavaScript、HTML 和 CSS 构建桌面应用程序的框架。 嵌入 Chromium 和 Node.js 到 二进制的 Electron 允许您保持一个 JavaScript 代码代码库并创建 在Windows上运行的跨平台应用 macOS和Linux——不需要本地开发经验(这段话是来自官网)。
这里我已经搭建好了项目 快速搭建Electron+Vite3+Vue3+TypeScript5脚手架
在没有任何配置的情况下,项目启动以后会自己带着logo、title、最大化最小化关闭以及工具栏。这些都是可以通过配置去自定义的。原项目启动的UI如下
二、去掉Electron自带的导航
修改Electron下的main.ts文件,修改完成以后重新启动自带的导航就不会在显示了。
win = new BrowserWindow({
    icon: './public/logo.png',
    frame: false, // 去掉导航最大化最小化以及关闭按钮
    width: 1200,
    height: 800,
    minWidth: 1200,
    minHeight: 800,
    center: true,
    skipTaskbar: false,
    transparent: false,
    webPreferences: {
        contextIsolation: false,
        webSecurity: false,
    }
})
三、增加自定义导航
自定义导航其实很简单,只需要根据自己的需求去编写相对应的导航vue页面即可。UI组件的化根据自己的需求安装,这里我以element-plus为例。为了后续能够一次性完成代码的编写,把路由也一起安装了。
1、安装依赖
yarn add element-plus vue-router 因为electron已经删除了remote,所以还需要安装一下@electron/remote
yarn add @electron/remote2、初始化remote
修改electron下的main.ts,这里除了初始化remote,重点还在nodeIntegration和contextIsolation的设置,为了能在vue文件中使用require。
const { app, BrowserWindow } = require('electron')
const path = require('path')
const remote = require("@electron/remote/main");
remote.initialize();

const NODE_ENV = process.env.NODE_ENV
let win

/**
 * @Description: electron程序入口
 * @Author: Etc.End
 * @Copyright: TigerSong
 * @CreationDate 2023-05-20 14:39:26
 */
const createWindow = () => {
    win = new BrowserWindow({
        icon: './public/logo.png',
        frame: false, // 去掉导航最大化最小化以及关闭按钮
        width: 1200,
        height: 800,
        minWidth: 1200,
        minHeight: 800,
        center: true,
        skipTaskbar: false,
        transparent: false,
        webPreferences: {
            nodeIntegration: true,
            contextIsolation: false,
            webSecurity: false,
        }
    })

    win.loadURL(
        NODE_ENV === 'development' ? 'http://localhost:5173/' : `file://${path.join(__dirname, '../dist/index.html')}`
    )

    if (NODE_ENV === 'development') {
        win.webContents.openDevTools()
    }

    remote.enable(win.webContents);
}

app.whenReady().then(() => {
    createWindow()
})

/**
 * @Description: 限制只能打开一个页面
 * @CreationDate 2023-05-20 14:35:52
 */
const gotTheLock = app.requestSingleInstanceLock()
if (!gotTheLock) {
    app.quit()
} else {
    app.on('second-instance', (event, commandLine, workingDirectory) => {
        if (win) {
            if (win.isMinimized()) win.restore()
            win.focus()
        }
    })
}

app.on('window-all-closed', function () {
    if(process.platform !== 'darwin') app.quit()
})
3、编写自定义导航
在src/components下新建文件夹header,接着在header文件夹下创建index.vue文件,这里面除了Electron的API调用意外,还有一个重点就是-webkit-app-region: drag;的样式设置,让我们的元素具有拖拽效果,整个header都可以拖拽,但是最小化最大化关闭又得关闭拖拽,让其可以点击,所以又加上了-webkit-app-region: no-drag;的样式属性。
Tiger Song
最小化
最大化
还原
退出
4、修改App.vue
5、src下的main.ts去掉样式
此时如果你src下的main,ts在编辑器里面报错TS2307: Cannot find module './App.vue' or its corresponding type declarations.的话,修改src文件夹下的vite-env.d.ts
declare module '*.vue' {
    import {DefineComponent} from 'vue'
    const component: DefineComponent<{}, {}, any>
    export default component
}
6、全部修改完成以后重新启动应用即可。
这里我只是一个demo演示,如果需要把最大化最小化关闭等设置成图标,整个vite项目自动按需引入的话可以查看我的另一篇文章,照着配置即可。Vite4+Pinia2+vue-router4+ElmentPlus搭建Vue3项目(组件、图标等按需引入)[保姆级]
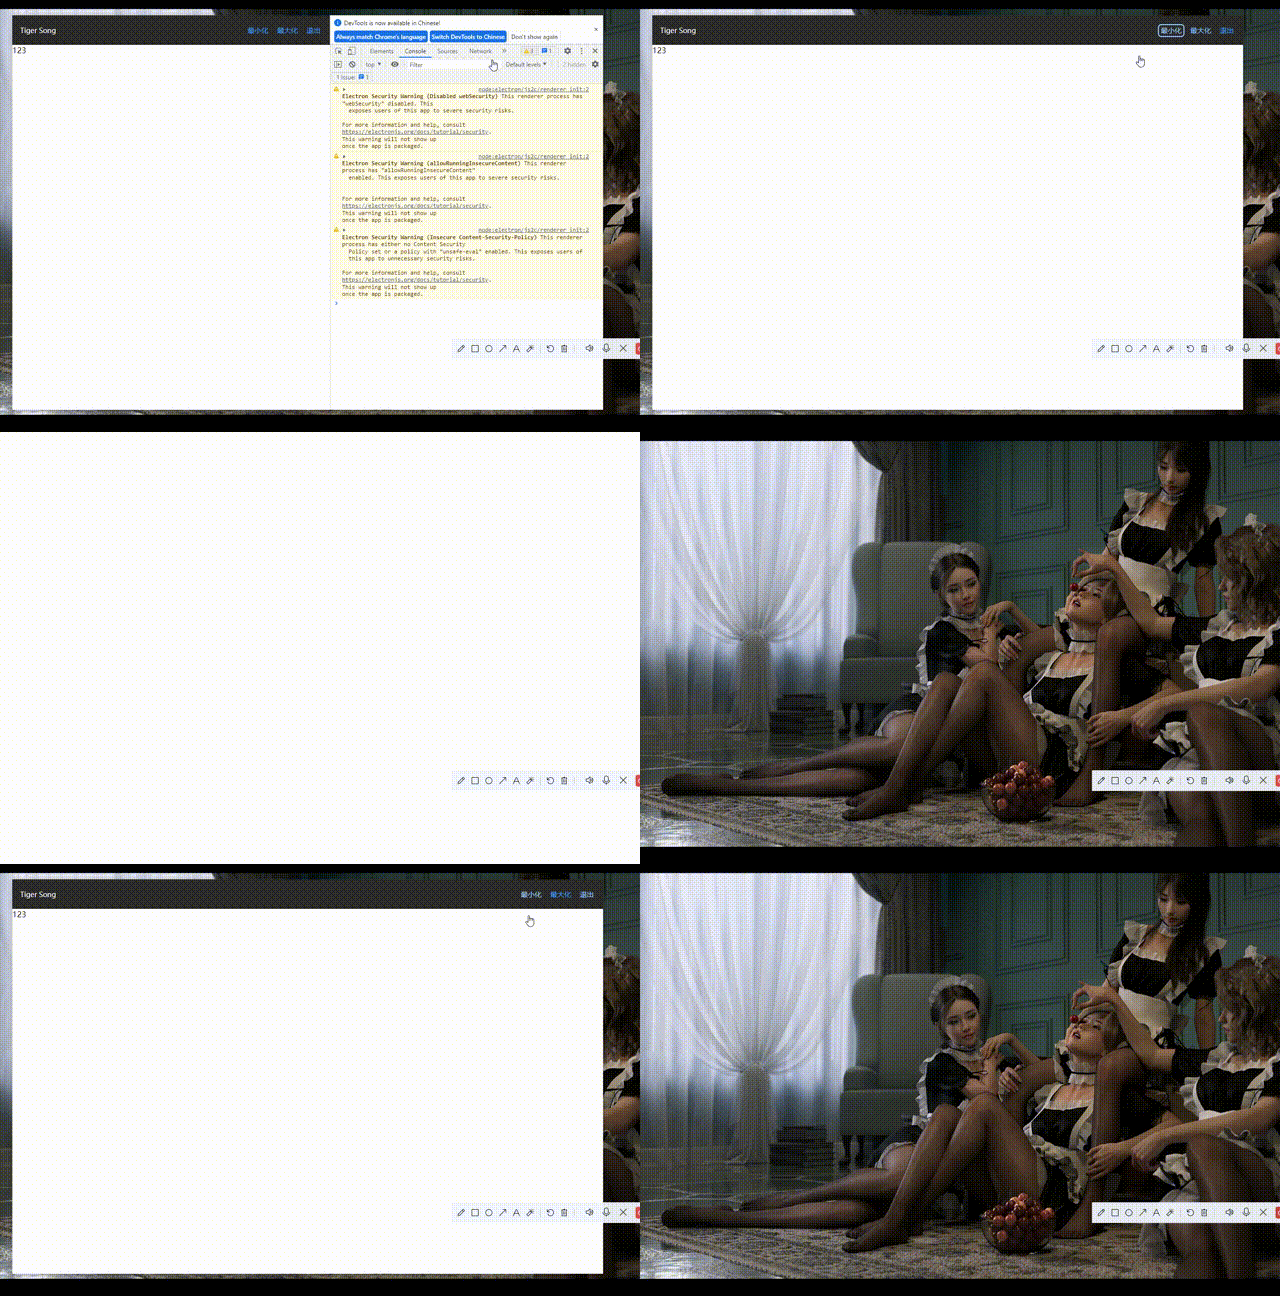
四、最终效果预览
我是Etc.End。如果文章对你有所帮助,能否帮我点个免费的赞和收藏。
![]()


