OpenGL GLFW OIT 实现
OIT
LearnOpenGL - IntroductionLearn OpenGL . com provides good and clear modern 3.3+ OpenGL tutorials with clear examples. A great resource to learn modern OpenGL aimed at beginners.![]() https://learnopengl.com/Guest-Articles/2020/OIT/Introduction
https://learnopengl.com/Guest-Articles/2020/OIT/Introduction
这里主要是介绍了两类实现透明物体混合的方法。
- 基于排序的透明渲染 ordered transparency
- 顺序无关的透明渲染 order-independent transparency
Odered Transparency
顾名思义,这种混合方法就以物体为单位,先利用CPU对画面中的目标进行排序,然后从远往近逐个渲染目标,早期的3D游戏很多都是使用这种方式来实现混合。但如果画面中的物体数量非常庞大的时候,在每一帧都用CPU在渲染前先对所有对象做一次排序,渲染性能下降会很明显。同时,在自遮挡、互相遮挡等情况下,混合依然会出现问题。
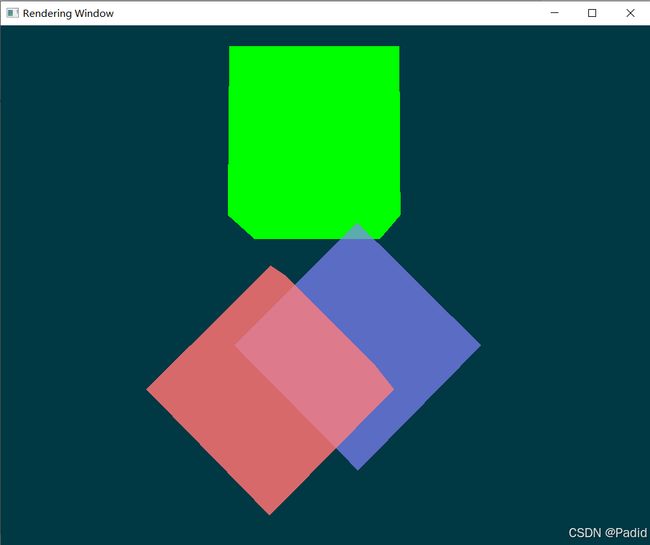
下面这种情况就是以立方体为单位排序后按序渲染,当发生互相遮挡的情况时,结果就出错了。
Order-Independent Transparency
为了提升混合速度和效果,就不能再用CPU排序的简单方法实现混合,这类不使用CPU排序混合的方法可以称作为OIT,顺序无关只是说不需要在渲染前用CPU排序了,倒不是意味着真的不考虑渲染的顺序了。又根据具体实现的方法可以分成两个大类,精准OIT和近似OIT。这里只实现以下精准OIT。
Exact OIT
exact OIT通常实现是通过在GPU中对片元进行排序来准确计算正确的混合结果。排序阶段需要在着色器中使用相对较大的临时内存,而这些内存通常会被保守地分配到最大值。经典的exact OIT方法有Depth Peeling,Per Pixel Linked List。
Depth Peeling
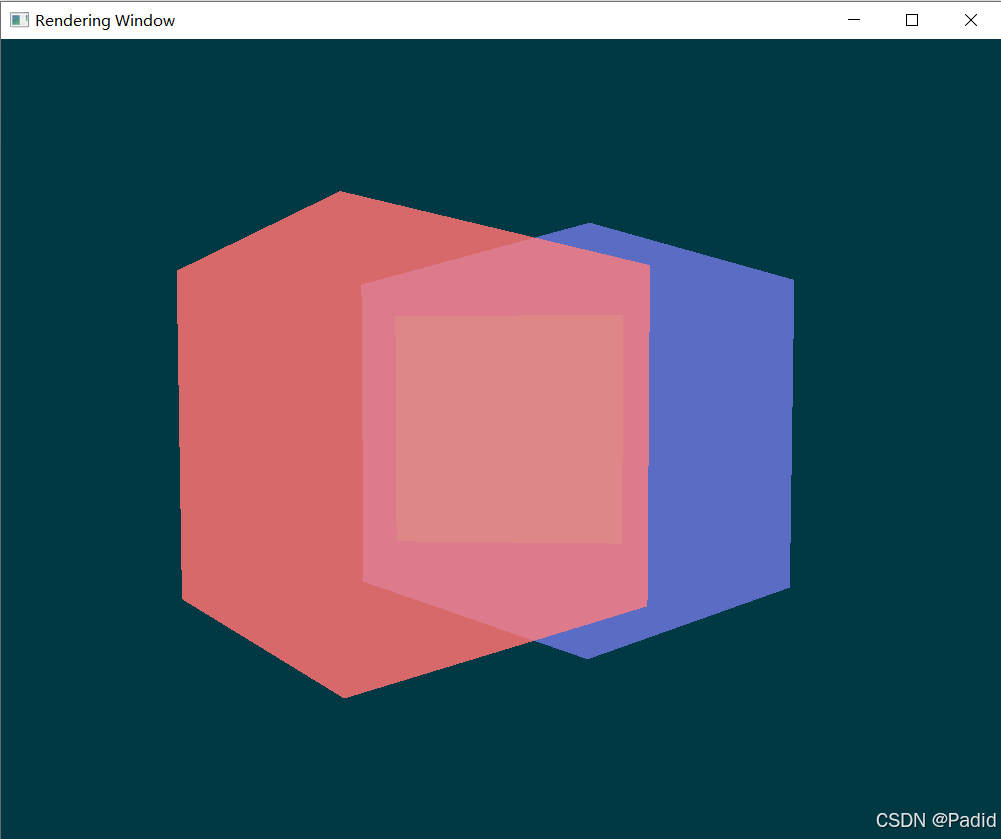
Depth Peeling的介绍在这:OpenGL GLFW 深度/模版测试 面剔除 混合与帧缓冲-CSDN博客,效果如下。
Per Pixel Linked List
参考:vulkan_顺序无关的半透明混合(OIT)_adaptive transparency opengl-CSDN博客
Depth Peeling中剥离几次就需要几个PASS,如果能够在一个PASS中直接准备好排序需要的所有内容,就可以节省掉后续几个PASS的性能消耗。Per Pixel Linked List通过静态链表实现在一个PASS中,为每个像素维护一个链表,再对每个像素的链表排序,以此正确混合颜色。
- 使用SSBO传输静态链表到GPU中并在着色器中修改(UBO在着色器中是只读的,虽然访问速度更快,但有大小限制,通常的UBO的大小在16KB,所以不能用在这里),在我的机器上SSBO的最大容量是2048MB。
- SSBO中使用到结构体时需要注意字节对齐,字节对齐的一个重要原因是为了使机器访问更迅速。例如我用的内存布局方式为std430,结构体中有三个变量,vec4,float,int。vec4的需要4N对齐(基础值N为4个字节),float和int的对齐基数为N,可知float和int总是字节对齐的,而vec4没有16字节对齐,如果直接使用就会如下图一样出错。所以还需要增加8个字节的数据作填充。对于其他布局方式,如std140,同理参考对应的字节对齐要求即可。
- SSBO更具体的部分可看interface block 及 UBO、SSBO 详解 – gleam;
- GLSL 4.30版本新增了SSBO和原子操作函数,后者的出现就是由于在shader可以对SSBO执行写入操作,而GPU是并行计算的,可想而知如果对SSBO中的数据写入没有保证原子性,数据肯定就全乱了套了。对此可以使用4.30及以上版本提供的原子性函数操作SSBO中的数据,atomicAdd, atomicAnd, atomicOr, atomicXor, atomicMin, atomicMax, atomicCompSwap。
- 静态数组需要预分配足够的空间,对1000*800的分辨率设置的静态数组大小为3倍分辨率大小时,静态数组需要32 * 1000 * 800 * 3 = 76,800,000字节,也就是73.24MB的内存空间。VS2019中默认栈大小为1MB,只能在堆中为静态数组分配内存。静态数组设置太大会影响到性能,太小可能无法应对复杂的混合场景。
- 注意每帧开始时都需要清空静态数组。通过glMapBufferRange映射缓冲区对象实现。
- gl_FragCoord.xy表示的是像素的中心位置,例如最左下角的像素就为(0.5,0.5),如果需要,可以设置布局限定词为pixel_center_integer,会将坐标设置为整数值,使得片段的中心精确地对应到整数坐标。Layout Qualifier (GLSL) - OpenGL Wiki
- 实现用了三个SSBO,一个用作静态链表,存储PixelNode。一个大小等同于分辨率,存储每个像素在链表中的首个元素的位置。一个用于设置当前计数,被所有fragment shader共享,用来选择链表中的空闲结点。
生成像素链表的片元着色器:
#version 430 core

layout(pixel_center_integer) in vec4 gl_FragCoord;

struct PixelNode {
    vec4 rgba;
    float depth;
    int next;
    float padding[2];
};

layout(std430, binding = 0) buffer PixelBuffer{
    PixelNode node[];
};

layout(std430, binding = 1) buffer PixelCount{
    int curCount;
    int maxCount;
};

layout(std430, binding = 2) buffer StartIndexTexture{
    int startIndexTexture[];
};

out vec4 FragColor;

uniform vec4 Color;
uniform int width;
uniform int height;

void main(){
    int curIndex = atomicAdd(curCount, 1);
	if(curIndex < maxCount){
        int oldind = atomicExchange(startIndexTexture[int(gl_FragCoord.x) * height + int(gl_FragCoord.y)], curIndex);
        node[curIndex].rgba = Color;
        node[curIndex].depth = gl_FragCoord.z;
        node[curIndex].next = oldind;
    }
    FragColor = vec4(1.0, 1.0, 1.0, 1.0);
}
生成像素链表的顶点着色器:
#version 430 core

layout(location = 0) in vec3 aPos;
layout(location = 1) in vec2 aUV;

uniform mat4 model;
uniform mat4 view;
uniform mat4 projection;

void main(){
	gl_Position = projection * view * model * vec4(aPos, 1.0);
}
排序像素链表并混合颜色输出的片元着色器:
#version 430 core
#define MAX_TREANSPARNTS_LAYER 128

layout(pixel_center_integer) in vec4 gl_FragCoord;

struct PixelNode {
    vec4 rgba;
    float depth;
    int next;
    float padding[2];
};

in vec2 oTexture;
out vec4 FragColor;

uniform sampler2D colorTexture;
uniform sampler2D depthTexture;
uniform int width;
uniform int height;

layout(std430, binding = 0) buffer PixelBuffer{
    PixelNode node[];
};

layout(std430, binding = 2) buffer StartIndexTexture{
    int startIndexTexture[];
};

void main(){
	vec4 color = texture(colorTexture, oTexture);
	float depth = texture(depthTexture, oTexture).x;
    int ind = startIndexTexture[int(gl_FragCoord.x) * height + int(gl_FragCoord.y)];
    int plength = 0;

    if(ind != -1){
        PixelNode fragment[MAX_TREANSPARNTS_LAYER];
        while(ind != -1){
            PixelNode cNode = node[ind];
            ind = cNode.next;
            plength += 1;
            for(int i = 0; i < plength; ++i){
                if(i == plength - 1) fragment[i] = cNode;
                else if(fragment[i].depth < cNode.depth){
                    for(int j = plength - 1; j > i; --j){
                        fragment[j] = fragment[j - 1];
                    }
                    fragment[i] = cNode;
                    break;
                }
            }
        }
        for(int i = 0; i < plength; ++i){
            if(fragment[i].depth >= depth) continue;
            color = mix(color, fragment[i].rgba, fragment[i].rgba.a);
        }
    }

	FragColor = vec4(color.rgb, 1.0);
}
排序像素链表并混合颜色输出的顶点着色器:
#version 430 core

layout(location = 0) in vec2 aPos;
layout(location = 1) in vec2 aTexture;

out vec2 oTexture;

void main(){
	oTexture = aTexture;
	gl_Position = vec4(aPos, 0.0, 1.0);
}
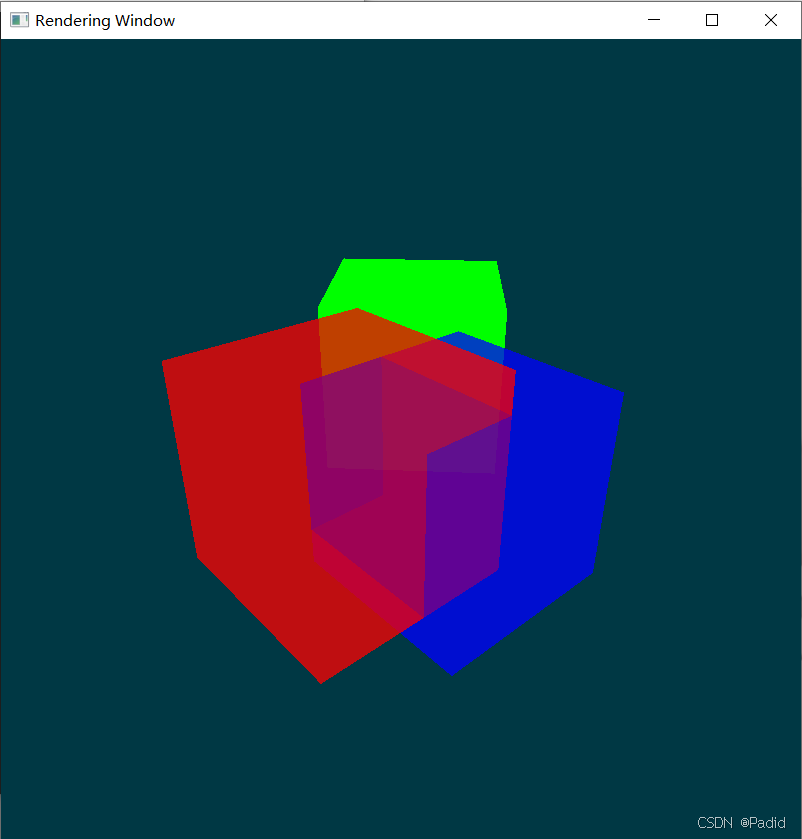
附上Per-Pixel Linked List的渲染效果:
教训:因为一个uniform值没传进去,导致结果出大问题,还误以为是自己的程序处理的不对。


