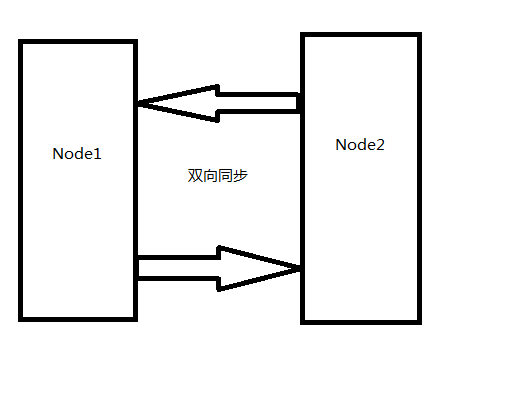
unison实时双向数据同步

软件下载
ocamlopt下载地址:http://caml.inria.fr
Unison下载地址:http://www.seas.upenn.edu/~bcpierce/unison
1、安装unison前先安装ocamlopt。安装ocamlopt:
tar -xvf ocaml-4.02.0.tar.gz
./configure
make world.opt
make install
2、安装Unison
tar -xvf unison-2.48.3.tar.gz
make UISTYLE=text THREADS=true STATIC=true
执行完成以上命令之后,在当前目录下生成一个unison文件。
cp unison /usr/local/bin
一、配置双机ssh信任
A服务器IP:192.168.6.128
B服务器IP:192.168.6.129
1、在两台机器上都执行一遍以下命令
1)A服务器上用root用户登录系统,在root用户主目录下创建.ssh目录并赋予700权限
mkdir ~/.ssh
chmod 700 ~/.ssh
2)使用ssh-keygen命令生成第2版ssh协议的RAS密钥
ssh-keygen -t rsa
Generating public/private rsa key pair.
Enter file in which to save the key (/root/.ssh/id_rsa)
Enter passphrase (empty for no passphrase):
Enter same passphrase again:
Your identification has been saved in /root/.ssh/id_rsa.
Your public key has been saved in /root/.ssh/id_rsa.pub.
The key fingerprint is:
18:19:17:27:47:ea:e8:59:b1:a2:89:e8:0b:a6:85:d1 [email protected]
2、添加密钥文件到授权密钥文件中
1)root用户登录
cd ~/.ssh
[root@localhost .ssh]# ssh 192.168.6.128 cat /root/.ssh/id_rsa.pub >> authorized_keys
[root@localhost .ssh]#ssh 192.168.6.129 cat /root/.ssh/id_rsa.pub >> authorized_keys
scp authorized_keys 192.168.6.129:/root/.ssh/
chmod 600 /root/.ssh/authorized_keys
2)在B服务器上执行chmod 600 /root/.ssh/authorized_keys
3)测试
在A、B服务器上执行以下命令
ssh 192.168.6.128 date
ssh 192.168.6.129 date
在第一次执行时,会要求输入密码,再次执行时不需要输入密码就能显示系统日志,说明ssh互相信任。
二、使用unison
1、本地使用unison
unison /data1 /data2 -batch
#-batch 全自动模式,接受默认操作并执行,不需人工干预
2、远程使用unison
unison <本地目录> ssh://remoteIP/<远程目录的绝对路径>
unison /data1 ssh://[email protected]//data2 -batch
3、配置文件方式
修改配置文件default.prf(/root/.unison目录下)
# Unison preferences file
root=/data1
root=ssh://[email protected]//data2
#force=/data1
#path=/data1
#path=/data2
ignore=Path WEB-INF/tmp
batch=true
maxthreads=300
fastcheck=true
owner=true
group=true
perms=-1
sshargs=-C
xferbycopying=true
confirmbigdel=false
log=true
logfile=/root/.unison/log.log
repeat=1 #间隔1s重新扫描
执行unison default.prf