tkinter-TinUI-xml实战(11)文本阅读、编辑器
tkinter-TinUI-xml实战(11)文本阅读、编辑器
- 引言
- 阅读器
- 编辑器
- TinMaker界面
- 搜索框界面
引言
本文基于作者自己的项目TinText编写。
TinText是一个TinML阅读、编辑、整合组件软件。
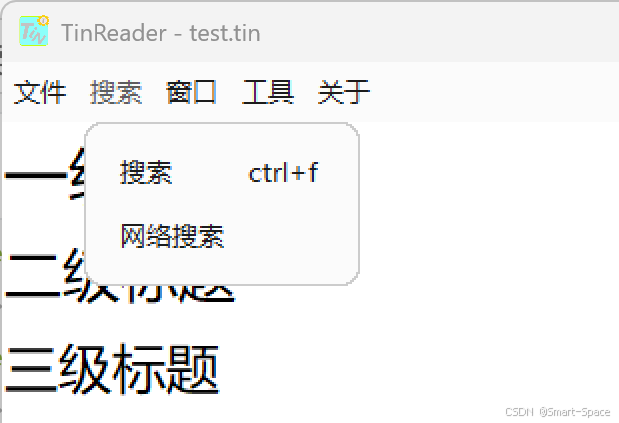
阅读器
阅读器界面很简单,主要就是顶部的菜单栏,以及占了绝对面积的文本框,不过文本框是基于新版TinEngine的,不是本文重点。
菜单栏可以使用TinUI的menubutton实现,把这些控件排成一排,就可以实现顶部菜单栏的效果。
<tinui>
<line>
    <line x='0' y='0' padx='0'>
        <menubutton text='文件' font='微软雅黑 10' widget='False' linew='0' cont='self.datas["menu_file"]'>menubutton>
        <menubutton text='搜索' font='微软雅黑 10' widget='False' linew='0' cont='self.datas["menu_search"]'>menubutton>
        <menubutton text='窗口' font='微软雅黑 10' widget='False' linew='0' cont='self.datas["menu_window"]'>menubutton>
        <menubutton text='工具' font='微软雅黑 10' widget='False' linew='0' cont='self.datas["menu_tools"]'>menubutton>
        <menubutton text='关于' font='微软雅黑 10' widget='False' linew='0' cont='self.datas["menu_about"]'>menubutton>
    line>
line>
tinui>
cont绑定的数据见工程源代码。
编辑器
新TinText的编辑器TinWriter,主要分为两部分。
第一部分为编辑区,由顶部工具栏和编辑文本框组成。其中顶部工具栏使用TinUI的barbutton实现:
<tinui>
<line>
    <line x='0' y='0' padx='0'>
        <barbutton font='微软雅黑 10' content='self.datas["appbar"]'>buttonsbarbutton>
    line>
line>
tinui>
![]()
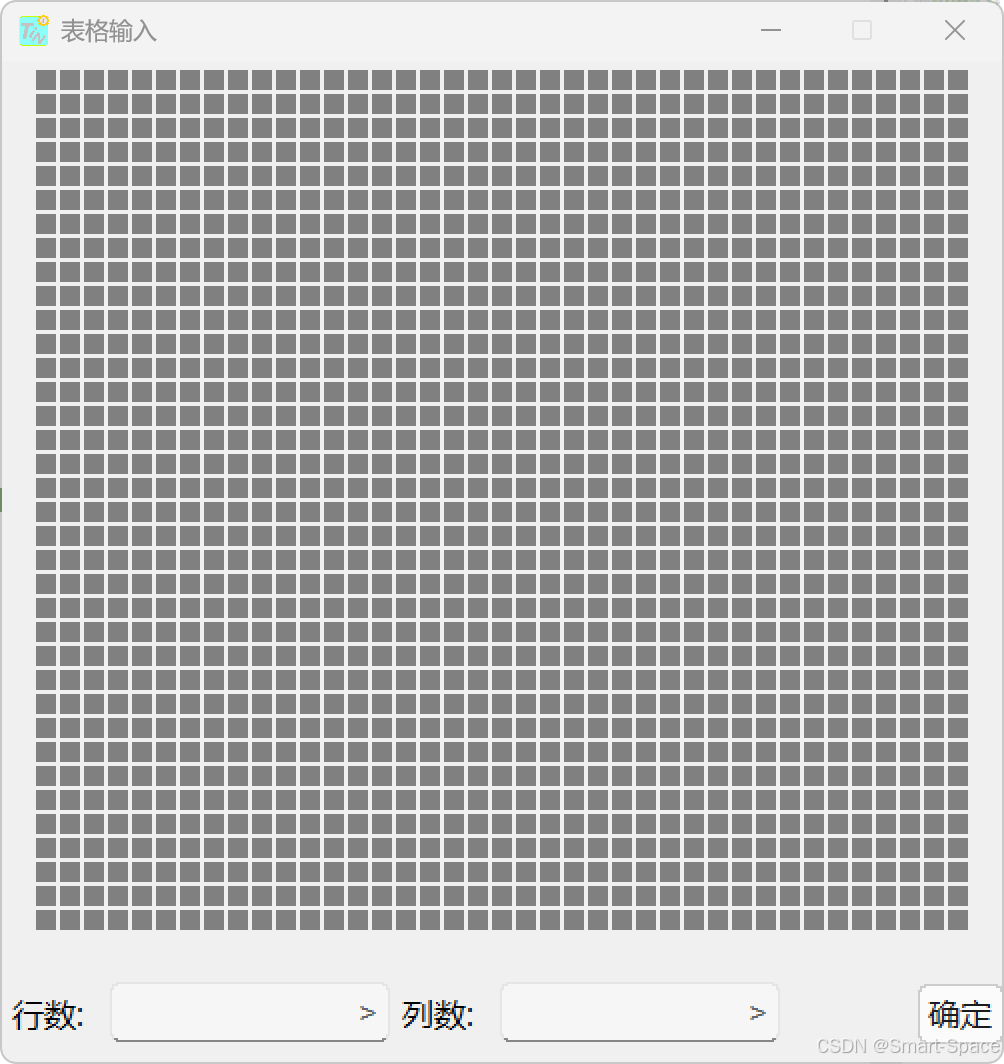
这里面的表格编辑器部分由下布局文件确定:
<tinui>
<line y='25' anchor='w'>
    <paragraph text='行数: '>paragraph>
    <entry width='120'>entry1entry>
    <paragraph text='列数: '>paragraph>
    <entry width='120'>entry2entry>
    <paragraph text='           '>paragraph>
    <button2 text='确定' command='self.funcs["set_table"]'>button2>
line>
tinui>
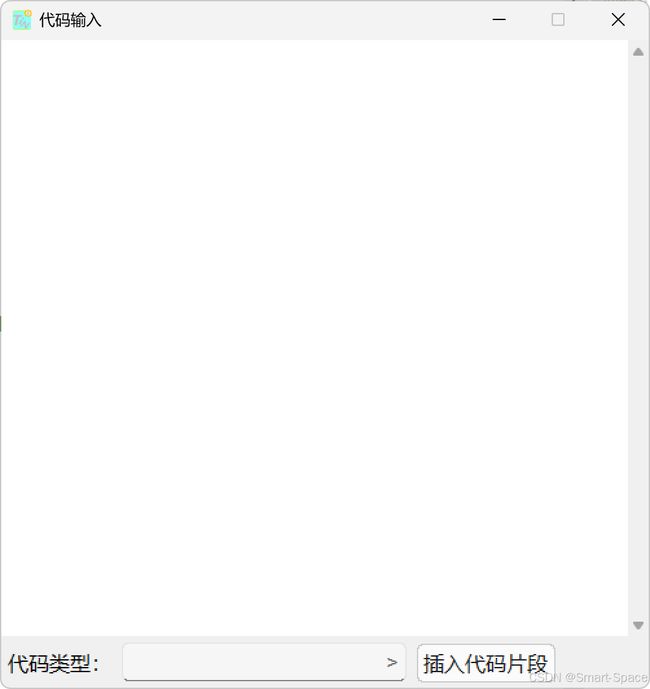
代码编辑器部分由下布局文件确定:
<tinui>
<line y='20' anchor='w'>
    <paragraph text='代码类型:'>paragraph>
    <entry width='200'>entryentry>
    <button2 text='插入代码片段' command='self.funcs["set_code"]'>button2>
line>
tinui>
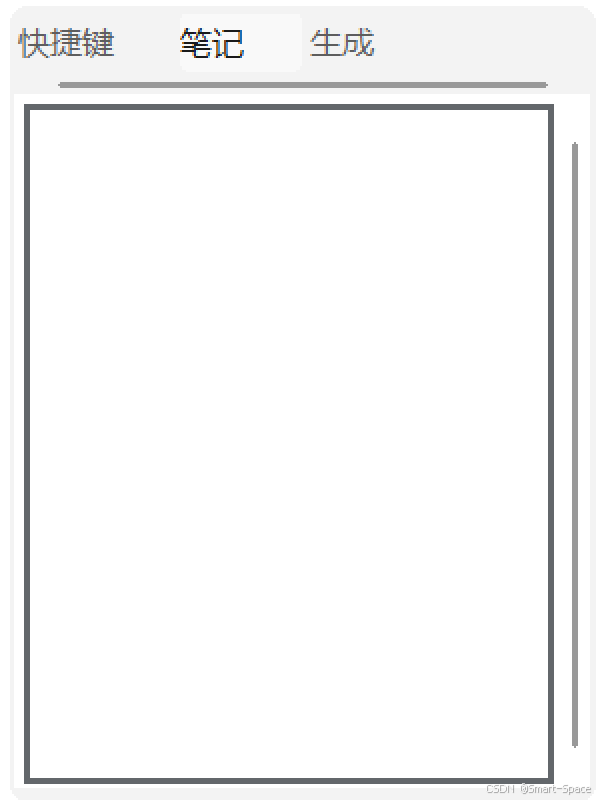
第二部分为提示区域,包括右上角的多功能提示区域和右下角的提示文本框(即一个TinTextControl)。右上角的多功能提示区域就是一个标签页:
<tinui>
<line>
    <line>
        <notebook width='287' height='350'>ntbooknotebook>
    line>
line>
tinui>
快捷键提示如下:
<tinui>
<line>
    <paragraph text='全选	ctrl+a'>paragraph>
line>
<line>
    <paragraph text='复制	ctrl+c'>paragraph>
line>
<line>
    <paragraph text='剪切	ctrl+x'>paragraph>
line>
<line>
    <paragraph text='粘贴	ctrl+v'>paragraph>
line>
<line>
    <paragraph text='撤销	ctrl+z'>paragraph>
line>
<line>
    <paragraph text='重做	ctrl+y'>paragraph>
line>
<line>
    <paragraph text='查找	ctrl+f'>paragraph>
line>
<line>
    <paragraph text='替换	ctrl+h'>paragraph>
line>
<line>
    <paragraph text='重新渲染	ctrl+r'>paragraph>
line>
<line>
    <paragraph text='保存	ctrl+s'>paragraph>
line>
<line>
    <paragraph text='另存为	ctrl+shift+s'>paragraph>
line>
<line x='3'>
    <separate width='260'>separate>
line>
<line>
    <paragraph text='接受建议	alt+p'>paragraph>
line>
<line>
    <paragraph text='生成参数	alt+g'>paragraph>
line>
<line>
    <paragraph text='标签说明	alt+a'>paragraph>
line>
<line>
    <paragraph text='加 ;	alt+;'>paragraph>
line>
<line>
    <paragraph text='注释	alt+/'>paragraph>
line>
tinui>

记事本界面如下:
<tinui>
<line>
<textbox width='265' height='340' scrollbar='True'>textbox>
line>
tinui>
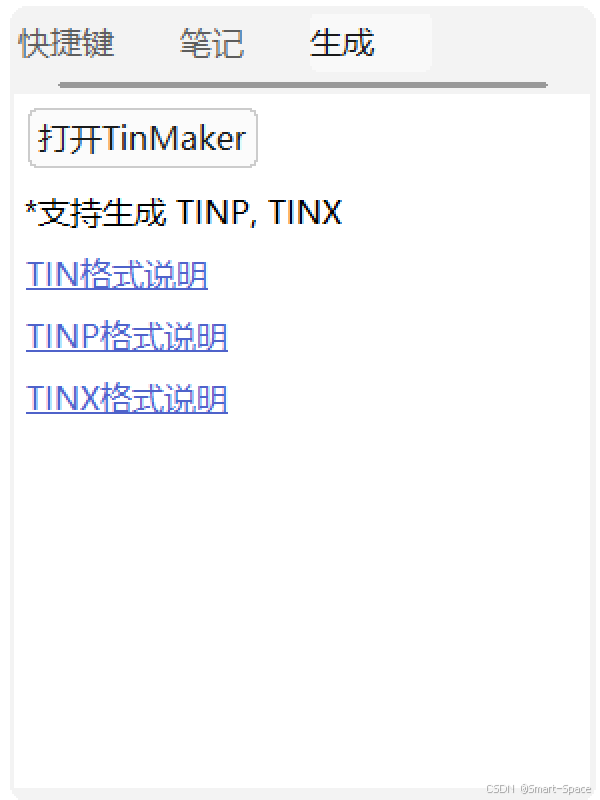
整合TinMaker界面如下:
<tinui>
<line>
    <button2 text='打开TinMaker' command='self.funcs["openmaker"]'>button2>
line>
<line>
    <paragraph text='*支持生成 TINP, TINX'>paragraph>
line>
<line>
    <link text='TIN格式说明' url='https://tintext.smart-space.com.cn/tinml/fileTIN'>link>
line>
<line>
    <link text='TINP格式说明' url='https://tintext.smart-space.com.cn/tinml/fileTINP'>link>
line>
<line>
    <link text='TINX格式说明' url='https://tintext.smart-space.com.cn/tinml/fileTINX'>link>
line>
tinui>
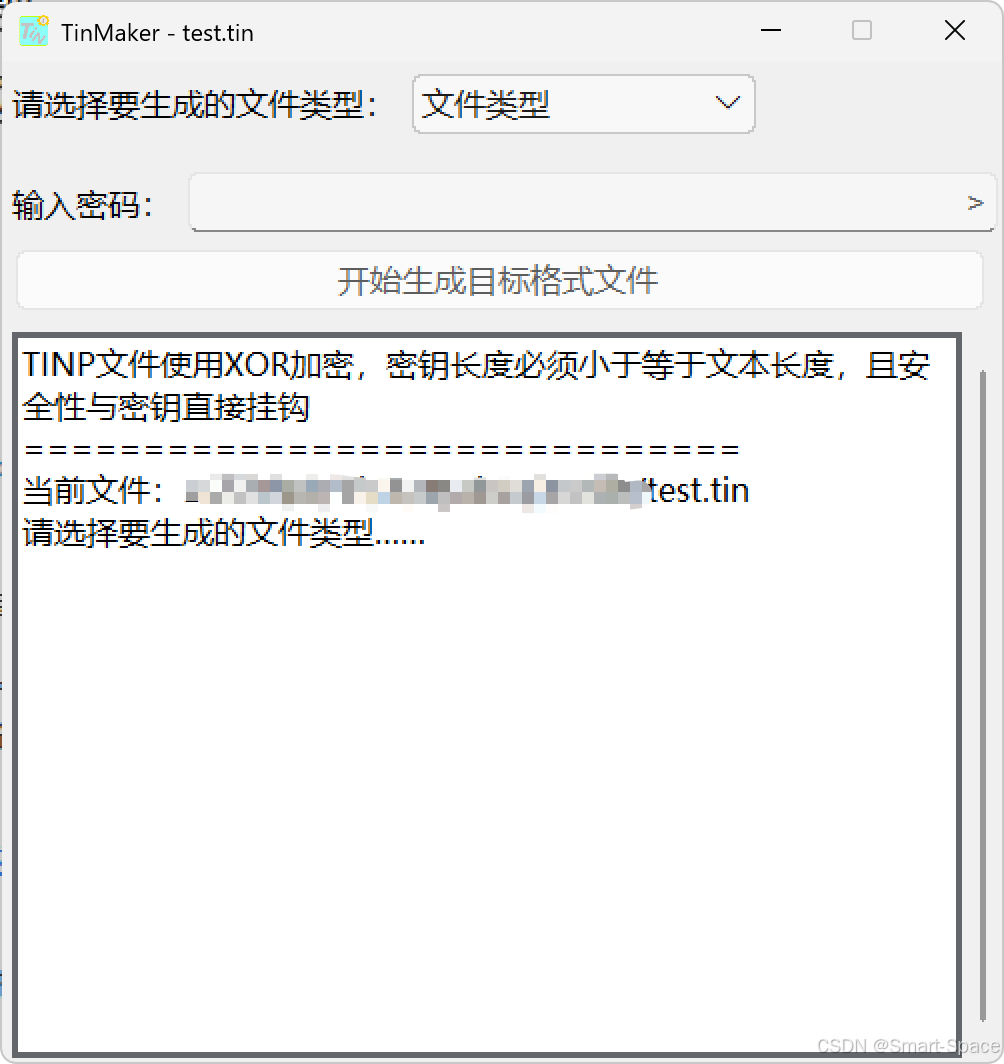
TinMaker界面
TinMaker是TinText组件中,用于将tin源文件加密为tinp文件,或打包为tinx文件的工具。主要界面布局如下:
<tinui>
<line>
    <line y='20' anchor='w'>
       <paragraph text='请选择要生成的文件类型:'>paragraph>
       <combobox width='150' height='100' text='文件类型' content='("TINP (加密)","TINX (集成)")' command='self.funcs["sel_type"]'>comboboxcombobox>
    line>
    <line y='70' anchor='w'>
        <paragraph text='输入密码:'>paragraph>
        <entry width='385'>entryentry>
    line>
    <line pady='10'>
        <button2 text='开始生成目标格式文件' minwidth='475' command='self.funcs["gen"]'>buttonbutton2>
    line>
    <line>
        <textbox width='475' height='363' scrollbar='True'>textboxtextbox>
    line>
line>
tinui>
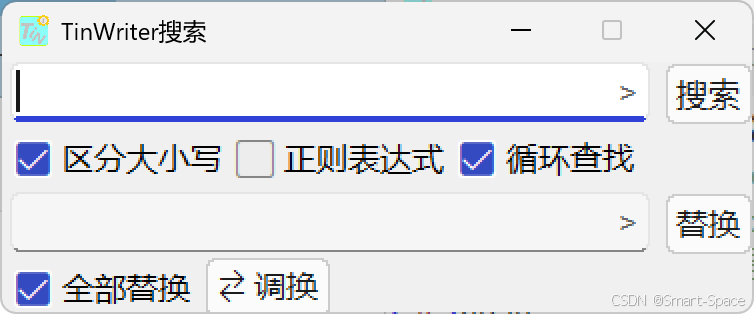
搜索框界面
TinReader和TinWriter搜索框界面相同:
<tinui>
<line>
<line x='2' y='15' anchor='w'>
<entry width='300'>entry_searchentry>
<button2 text='搜索' command='self.funcs["go_to_search"]'>button2>
line>
<line>
<checkbutton text='区分大小写' command='self.funcs["set_case"]'>check_case_buttoncheckbutton>
<checkbutton text='正则表达式' command='self.funcs["set_regexp"]'>check_regexp_buttoncheckbutton>
<checkbutton text='循环查找' command='self.funcs["set_loop"]'>check_loop_buttoncheckbutton>
line>
<line x='2' y='80' anchor='w'>
<entry width='300'>entry_replaceentry>
<button2 text='替换' command='self.funcs["go_to_replace"]'>button2>
line>
<line>
<checkbutton text='全部替换' command='self.funcs["set_replaceall"]'>check_replaceall_buttoncheckbutton>
<line y='112' anchor='w'><button2 text='调换' icon='' command='self.funcs["exchange_word"]'>button2>line>
line>
line>
tinui>