Deploying OpenStack On vSphere with Fuel
My main project at work lately has been testing third party integration with VMware’s Cloud Management suite. vCAC and vCOPs both have great integration with a number of products and I am building a demo lab to showcase this to clients. When I heard that vCAC now supports integration with OpenStack as of 6.0 I was excited to get it working. 2 weeks ago I began my OpenStack journey.
I consider myself fluent in the ways of Linux so I decided to download Ubuntu 12.04 LTS (“Precise Pangolin”), install some packages, and read the Havana install docs. This was a terrible idea. 3 days later it was kind of running, but not really. The documentation needs some serious work as it is wrong in several places, especially about networking. There is a helpful comments section (also not always right), but I found myself Googling for hours for a couple fixes.
Finally I gave up and said, there must me a better way. I Googled my way to this SlideShare deck. Deploy OpenStack in 30 minutes? Surely you must be joking! He was not.
After a little more Googleing about the Fuel project I found the Mirantis site and downloaded the ISO and read the docs. They document two ways install Fuel, either on VirtualBox or bare metal. I wanted to do it on vSphere.
As much as I love “Turtles! All the way Down!”, the idea of installing OpenStack on VirtualBox on vSphere seemed a bit ridiculous, so I decided to figure out and document a process for doing it on vSphere.
I had a few constraints to work around. Fuel by default sets up several networks. I wanted these isolated from the rest of my lab for several reasons. I also wanted to launch the Fuel web client from my regular lab subnet. I could have changed all the subnets and VLANs to conform to my lab or used vCNS, but I wanted a quick solution. I chose to use Untangle.
The Steps
1. Setup a distributed switch for all the port groups.
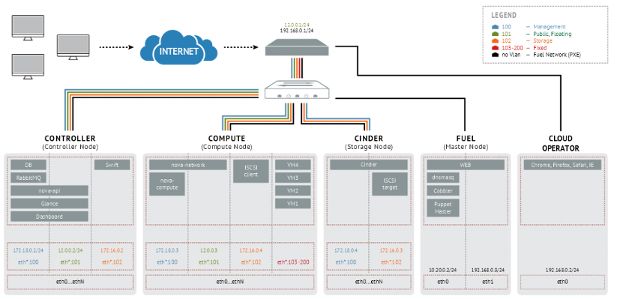
The Edge Port Group is 192.168.0.0/24 subnet. It is untagged. This network provides the default gateway for the Fuel Master Server.
The Public Port Group is the 172.16.0.0 /24 subnet. It is untagged. This network is the public interface of Controller and Compute Nodes.
The Management Port Group is the 172.18.0.0/24 subnet. It is tagged with VLAN 101. It is Controller Node Management Network.
The Private Port Group is the 10.0.0.0/16 subnet. It is tagged with VLAN 103. It is the internal VM network.
The PXE Port Group is the 10.20.0.2/24 subnet. It servers the dnsmasq daemon and PXE from the Fuel Master Server.
The Storage Port Group is the 192.168.1.0/24 subnet. It is tagged with VLAN 102. It serves iSCSI from CINDER on the storage nodes.
Make sure all Port Groups have Promiscuous Mode, and MAC Forged Transmits and Changes set to allow.
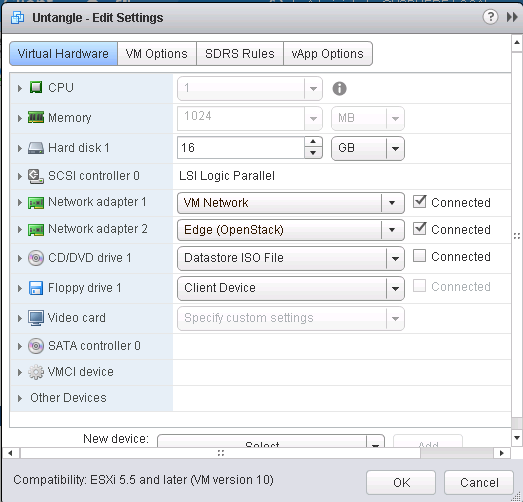
2. Create a new VM and install Untangle from the downloaded ISO. The VM Hardware looks like:
3. Install and configure the networking of Untangle.
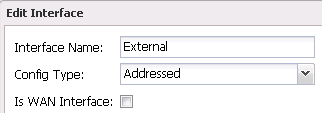
4. Next uncheck “Is WAN Interface” and “NAT traffic coming from this interface” on the External Interface.
5. Add 10.20.0.1 and 12.0.0.1 as IP Aliases on the Internal Interface.
6. Add a Port Forwarding rule for port 8000 to access the Fuel Web Client from the VM Network.
Now the networking is ready to go. Let’s start on the Fuel Master Server deployment.
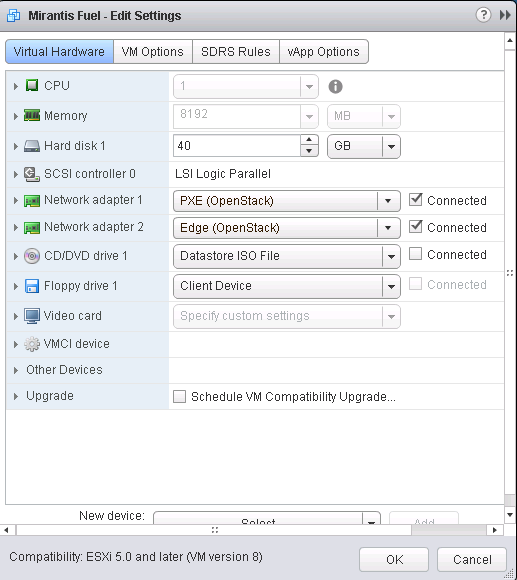
7. Download the Mirantis Fuel ISO, upload it to the datastore, create the following VM, attach the ISO, and power it on:
8. The Fuel Master Server installation kicks off and just runs in a very elegant way.
9. When the install finishes and the server reboots log in with “root” “r00tme” (2 “o”s in root, 2 “zero”s in r00tme).
10. Type “fuelmenu”, change the password, configure dns, and the hostname.
11. Now you can log into the Fuel Web Client from a machine on your regular VM Network:
Note: At his point you need to make sure that the Fuel Master Server is the only DHCP server on the subnet. If you have the network setup like I showed above, this is not a problem.
12. Create 3 new VMs. These will be the OpenStack Nodes. There will be One Controller Node, One Compute Node, and One CINDER Storage Node. All three have different networking requirements. Set them up like as CentOS 4/5/6 64-bit VMs with the following hardware:
13. Power on the VMs and they will PXE boot from the Fuel Master Server. This will load a bootstrap CentOS and the Fuel Master Server will claim them as Unallocated Nodes.
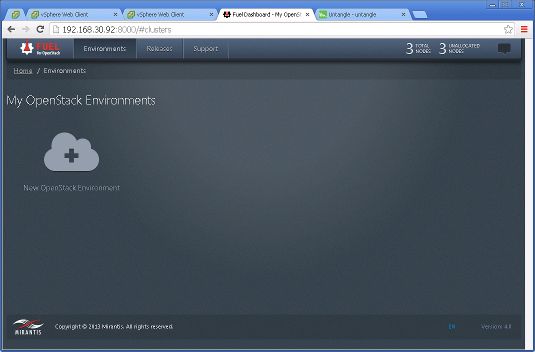
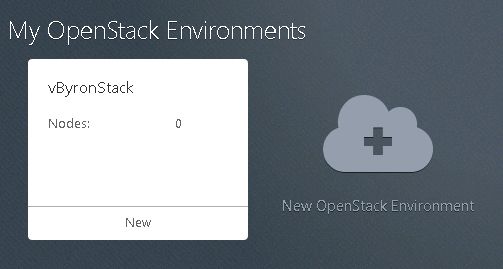
14. Now it is time to create a new OpenStack environment. Click the “Cloud +” icon on the Fuel Web Dashboard
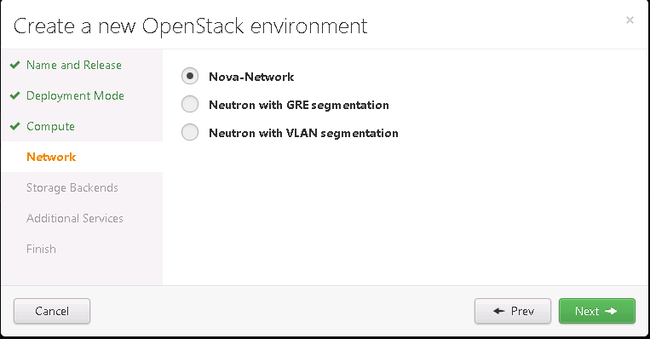
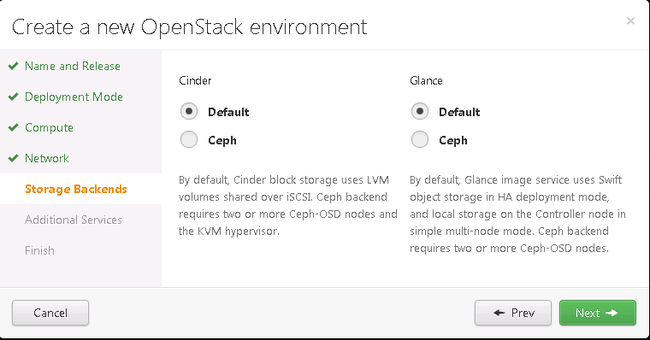
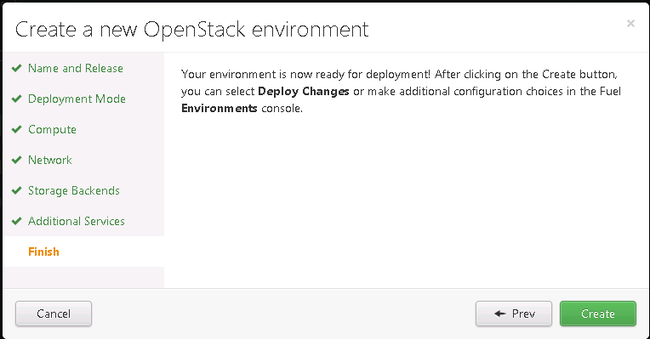
15. Name the new OpenStack Environment then select all defaults and click “Create”
16. After the Environment is created it will be listed on the Environments Screen. Click on it to edit.
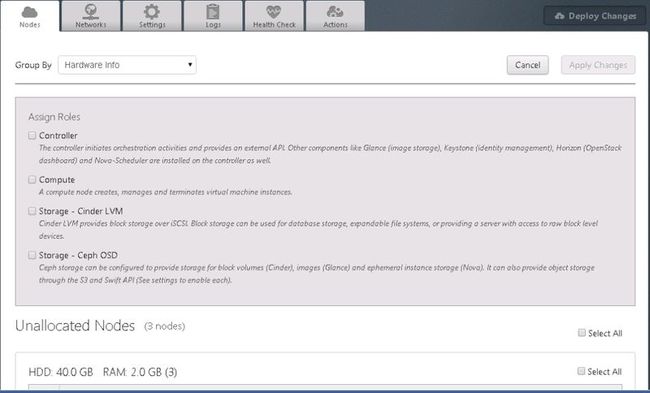
17. Click on the Green “+Add Nodes” button to claim the unallocated nodes.
18. Now assign the proper role to the each new unallocated node. For three Nodes you should have 1 Controller, 1 Compute, and 1 Storage – Cinder LVM. Do this one at a time and click Apply between each selection.
19. When complete it should like this:
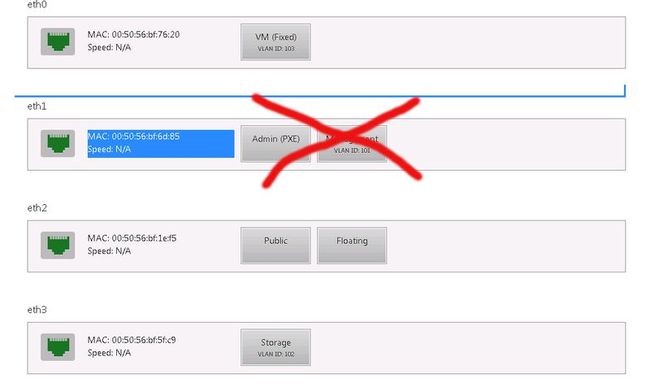
20. Select each Node one at a time and click “Configure Interfaces” Assign the appropriate network to the appropriate interface. When complete click “Apply”. Then click “Back to Node List”.
Warning: The interfaces will most likely not be it the same order as they appear in vCenter. Make sure you match by MAC address.
Warning 2: Each interface should have ONE network, with the exception of “Public” and “Floating” as they are the same subnet and come as a pair.
21. Once all networks have been assigned to all nodes click the green “Deploy Changes” button.
22. Click “Deploy” in the Conformation Pop-Up box.
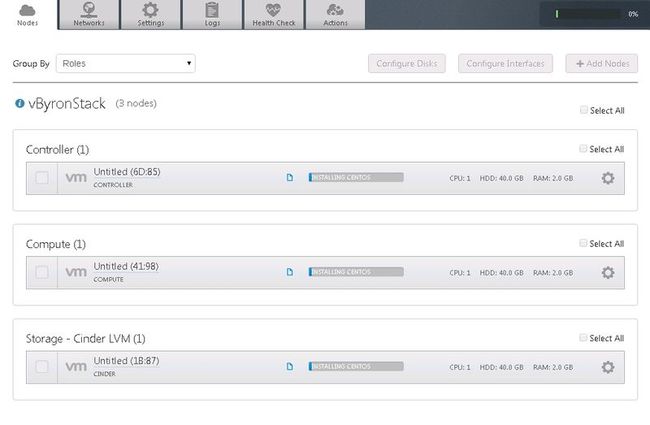
23. This will kick off the deployment and your screen will look like this:
24. Get a cup of coffee… this takes a little bit of time.
25. Once it complete, and if all goes well you will see this:
Congrats you can log into the Horizon Dashboard and deploy you OpenStack VMs!
A Note on Errors: If a Node fails and you see an error talking about Puppet manifests, nova, and db-sync you have a network connectivity error. At the bottom of the network tab the is a “Verify Networks” button run that to troubleshoot.
For further help read the Mirantis Documentation, it’s better than the official OpenStack docs.
