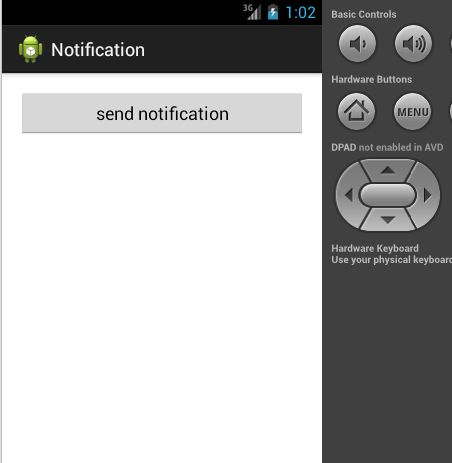
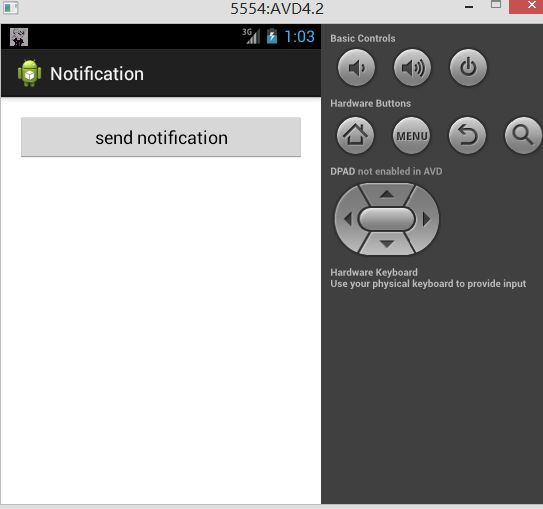
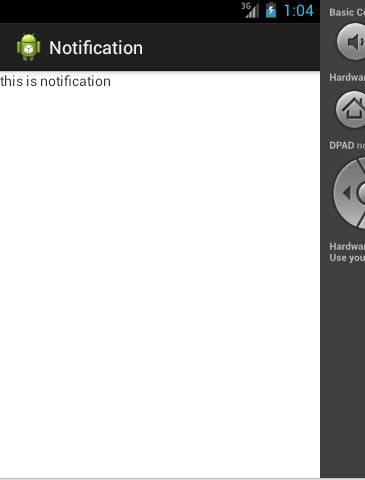
发送广播,具体机制看代码中的注释:
一、新建两个布局文件:
Activity_main.xml:(新建一个button即可)
<RelativeLayout xmlns:android="http://schemas.android.com/apk/res/android"
xmlns:tools="http://schemas.android.com/tools"
android:layout_width="match_parent"
android:layout_height="match_parent"
android:paddingBottom="@dimen/activity_vertical_margin"
android:paddingLeft="@dimen/activity_horizontal_margin"
android:paddingRight="@dimen/activity_horizontal_margin"
android:paddingTop="@dimen/activity_vertical_margin"
tools:context=".MainActivity" >
<Button
android:id="@+id/button1"
android:layout_width="match_parent"
android:layout_height="wrap_content"
android:text="send notification" />
</RelativeLayout>
notification_Activity.xml:
<?xml version="1.0" encoding="utf-8"?>
<LinearLayout xmlns:android="http://schemas.android.com/apk/res/android"
android:layout_width="match_parent"
android:layout_height="match_parent"
android:orientation="vertical" >
<TextView
android:id="@+id/textView"
android:layout_width="match_parent"
android:layout_height="wrap_content"
android:text="this is notification"
>
</TextView>
</LinearLayout>
二、写class文件:
1、对应于Activity_main的mainActivity;
package com.example.notification;
import android.app.Activity;
import android.app.Notification;
import android.app.NotificationManager;
import android.app.PendingIntent;
import android.content.Context;
import android.content.Intent;
import android.os.Bundle;
import android.view.Menu;
import android.view.View;
import android.widget.Button;
public class MainActivity extends Activity {
private Button button;
@Override
protected void onCreate(Bundle savedInstanceState) {
super.onCreate(savedInstanceState);
setContentView(R.layout.activity_main);
button = (Button)this.findViewById(R.id.button1);
button.setOnClickListener(new View.OnClickListener() {
@Override
public void onClick(View v) {
// TODO Auto-generated method stub
//加载广播第一步,获取NotificationManager对象,通过Context对象的getSystemService()方法获得;
NotificationManager manager = (NotificationManager)
getSystemService(Context.NOTIFICATION_SERVICE);
//创建Notification对象,通过其构造方法获得;
Notification notification = new Notification(R.drawable.image1,
"this is ticker text",System.currentTimeMillis());
//此处创建intent是因为用户点击每条通告后会进入每条通告的详细页面
Intent intent = new Intent(MainActivity.this,notificationActivity.class);
PendingIntent pi = PendingIntent.getActivity(MainActivity.this,
0, intent, PendingIntent.FLAG_CANCEL_CURRENT);
//用notificatiojn设置详细页面的内容
notification.setLatestEventInfo(MainActivity.this,
"this is content title", "this is content text", pi);
//注意此处id值是1,在notificationActivity中销毁的时候传入id值也是1
manager.notify(1,notification);
}
});
}
@Override
public boolean onCreateOptionsMenu(Menu menu) {
// Inflate the menu; this adds items to the action bar if it is present.
getMenuInflater().inflate(R.menu.main, menu);
return true;
}
}
NotificationActivity:
package com.example.notification;
import android.app.Activity;
import android.app.NotificationManager;
import android.content.Context;
import android.os.Bundle;
import android.view.View.OnClickListener;
public class notificationActivity extends Activity {
@Override
protected void onCreate(Bundle savedInstanceState) {
// TODO Auto-generated method stub
super.onCreate(savedInstanceState);
setContentView(R.layout.notification_layout);
NotificationManager manager = (NotificationManager)
getSystemService(Context.NOTIFICATION_SERVICE);
manager.cancel(1);
}
}
三、最后不要忘了在注册文件中注册;
截图示例:


