如何在iOS 8中使用Swift和Xcode 6制作精美的UI组件
译者:CocoaChina翻译小组成员dada(git主页),欢迎加入我们的译者小组([email protected],并注明社区ID、工作状态、电话以及个人博客等任何让我们更了解你的方式)
原文:How to make awesome UI components in iOS 8 using Swift and XCode 6 (原文作者Andrei Puni )
苹果在Xcode 6中加入了两个新的Interface Builder(下文用IB简称)属性声明:IBInspectable和IBDesignable。IBInspectable在IB的Attribute Inspector(属性检查器)中查看类的属性,而IBDesignable能实时更新视图,很厉害吧!
这里用一个简短的[视频教程](得爬墙哦!)说明下怎样使用IBInspectable和IBDesignable。10分钟就能看完所有的步骤。代码在[github]
IBInspectable
以下是我发现的适用于IBInspectable的类型:
下面这些数据都对IBInspectable有效:
Int
CGFloat
Double
String
Bool
CGPoint
CGSize
CGRect
UIColor
UIImage
举个小栗子
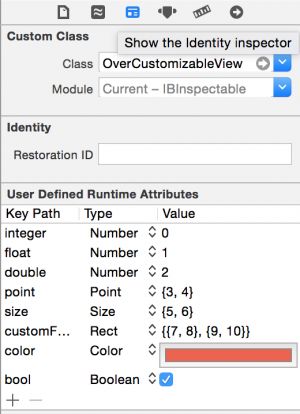
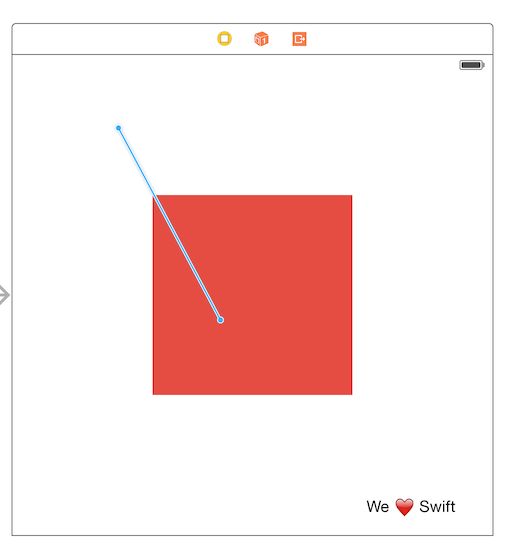
class OverCustomizableView : UIView { @IBInspectable var integer: Int = 0 @IBInspectable var float: CGFloat = 0 @IBInspectable var double: Double = 0 @IBInspectable var point: CGPoint = CGPointZero @IBInspectable var size: CGSize = CGSizeZero @IBInspectable var customFrame: CGRect = CGRectZero @IBInspectable var color: UIColor = UIColor.clearColor() @IBInspectable var string: String = "We ? Swift" @IBInspectable var bool: Bool = false }
在属性检查器的上面是这样:
这一切添加了一些用户定义的运行时属性,这些属性将会在view加载时设置它的初始值。
运行时属性的创建:
IBDesignable
来看个好玩的地方。IBDesignable告诉IB它可以加载并渲染视图。这个视图类必须在一个框架里面才能正常工作。不过这种方式也不会太麻烦,我们下面会看到方法。 我认为IB是隐式地将UIView的代码转换成NSView的代码,这样就能动态地加载框架并渲染组件。
创建新工程
打开Xcode6,创建一个新的“Single Page Application” (单页面应用)并选择Swift作为编程语言。
添加新的Target
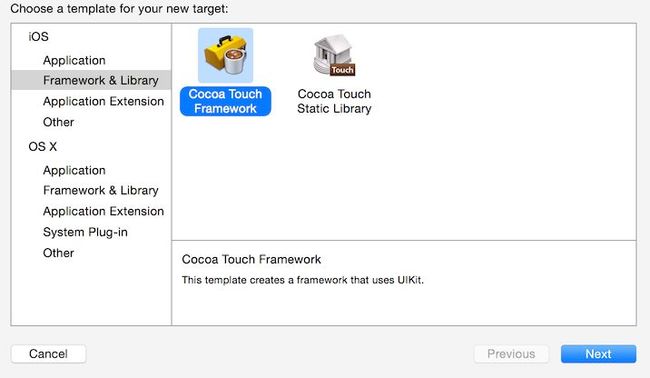
在导航选中工程文件点击“+”按钮添加新的target
选择Framework & Application Library和choose the Cocoa Touch Framework,如图
命名为MyCustomView。Xcode会自动链接MyCustomView.framework到你的工程。
创建自定义视图类
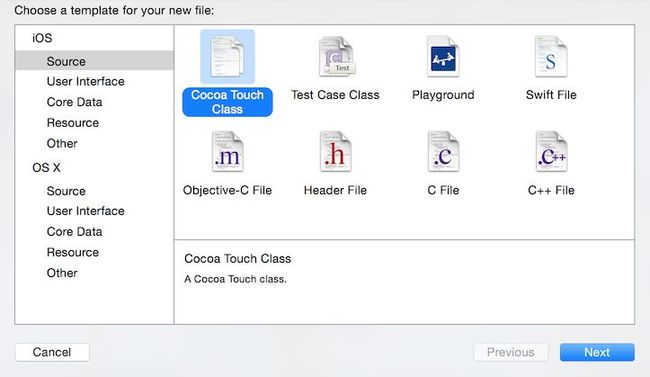
创建一个新的swift文件,并添加到MyCustomView框架里。
右键单击框架的目录。
选择Cocoa Touch文件
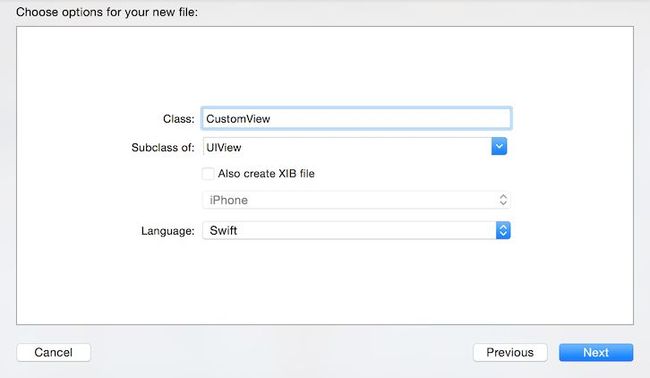
给它命名为CustomView,作为UIView的子视图
CustomView.swift文件里包含:
import UIKit class CustomView: UIView { init(frame: CGRect) { super.init(frame: frame) // Initialization code } /* // Only override drawRect: if you perform custom drawing. // An empty implementation adversely affects performance during animation. override func drawRect(rect: CGRect) { // Drawing code } */ }
移除生成的方法。
import UIKit class CustomView: UIView { }
告诉Xcode用@IBDesignable 关键字来渲染你的视图。
添加三个属性:borderColor: UIColor, borderWidth: CGFloat以及cornerRadius: CGFloat。
设置默认值,并让它们是可检验的:
@IBDesignable class CustomView : UIView { @IBInspectable var borderColor: UIColor = UIColor.clearColor() @IBInspectable var borderWidth: CGFloat = 0 @IBInspectable var cornerRadius: CGFloat = 0 }
为视图层属性添加逻辑
为每个属性添加[property observers](观察者属性),并根据layer更新。
class CustomView : UIView { @IBInspectable var borderColor: UIColor = UIColor.clearColor() { didSet { layer.borderColor = borderColor.CGColor } } @IBInspectable var borderWidth: CGFloat = 0 { didSet { layer.borderWidth = borderWidth } } @IBInspectable var cornerRadius: CGFloat = 0 { didSet { layer.cornerRadius = cornerRadius } } }
按![]() 编译框架
编译框架
测试自定义视图
打开Main.storyboard,从组件库里添加一个视图。
在Identity Inspector里把视图类改成CustomView。
调整视图,如果需要可添加自动布局约束。
Tip:按住![]() 选中视图并拖动鼠标到另一个视图可以添加自动布局约束。
选中视图并拖动鼠标到另一个视图可以添加自动布局约束。
上手玩了一下`cornerRadius`,我发现当添加一些比较大的值时会创建一个有意思的模式。
你可以在github上查看代码

