【v2.x OGE教程 10】BitmapFont工具使用
1. 打开 BitmapFont tool,在红框中输入你要显示的字。

1.写完后保存字体文件

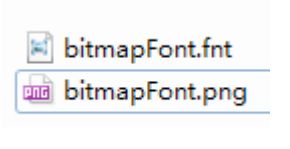
保存后可以得到一个.fnt 和 一个.png 文件
2.使用 TexturePacker 工具将bitmapFont.png转换pvr格式通过Add Sprites把 bitmapFont.png导入,填写好相关文件保存位置和名字。

注意下面红框部分的参数设置,跟下面的截图调成一样...

点击 Publish 就会生成三个文件,其中 bitmapFont.java 不需用到。
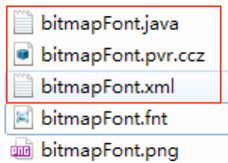
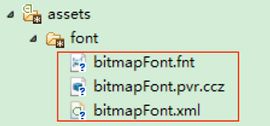
我们把其中的 bitmapFont.pvr.ccz、bitmapFont.xml、bitmapFont.fnt 拷贝到安卓工程的
assets/font 目录下:
3.经过上面的步骤资源已经准备完毕,下面转入代码实现。注意所输入的字必须是之前制作所包含的字,否则无法显示,对于英文来说就是 26 个字母就全了,但是中文就要根据需要制作了。
// 字体
BitmapFont bitmapFont = new BitmapFont(this.getEngine().getTextureManager(),Device.getDevice().getFileManage(),"font/bitmapFont.fnt");
bitmapFont.load();
Text bitmapText = new Text(50, 230, bitmapFont, "Hello World!",
new TextOptions(HorizontalAlign.CENTER), this.getVertexBufferObjectManager());
this.attachChild(bitmapText);
Text bitmapText2 = new Text(50, 300, bitmapFont, "世界你好!",
new TextOptions(HorizontalAlign.CENTER), this.getVertexBufferObjectManager());
this.attachChild(bitmapText2);