zabbix2.0.3安装
服务器环境准备
最小化安装系统Centos 5.4 x64
通过yum下载安装包,建立LAMP环境:#yum install mysql-server httpd php
下载其他的安装包:#yum install mysql-devel gcc net-snmp-devel curl-devel perl-DBI php-gd php-mysql php-bcmath php-mbstring php-xml
数据库准备
启动数据库:#service mysqld start
修改数据库root密码为root(原密码为空):#mysqladmin –u root -p password root
创建zabbix用户
[root@localhost sbin]# groupadd zabbix
[root@localhost sbin]# useradd -g zabbix -M zabbix
下载zabbix包
www.zabbix.com下载
cd /data/tools
[root@localhost tools]# mkdir zabbix
wget http://www.zabbix.com/downloads/2.0.0/zabbix_agents_2.0.0.linux2_6.amd64.tar.gz agents包下载
wget http://nchc.dl.sourceforge.net/project/zabbix/ZABBIX%20Latest%20Stable/2.0.2/zabbix-2.0.2.tar.gz zabbix主程序包下载
[root@localhost zabbix]# tar zxf zabbix-2.0.2.tar.gz
安装zabbix
[root@localhost zabbix]# cd zabbix-2.0.2
[root@localhost zabbix-2.0.2]# ./configure --with-mysql --with-net-snmp --with-libcurl --enable-server --enable-agent --enable-proxy --prefix=/usr/local/zabbix
有显示:
***********************************************************
* Now run 'make install' *
* *
* Thank you for using Zabbix! *
* <http://www.zabbix.com> *
***********************************************************
#说明成功
[root@localhost zabbix-2.0.2]# make install
[root@localhost zabbix-2.0.2]# echo $?
0
启动服务
[root@localhost zabbix]# cd sbin/
[root@localhost sbin]# ./zabbix_server
[root@localhost sbin]# service httpd start
[root@localhost sbin]# chkconfig --level 3 httpd on
[root@localhost sbin]# chkconfig --level 3 mysqld on
[root@localhost sbin]# service mysqld start
[root@localhost sbin]# ./zabbix_agent
[root@localhost sbin]# ./zabbix_proxy
配置apache中的zabbix项目
[root@localhost zabbix]# cd /data/tools/zabbix/zabbix-2.0.2/
[root@localhost zabbix-2.0.2]# cd frontends/
[root@localhost frontends]# mv php/ /var/www/html/zabbix
[root@localhost frontends]# chown -R zabbix:zabbix /var/www/html/zabbix/
配置php
[root@localhost frontends]# vi /etc/php.ini
max_execution_time = 300
max_input_time = 300
memory_limit = 128M
#在初始配置时,会有提示。
重启apache
[root@localhost sbin]# service httpd restart
配置mysql
mysql> update user set passwork=password('123456') where user='root';
mysql> create database zabbix character set utf8;
grant ALL on zabbix.* to zabbix@'%' identified by '123456';
mysql> flush privileges;
mysql> exit
#给zabbix库导入数据(数据导入时有先后顺序)
[root@localhost conf]# cd /data/tools/zabbix-2.0.2/
[root@localhost zabbix-2.0.2]# cd database/mysql/
[root@localhost mysql]# mysql -h localhost -uroot -p'123456' zabbix <schema.sql
[root@localhost mysql]# mysql -h localhost -uroot -p'123456' zabbix <images.sql
[root@localhost mysql]# mysql -h localhost -uroot -p'123456' zabbix <data.sql
WEB访问:
http://192.168.48.133/zabbix/
进入初始配置向导:
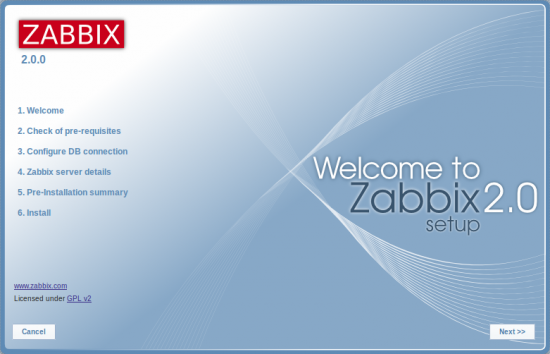
步骤1
You should see the first screen of the frontend installation wizard.
您应该看到的第一个屏幕前端安装向导。
步骤2:
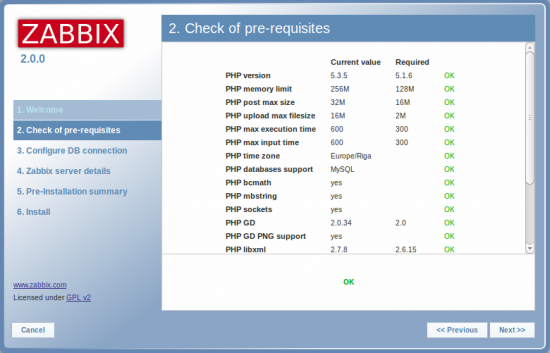
Make sure that all software prerequisites are met.
确保所有软件先决条件得到满足。
步骤3:
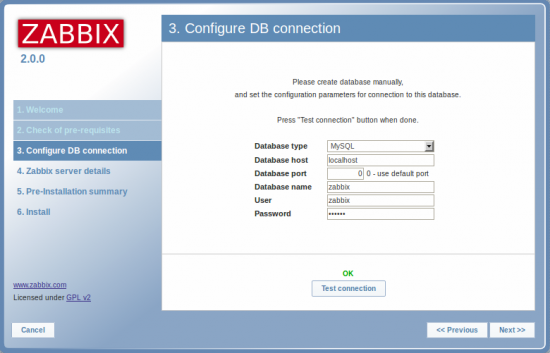
Enter details for connecting to the database. Zabbix database must already be created.
输入连接数据库的详细信息。Zabbix数据库必须已经被创建。
步骤4:
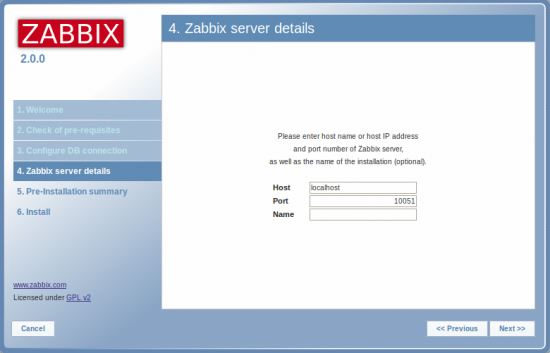
Enter Zabbix server details.
输入Zabbix服务器的细节。
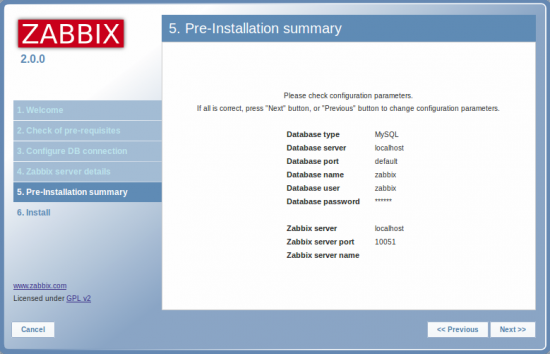
步骤5:
Review a summary of settings.
回顾总结设置。
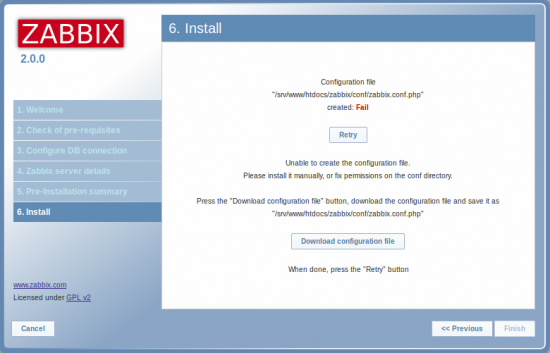
步骤6:
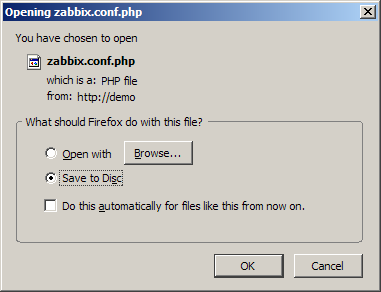
Download the configuration file and place it under conf/.
下载配置文件,并将其置于conf /。
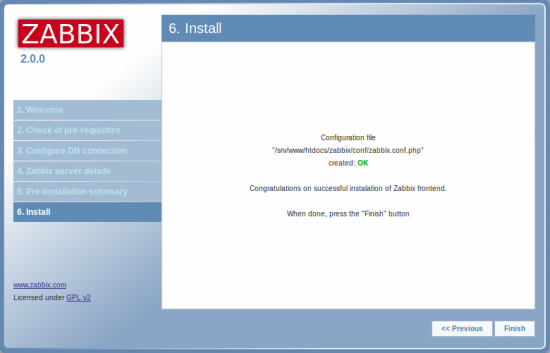
步骤7:
Finish the installation.
完成安装。
步骤8:
Zabbix frontend is ready! The default user name is Admin, password zabbix.
Zabbix前端是准备好了!默认的用户名是Admin,密码zabbix。
