Microsoft Azure部署MYSQL-MMM(3)配置MYSQL-MMM
(3)安装配置MYSQL-MMM
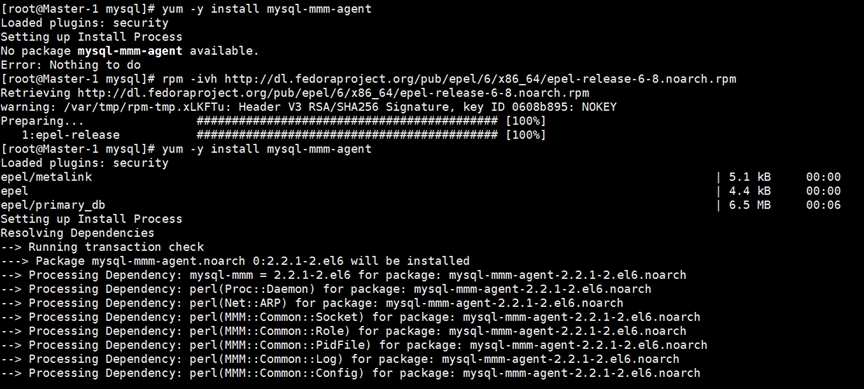
在db1、db2、db3安装MMM所需要的Perl模块(所有服务器)执行该脚本,然后 yum -y install mysql-mmm-agent来安装MMM :
# rpm -ivh http://dl.fedoraproject.org/pub/epel/6/x86_64/epel-release-6-8.noarch.rpm
# yum -y install mysql-mmm-agent

在Monitor节点安装mysql-mmm-monitor
# yum -y install mysql-mmm-monitor*
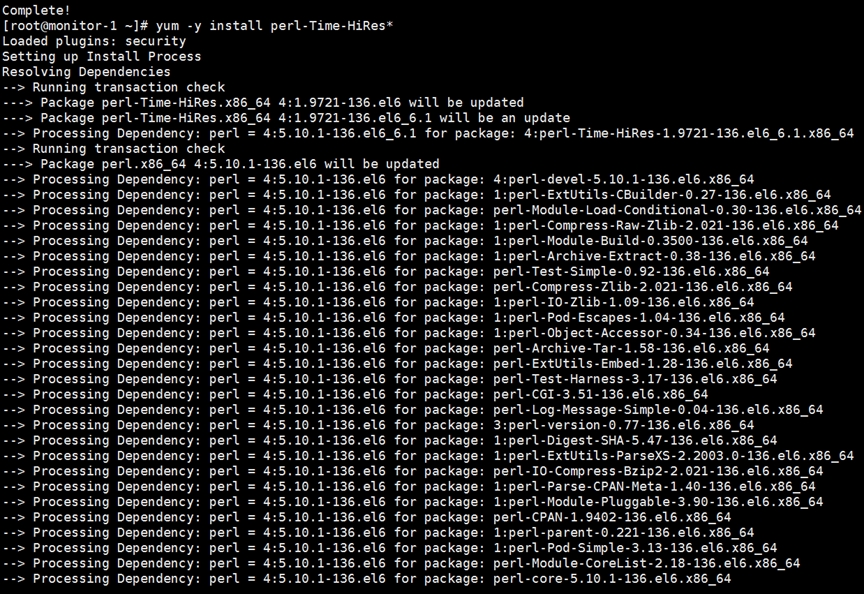
# yum -y install perl-Time-HiRes*

编译DB1上的mmm_common.conf配置agent:
# sudo vim /etc/mysql-mmm/mmm_common.conf
active_master_role writer
<host default>
cluster_interface eth0
pid_path /var/run/mysql-mmm/mmm_agentd.pid
bin_path /usr/libexec/mysql-mmm/
replication_user replication
replication_password replication
agent_user mmm_agent
agent_password agent
</host>
<host db1>
ip 10.0.0.4
mode master
peer db2
</host>
<host db2>
ip 10.0.0.5
mode master
peer db1
</host>
<host db3>
ip 10.0.0.7
mode slave
</host>
<role writer>
hosts db1, db2
ips 10.0.0.100
mode exclusive
</role>
<role reader>
hosts db2, db3
ips 10.0.0.80, 10.0.0.90
mode balanced
其中 replication_user 用于检查复制的用户, agent_user 为agent的用户, mode 标明是否为主或者备选主,或者从库。 mode exclusive 主为独占模式,同一时刻只能有一个主, <role write> 中hosts表示目前的主库和备选主的真实主机ip或者主机名, ips 为对外提供的虚拟机ip地址,<role readr> 中hosts代表从库真实的ip和主机名, ips 代表从库的虚拟ip地址。
完成编译后通过scp复制到db2、db3、monitor节点:
# scp /etc/mysql-mmm/mmm_common.conf 10.0.0.5:/etc/mysql-mmm/
# scp /etc/mysql-mmm/mmm_common.conf 10.0.0.7:/etc/mysql-mmm/
# scp /etc/mysql-mmm/mmm_common.conf 10.0.0.6:/etc/mysql-mmm/

分别在db1,db2,db3三台主机的/etc/mysql-mmm配置mmm_agent.conf文件,分别用不同的字符标识,注意这三台机器的this db1这块要想,比如本环境中,db1要配置this db1,db2要配置为this db2,而db3要配置为this db3。
# sudo vim /etc/mysql-mmm/mmm_agent.conf

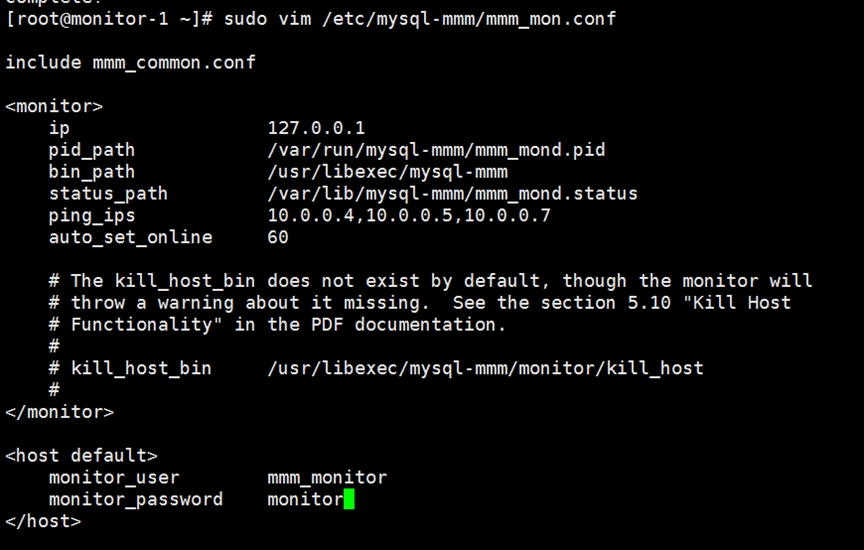
在monitor节点编译monitor配置文件,添加ping_ips中的内容
# sudo vim /etc/mysql-mmm/mmm_mon.conf

在db1、db2、db3启动agent服务
# service mysql-mmm-agent start

在monitor启动monitor服务
<span style="color:black; font-size:10pt