RedHat 5.6_x86_64 + ASM + RAW+ Oracle 10g RAC (四)
六、升级cluster软件
解压数据库补丁p8202632_10205_Linux-x86-64.zip,进入Disk1目录中执行./runInstaller

next

选择集群软件安装目录点击next
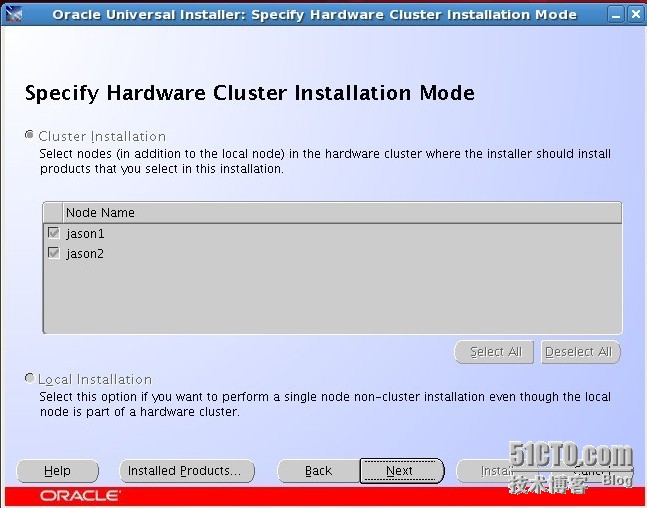
选中cluster installation进行下一步
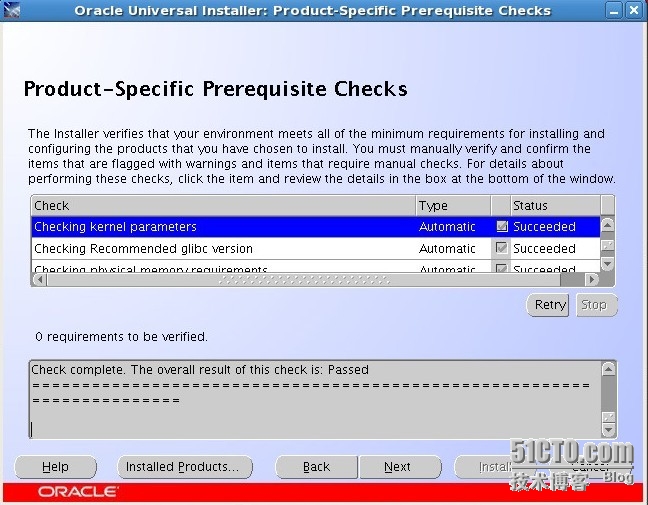
检测无任何报错后点击next
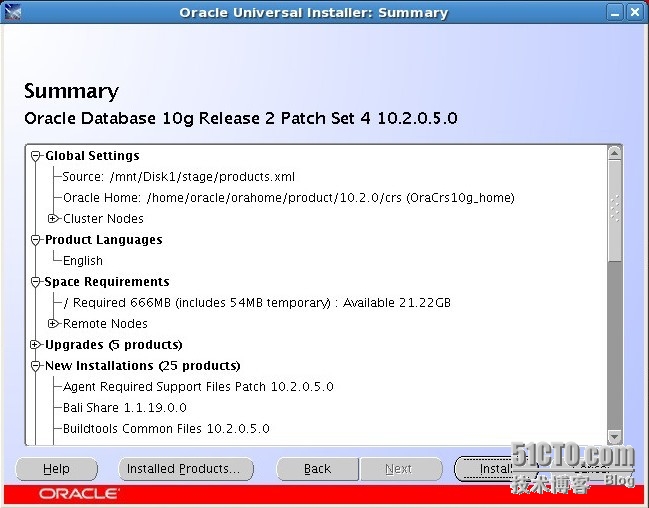
点击install开始安装
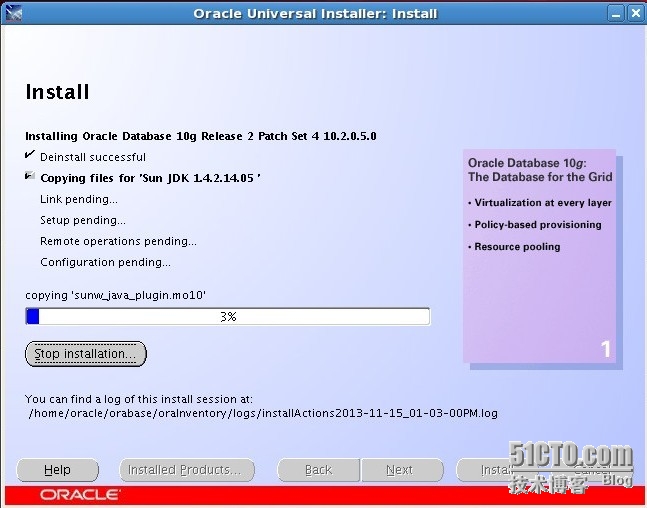
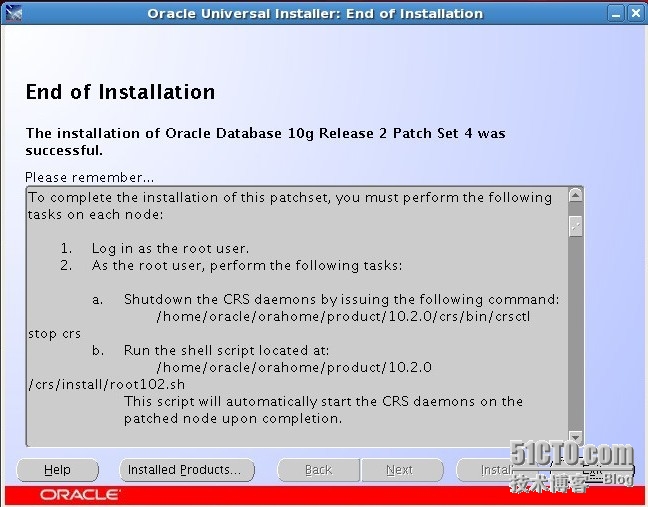
根据上图信息提示分别在jason1、jason2主机执行以上操作后点击exit结束安装。
主机JASON1
[root@jason1 bin]# ./crsctl stop crs
Stopping resources.
Successfully stopped CRS resources
Stopping CSSD.
Shutting down CSS daemon.
Shutdown request successfully issued.
[root@jason1 bin]# cd ../install
[root@jason1 install]# ./root102.sh
Creating pre-patch directory for savingpre-patch clusterware files
Completed patching clusterware files to/home/oracle/orahome/product/10.2.0/crs
Relinking some shared libraries.
Relinking of patched files is complete.
WARNING: directory '/home/oracle/orahome/product/10.2.0'is not owned by root
WARNING: directory'/home/oracle/orahome/product' is not owned by root
WARNING: directory '/home/oracle/orahome' isnot owned by root
WARNING: directory '/home/oracle' is notowned by root
Preparing to recopy patched init and RCscripts.
Recopying init and RC scripts.
Startup will be queued to init within 30seconds.
Starting up the CRS daemons.
Waiting for the patched CRS daemons to start.
Thismay take a while on some systems.
10205 patch successfully applied.
clscfg: EXISTING configuration version 3detected.
clscfg: version 3 is 10G Release 2.
Successfully deleted 1 values from OCR.
Successfully deleted 1 keys from OCR.
Successfully accumulated necessary OCR keys.
Using ports: CSS=49895 CRS=49896 EVMC=49898and EVMR=49897.
node <nodenumber>: <nodename><private interconnect name> <hostname>
node 1: jason1 jason1-priv jason1
Creating OCR keys for user 'root', privgrp'root'..
Operation successful.
clscfg -upgrade completed successfully
Creating '/home/oracle/orahome/product/10.2.0/crs/install/paramfile.crs'with data used for CRS configuration
Setting CRS configuration values in/home/oracle/orahome/product/10.2.0/crs/install/paramfile.crs
[root@jason1 install]#
主机JASON2
[root@jason2 bin]# ./crsctl stop crs
Stopping resources.
Successfully stopped CRS resources
Stopping CSSD.
Shutting down CSS daemon.
Shutdown request successfully issued.
[root@jason2 bin]# cd ../install
[root@jason2 install]# ./root102.sh
Creating pre-patch directory for saving pre-patchclusterware files
Completed patching clusterware files to/home/oracle/orahome/product/10.2.0/crs
Relinking some shared libraries.
Relinking of patched files is complete.
WARNING: directory '/home/oracle/orahome/product/10.2.0'is not owned by root
WARNING: directory '/home/oracle/orahome/product' is notowned by root
WARNING: directory '/home/oracle/orahome' is not ownedby root
WARNING: directory '/home/oracle' is not owned by root
Preparing to recopy patched init and RC scripts.
Recopying init and RC scripts.
Startup will be queued to init within 30 seconds.
Starting up the CRS daemons.
Waiting for the patched CRS daemons to start.
This may take awhile on some systems.
10205 patch successfully applied.
clscfg: EXISTING configuration version 3 detected.
clscfg: version 3 is 10G Release 2.
Successfully deleted 1 values from OCR.
Successfully deleted 1 keys from OCR.
Successfully accumulated necessary OCR keys.
Using ports: CSS=49895 CRS=49896 EVMC=49898 andEVMR=49897.
node <nodenumber>: <nodename> <privateinterconnect name> <hostname>
node 2: jason2 jason2-priv jason2
Creating OCR keys for user 'root', privgrp 'root'..
Operation successful.
clscfg -upgrade completed successfully
Creating '/home/oracle/orahome/product/10.2.0/crs/install/paramfile.crs'with data used for CRS configuration
Setting CRS configuration values in/home/oracle/orahome/product/10.2.0/crs/install/paramfile.crs
[root@jason2 install]#
七、升级数据库软件
解压数据库补丁p8202632_10205_Linux-x86-64.zip,进入Disk1目录中执行./runInstaller

next

选择数据库安装目录点击下一步

去掉复选框,点击next。
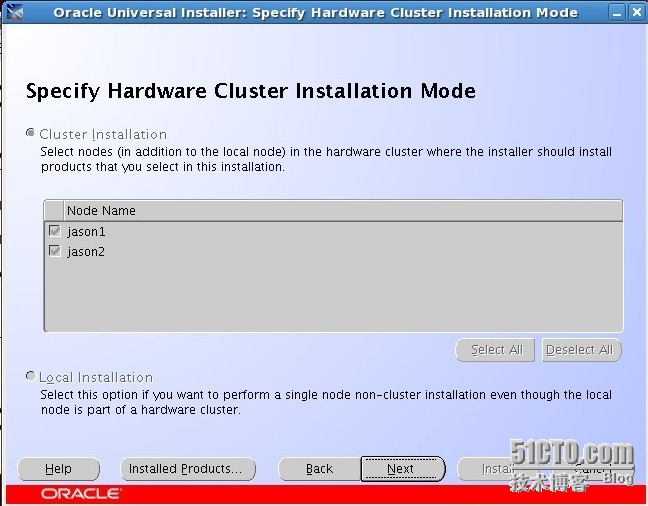
选择所有主机,点击next。
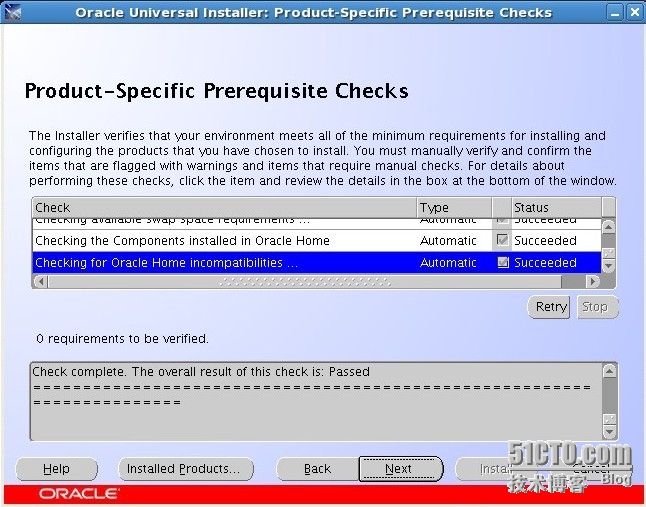
检测无任何错误后点击next
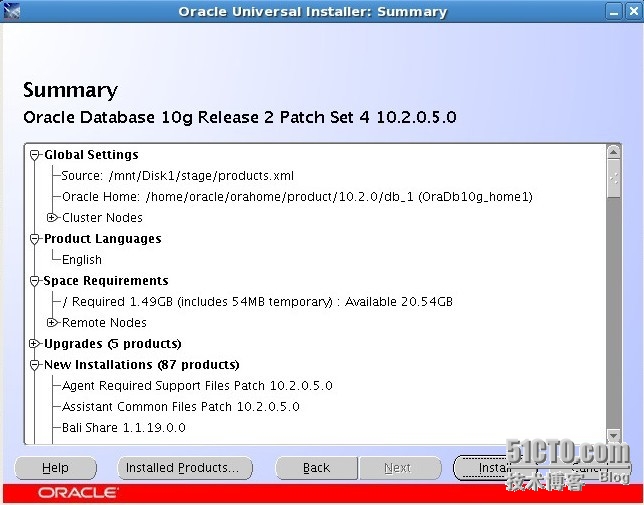
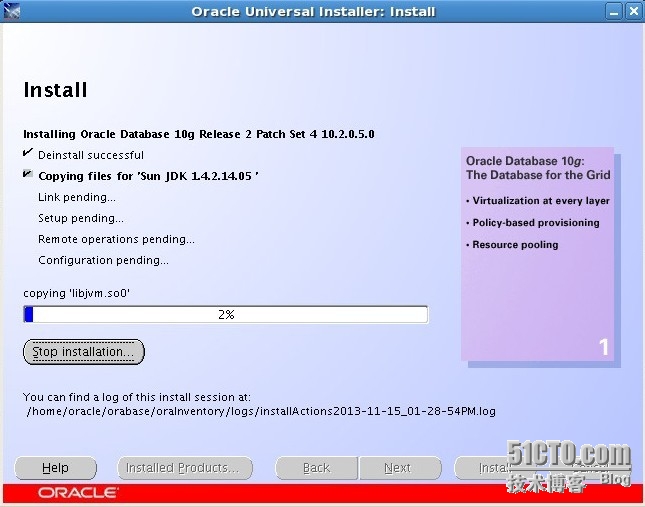
点击install,开始安装。
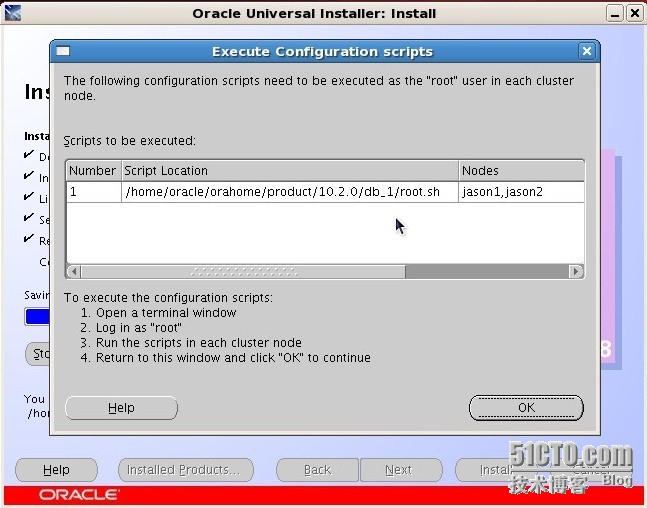
根据以上提示分别在主机jason1与jason2执行以上脚本之后,返回点击ok完成安装。