Python+Nginx实现邮件POP、IMAP、SMTP代理配置介绍
Python+Nginx实现邮件POP、IMAP、SMTP代理配置介绍
说到Python,大家都知道,是在运维方面的管理人员需要掌握的一门技术,为什么这么说呢?在运维方面Python开发语言应用比较广,以致可以帮助管理员提高工作效率,具体我就不多少了,接着我们说说邮件代理,因为公司的邮箱系统是使用是IBM的Domino Lotus服务,如果对Lotus了解的都知道,Lotus是文件数据库类型的服务器类型,用户的所有邮箱数据库都是独立的xxx.nsf,而通过数据库模板xxx.ntf进行创建或者定时刷新数据,来保证数据库的额稳定性。而当用户数量多的话,就需要创建多台邮件服务器来承载用户访问了,那问题又来了,当有多台服务器的时候,不同的用户是创建在不同的服务器上的,这样一来不同的用户需要通过不同的服务器地址进行访问,这样对于管理员来说就不太方便管理,当然我们也有办法来解决虽然有多台不同的服务器,我们也可以使用带来将用户的访问信息通过代理服务器进行同一绑定访问。那什么代理可以做呢?我们在之前的文章中有介绍,是通过Perditon服务进行代理的,通过长期的研究,发现我们可以通过另外一种方法来实现同样的效果,那就是通过开发语言+Nginx进行配合实现代理POP、IMAP、SMTP的服务,以致让用户的访问域名进行统一。我们刚才有提到Nginx,我们大家都知道Nginx其实跟Apache类似,是一个web服务,而我们通过开发语言及Nginx是怎么实现的呢?其大概原理为:
获取Nginx的Http Requerst Header的用户和密码,然后通过开发程序连接到Domino的Ldap验证用户和密码的有效性,如果账户及密码有效,那就从Ldap中获取用户所在的服务器(Mailserver),然后将Auth-Status,Auth-Server,Auth-Port,添加到Http Response的Header中,具体还需要大家去官网查看详细说明,我们今天的介绍是Python+Nginx实现POP、IMAP、SMTP代理配置介绍,下一篇我们介绍Java+Nginx 实现POP、IMAP、SMTP代理配置介绍:具体见下:
我们在此安装了一台Centos7的操作系统,具体安装步骤就跳过了,
服务器配置信息:
Hostname:proxy.abc.com
IP:192.168.2.163
Role:Proxy Server
为我们首先是需要对新安装的操作系统进行配置修改;
Systemctl stop firewalld.service 停止防火墙服务
Systemctl disable firewalld.service 禁用防火墙随机启动
关闭selinux
Vim /etc/selinux/config
Setenforce 1 ==disabled
同时关闭不用的服务
Systemctl stop postfix 关闭系统自带的postfix邮箱服务
Systemctl disable postfix 禁用系统自带的postfix邮件服务
如果不禁用带系统在nginx下配置了SMTP的配置,nginx将会无法正常启动,会提示错误,错误的原意你是由于25端口已经被占用

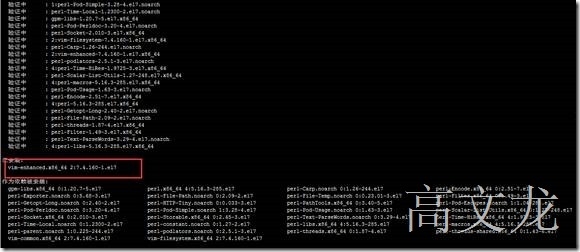
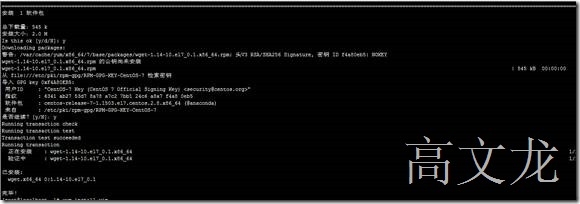
个人习惯性的为了方便安装vim及wget插件:
Yum install vim
Yum install wget
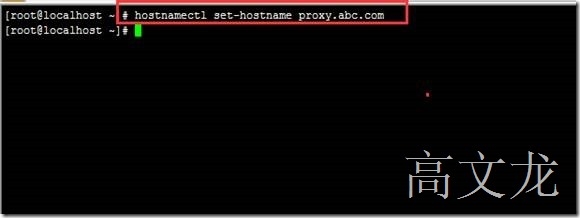
然后修改计算机名
Hostnamectl set-hostname proxy.abc.com
reboot后即可看见修改后的计算机名
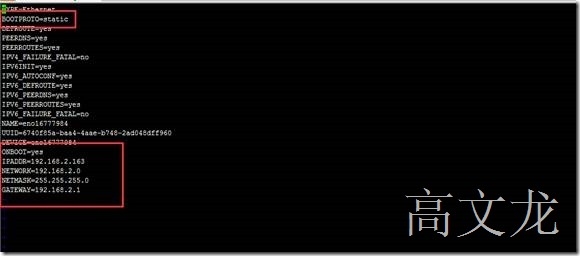
然后修改静态ip:
vim/etc/sysconfig/network-scripts/ifcfg-eno16777984
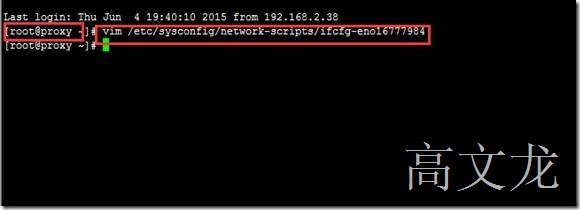
Vim /etc/sysconfig/network-script/ifcfg-eno16777984
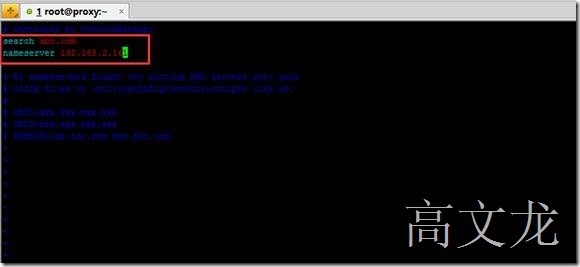
修改dns
Vim /etc/reolv.conf
然后我们ping www.baidu.com解析及正常出网是否正常

环境准备好后,我们就准备开始安装nginx了
在准备安装nginx之前,我们需要先通过命令确认系统本身是否自带了nginx,如果自带了,我们需要卸载之后安装最新的
Rpm -qa | grep nginx
Find -name nginx

系统没有自带nginx,那接下来我们就开始通过yum 来安装nginx
Yum install nginx

我们发现提示没有在线的安装包,所以我们需要先安装yum资源库,将nginx添加到yum资源舱中
Yum install
http://nginx.org/packages/centos/7/noarch/RPMS/
nginx-release-centos-7-0.el7.ngx.noarch.rpm
两种方式都可以,我选择下面的一种,上面的是官网的repo
Yum install
http://dl.fedoraproject.org/pub/epel/7/x86_64/e/
epel-release-7-5.noarch.rpm
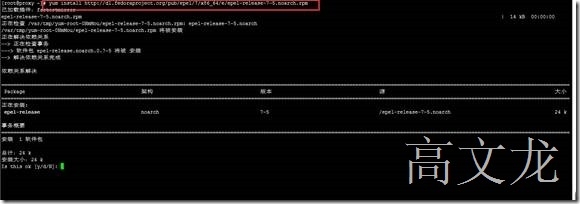
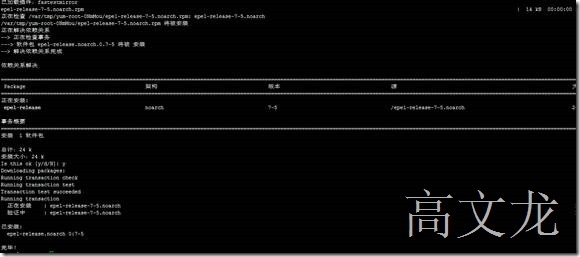
repo仓库安装好后,我们就开始安装nginx了
Yum install nginx
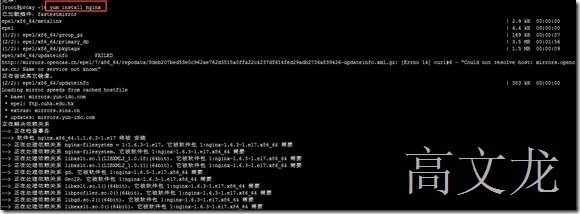
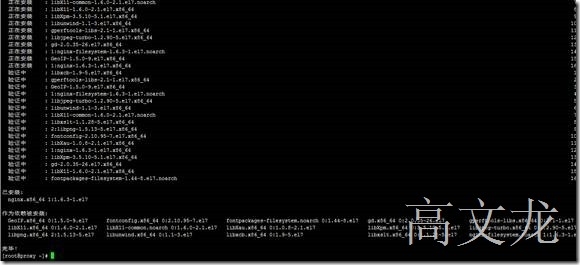
接下来查看安装默认路径
/etc/nginx/nginx.conf
Find -name nginx
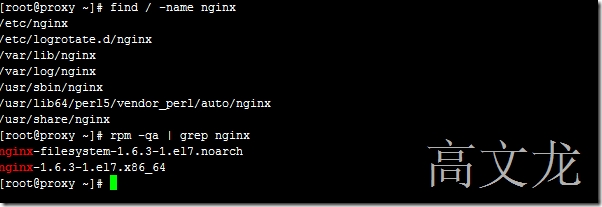
接下来我们要配置nginx的配置文件
Vim /etc/nginx/nginx.conf
默认配置文件

我们为了方便需要将该配置文件内的内容全部清空,使用以下命令来完成
Echo >/etc/nginx/nginx.conf
清空nginx.conf内的内容
![]()

然后再次编辑该配置文件
Vim /etc/nginx/nginx.conf 添加以下代码,然后根据自己的环境修改代码内容保存即可
user nginx;
worker_processes 4;
pid /var/run/nginx.pid;
events {
worker_connections 1024;
}
error_log /var/log/nginx/error.log info;
mail {
server_name proxy.test.com;
auth_http http://localhost:8000/auth/;
imap_capabilities IMAP4rev1 UIDPLUS IDLE LITERAL+ QUOTA;
pop3_auth plain apop cram-md5;
pop3_capabilities LAST TOP USER PIPELINING UIDL;
smtp_auth login plain cram-md5;
smtp_capabilities "SIZE 10485760" ENHANCEDSTATUSCODES 8BITMIME DSN;
xclient off;
server {
listen 110;
protocol pop3;
proxy on;
proxy_pass_error_message on;
}
server {
listen 143;
protocol imap;
proxy on;
}
server {
listen 25;
protocol smtp;
proxy on;
}
}
粘贴保存
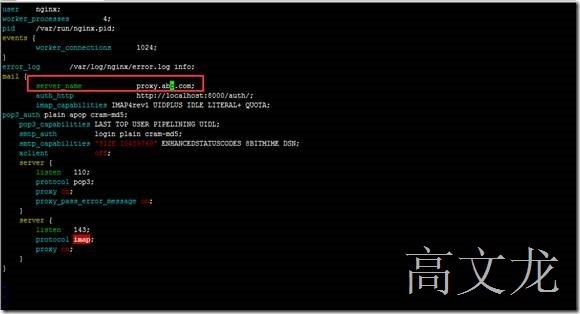
接下来设置nginx服务
Systemctl enable nginx.service nginx服务开启随机启动
Systemctl start nginx.service  nginx服务启动
Systemctl status nginx.service nginx服务运行状态
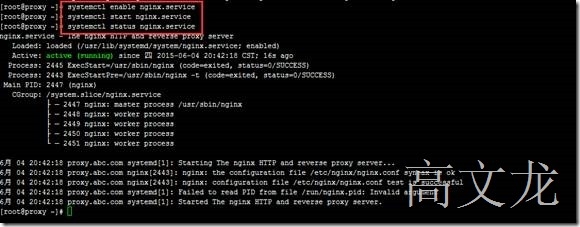
接下来我们查看运行端口状态
Netstat -anlpt 提示未找到命令

我们需要安装netstatl 的相关工具
Yum install �Cy net-tools
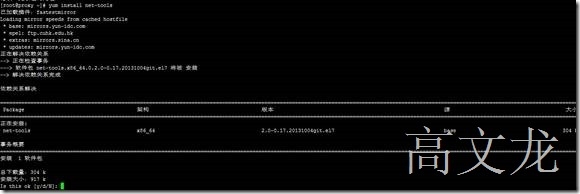

安装完成后,我们就可以运行
netstat -anlpt
查看端口状态了

接下来就是安装python了
Python install的方式
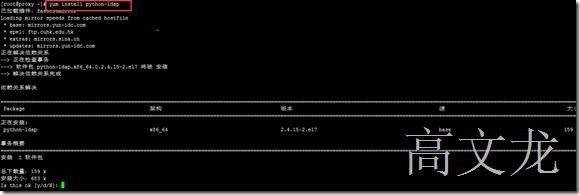
Yum install python-ldap

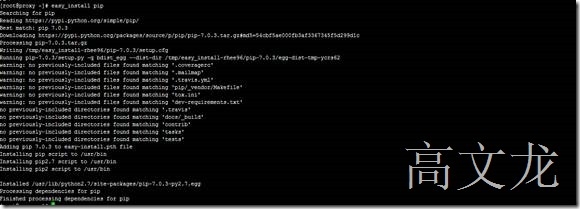
Easy_install pip
Pip install Django

Django-admin startproject mailauth
![]()
Cd mailauth
Ls
Django-admin startapp mauth

Vim mailauth/setting.py
![]()
添加一行 'mauth'
, 然后保存退出

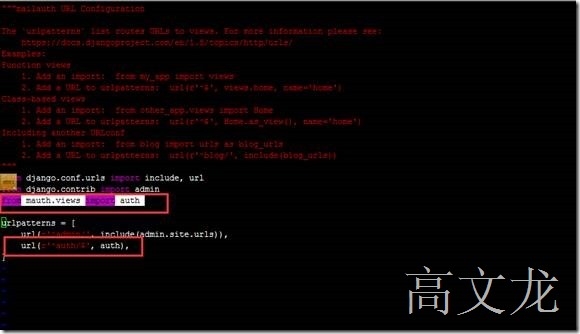
Vim mailauth/urls.py
![]()
添加一行url 然后保存退出
From mauth.views import auth
url(r'^auth/$', auth),
Vim mauth/views.py
![]()
粘贴以下代码(根据自己的环境进行修改)
from django.shortcuts import render
from django.http import HttpResponse
import ldap
import socket
class DoLdapAct(object):
def __init__(self):
try:
user = request.META['HTTP_AUTH_USER']
password = request.META['HTTP_AUTH_PASS']
except KeyError:
response.write('user and pass Failuer')
return response
r_dict = dla.get_auth_server(user, password)
if r_dict['status']:
response['Auth-Status'] = 'OK'
response['Auth-Server'] = r_dict['server']
if request.META['HTTP_AUTH_PROTOCOL'] == 'imap':
response['Auth-Port'] = 143
elif request.META['HTTP_AUTH_PROTOCOL'] == 'pop3':
response['Auth-Port'] = 110
response.write('OK')
print('OK')
return response
else:
response['Auth-Status'] = 'Invalid login or password'
response['Auth-Wait'] = 3
response.write('Failure')
return response
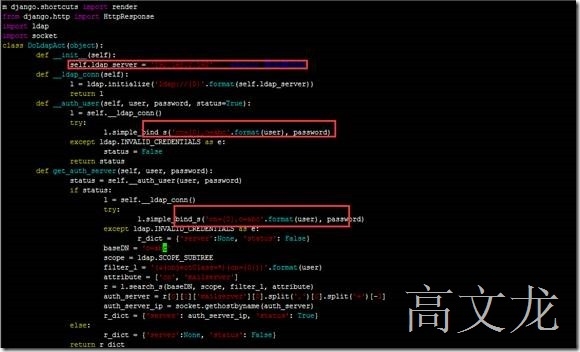
添加保存后,我们需要启动python服务
Cd /root/mailauth
./manage.py runserver 0.0.0.0:8000 启动服务

然后我们修改hosts文件
Vim /etc/hosts
添加domino解析地址
192.168.6.162 mail

我们同样在dns上添加一条关于proxy的解析地址,因为linux不会再dns上自动创建dns记录

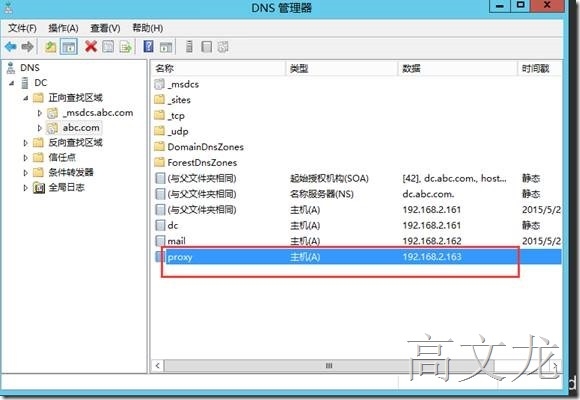
添加后,我们就可以开始测试了
我们在domino上创建一个测试用户进行测试
Username :testuser password:123
curl -i -H 'Auth-User: testuser' -H 'Auth-Pass: 123' -H 'Auth-Protocol: pop3' http://192.168.2.163:8000/auth/


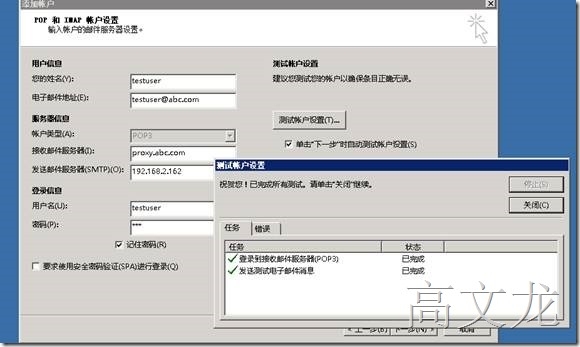
我们通过配置Outlook进行测试,通过
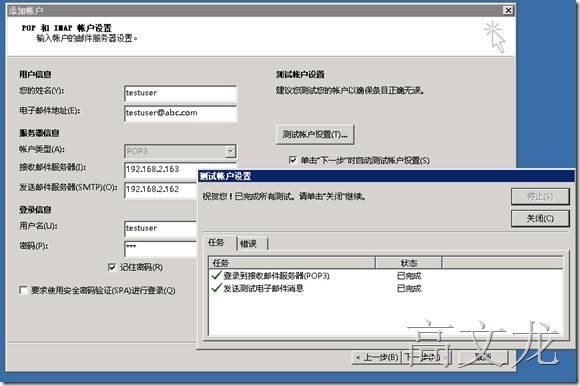
通过域名也测试通过
注:附件的格式为.7z格式,需要修改扩展名