KVM - centos 下安装
硬件:笔记本
软件:centos6.5 64位系统,kvm
做这个实验,需要我们的cpu支持虚拟化,有的机器支持但是并未在bios开启,这个需要事先开启。
1. vmware安装centos6.6 64位 (略)
其中有几个注意的地方:
a. 内存给2g
b. 磁盘给50g, 或者再单独分一个磁盘,用来存储虚拟机文件
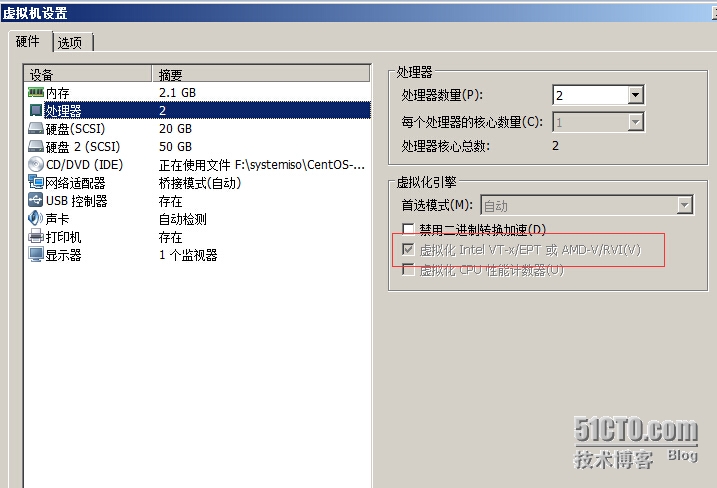
c. 最关键的一步,在创建虚拟机时,cpu是需要配置一下虚拟化的如图
2. 安装kvm前的准备工作
a. 清除iptables规则
service iptables stop; service iptables save
b. 关闭selinux
sed -i 's/SELINUX=enforcing/SELINUX=disabled/' /etc/selinux/config
setenforce 0
3. 开始安装kvm
a. 检查你的系统是否支持虚拟化
grep -Ei 'vmx|svm' /proc/cpuinfo
如果有输出内容,则支持,其中intel cpu支持会有vmx,amd cpu支持会有svm b. 通过yum安装虚拟化的软件包
yum install -y kvm virt-* libvirt bridge-utils qemu-img
说明:
kvm:软件包中含有KVM内核模块,它在默认linux内核中提供kvm管理程序
libvirts:安装虚拟机管理工具,使用virsh等命令来管理和控制虚拟机。
bridge-utils:设置网络网卡桥接。
virt-*:创建、克隆虚拟机命令,以及图形化管理工具virt-manager
qemu-img:安装qemu组件,使用qemu命令来创建磁盘等。
c. 检查kvm模块是否加载
lsmod |grep kvm
正常应该是:
kvm_intel 55496 3
kvm 337772 1 kvm_intel

如果没有,需要执行
modprobe kvm-intel
还没有就重启一下试试
d. 配置网卡
cd /etc/sysconfig/network-scripts/
cp ifcfg-eth0 ifcfg-br0
分别编辑eth0和br0
ifcfg-eth0改成如下:
DEVICE=eth0
HWADDR=00:0C:29:55:A7:0A
TYPE=Ethernet
UUID=2be47d79-2a68-4b65-a9ce-6a2df93759c6
ONBOOT=yes
NM_CONTROLLED=yes
BOOTPROTO=none
BRIDGE=br0
ifcfg-br0改成如下:
DEVICE=br0
#HWADDR=00:0C:29:55:A7:0A
TYPE=Bridge
#UUID=2be47d79-2a68-4b65-a9ce-6a2df93759c6
ONBOOT=yes
NM_CONTROLLED=yes
BOOTPROTO=static
IPADDR=192.168.11.17
NETMASK=255.255.255.0
GATEWAY=192.168.11.1
DNS1=202.106.0.20
我的:
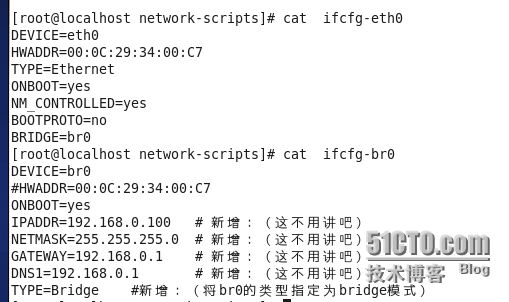
说明: 我的虚拟机是桥接模式,所以设置br0的ip和我的真机同样的网段,包括网关也是我路由器的ip,大家可以根据自己的环境去配置,目的是为了让虚拟机可以上网。
/etc/init.d/network restart
查看网卡如下:
br0 Link encap:Ethernet HWaddr 00:0C:29:55:A7:0A
inet addr:192.168.11.17 Bcast:192.168.11.255 Mask:255.255.255.0
inet6 addr: fe80::20c:29ff:fe55:a70a/64 Scope:Link
UP BROADCAST RUNNING MULTICAST MTU:1500 Metric:1
RX packets:141326 errors:0 dropped:0 overruns:0 frame:0
TX packets:90931 errors:0 dropped:0 overruns:0 carrier:0
collisions:0 txqueuelen:0
RX bytes:456024940 (434.8 MiB) TX bytes:10933593 (10.4 MiB)
eth0 Link encap:Ethernet HWaddr 00:0C:29:55:A7:0A
inet6 addr: fe80::20c:29ff:fe55:a70a/64 Scope:Link
UP BROADCAST RUNNING MULTICAST MTU:1500 Metric:1
RX packets:341978 errors:0 dropped:0 overruns:0 frame:0
TX packets:90946 errors:0 dropped:0 overruns:0 carrier:0
collisions:0 txqueuelen:1000
RX bytes:468848861 (447.1 MiB) TX bytes:10934699 (10.4 MiB)
lo Link encap:Local Loopback
inet addr:127.0.0.1 Mask:255.0.0.0
inet6 addr: ::1/128 Scope:Host
UP LOOPBACK RUNNING MTU:65536 Metric:1
RX packets:0 errors:0 dropped:0 overruns:0 frame:0
TX packets:0 errors:0 dropped:0 overruns:0 carrier:0
collisions:0 txqueuelen:0
RX bytes:0 (0.0 b) TX bytes:0 (0.0 b)
virbr0 Link encap:Ethernet HWaddr 52:54:00:14:EF:D5
inet addr:192.168.122.1 Bcast:192.168.122.255 Mask:255.255.255.0
UP BROADCAST RUNNING MULTICAST MTU:1500 Metric:1
RX packets:0 errors:0 dropped:0 overruns:0 frame:0
TX packets:0 errors:0 dropped:0 overruns:0 carrier:0
collisions:0 txqueuelen:0
RX bytes:0 (0.0 b) TX bytes:0 (0.0 b)
[root@localhost network-scripts]# ifconfig
br0 Link encap:Ethernet HWaddr 00:0C:29:34:00:C7
inet addr:192.168.0.100 Bcast:192.168.0.255 Mask:255.255.255.0
inet6 addr: fe80::20c:29ff:fe34:c7/64 Scope:Link
UP BROADCAST RUNNING MULTICAST MTU:1500 Metric:1
RX packets:548 errors:0 dropped:0 overruns:0 frame:0
TX packets:97 errors:0 dropped:0 overruns:0 carrier:0
collisions:0 txqueuelen:0
RX bytes:44452 (43.4 KiB) TX bytes:5905 (5.7 KiB)
eth0 Link encap:Ethernet HWaddr 00:0C:29:34:00:C7
UP BROADCAST RUNNING MULTICAST MTU:1500 Metric:1
RX packets:158088 errors:0 dropped:0 overruns:0 frame:0
TX packets:357 errors:0 dropped:0 overruns:0 carrier:0
collisions:0 txqueuelen:1000
RX bytes:175432134 (167.3 MiB) TX bytes:32265 (31.5 KiB)
lo Link encap:Local Loopback
inet addr:127.0.0.1 Mask:255.0.0.0
inet6 addr: ::1/128 Scope:Host
UP LOOPBACK RUNNING MTU:65536 Metric:1
RX packets:54 errors:0 dropped:0 overruns:0 frame:0
TX packets:54 errors:0 dropped:0 overruns:0 carrier:0
collisions:0 txqueuelen:0
RX bytes:4256 (4.1 KiB) TX bytes:4256 (4.1 KiB)
pan0 Link encap:Ethernet HWaddr 6E:99:EF:24:37:7E
inet6 addr: fe80::6c99:efff:fe24:377e/64 Scope:Link
UP BROADCAST RUNNING MULTICAST MTU:1500 Metric:1
RX packets:0 errors:0 dropped:0 overruns:0 frame:0
TX packets:116 errors:0 dropped:0 overruns:0 carrier:0
collisions:0 txqueuelen:0
RX bytes:0 (0.0 b) TX bytes:38088 (37.1 KiB)
virbr0 Link encap:Ethernet HWaddr 52:54:00:E8:DE:D3
inet addr:192.168.122.1 Bcast:192.168.122.255 Mask:255.255.255.0
UP BROADCAST RUNNING MULTICAST MTU:1500 Metric:1
RX packets:0 errors:0 dropped:0 overruns:0 frame:0
TX packets:120 errors:0 dropped:0 overruns:0 carrier:0
collisions:0 txqueuelen:0
RX bytes:0 (0.0 b) TX bytes:41040 (40.0 KiB)
virbr0-nic Link encap:Ethernet HWaddr 52:54:00:E8:DE:D3
inet6 addr: fe80::5054:ff:fee8:ded3/64 Scope:Link
UP BROADCAST RUNNING MULTICAST MTU:1500 Metric:1
RX packets:0 errors:0 dropped:0 overruns:0 frame:0
TX packets:0 errors:0 dropped:3490 overruns:0 carrier:0
collisions:0 txqueuelen:500
RX bytes:0 (0.0 b) TX bytes:0 (0.0 b)
e. 启动或重启libvirtd服务和messagebus 服务
/etc/init.d/libvirtd start
/etc/init.d/messagebus restart
此时可以查看网络接口列表
brctl show 结果如下:
bridge name bridge id STP enabled interfaces
br0 8000.000c2955a70a no eth0
virbr0 8000.52540014efd5 yes virbr0-nic

[root@localhost network-scripts]# brctl show
bridge name bridge id STP enabled interfaces
br0 8000.000c293400c7 no eth0
pan0 8000.000000000000 no
virbr0 8000.525400e8ded3 yes virbr0-nic
新增加一个硬盘
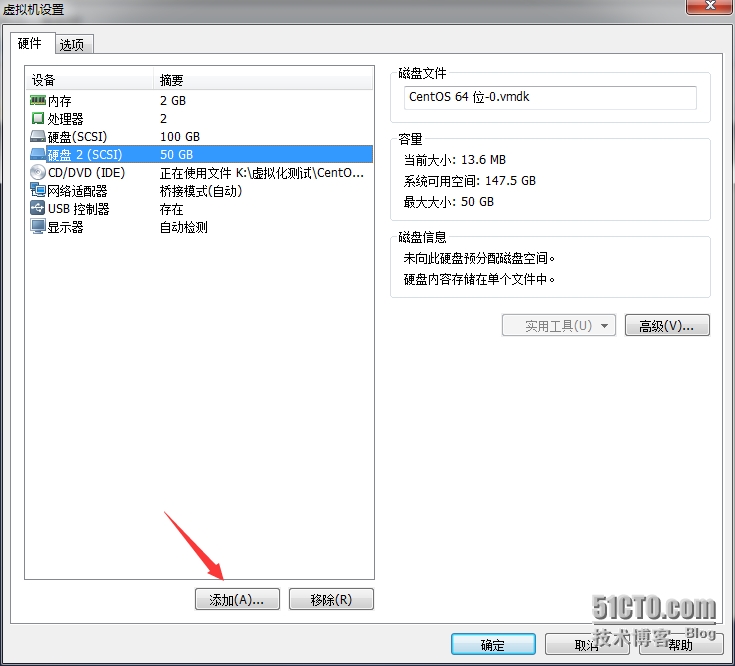
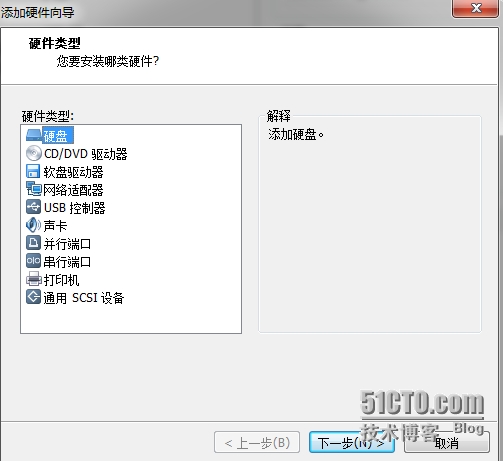
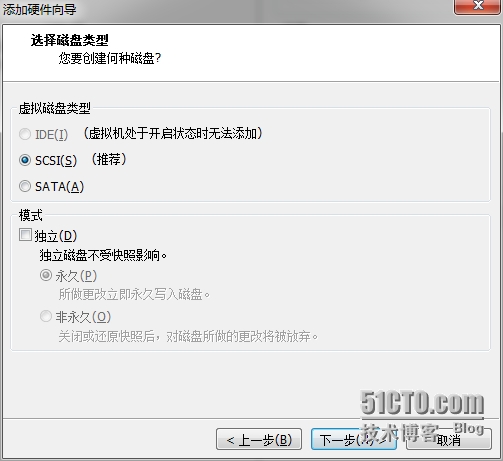
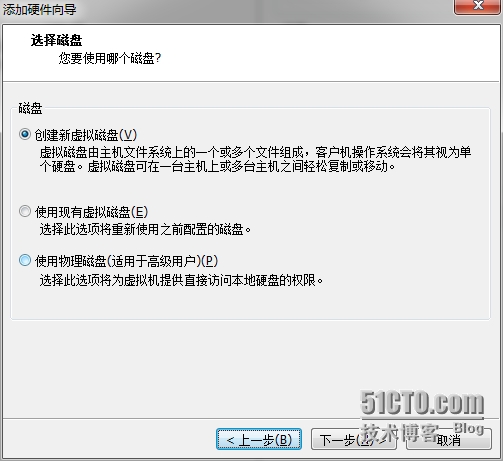
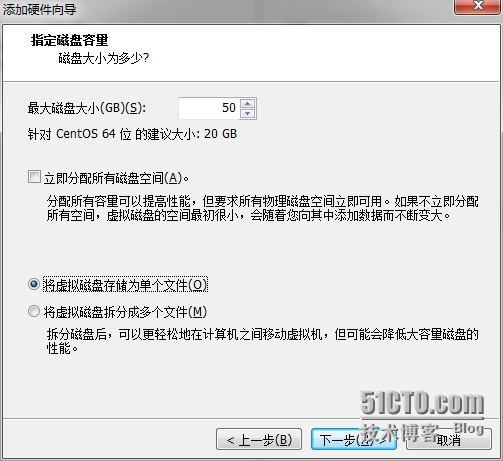
重启系统。以下蓝色字体是挂载新的硬盘和使用。。
[root@localhost ~]# fdisk /dev/sdb
Device contains neither a valid DOS partition table, nor Sun, SGI or OSF disklabel
Building a new DOS disklabel with disk identifier 0xb54974da.
Changes will remain in memory only, until you decide to write them.
After that, of course, the previous content won't be recoverable.
Warning: invalid flag 0x0000 of partition table 4 will be corrected by w(rite)
WARNING: DOS-compatible mode is deprecated. It's strongly recommended to
switch off the mode (command 'c') and change display units to
sectors (command 'u').
Command (m for help): p
Disk /dev/sdb: 53.7 GB, 53687091200 bytes
255 heads, 63 sectors/track, 6527 cylinders
Units = cylinders of 16065 * 512 = 8225280 bytes
Sector size (logical/physical): 512 bytes / 512 bytes
I/O size (minimum/optimal): 512 bytes / 512 bytes
Disk identifier: 0xb54974da
Device Boot Start End Blocks Id System
Command (m for help): n
Command action
e extended
p primary partition (1-4)
p
Partition number (1-4): 1
First cylinder (1-6527, default 1): 1
Last cylinder, +cylinders or +size{K,M,G} (1-6527, default 6527):
Using default value 6527
Command (m for help): w
The partition table has been altered!
Calling ioctl() to re-read partition table.
Syncing disks.
[root@localhost ~]# mkfs.ext4 /dev/sdb1
mke2fs 1.41.12 (17-May-2010)
Filesystem label=
OS type: Linux
Block size=4096 (log=2)
Fragment size=4096 (log=2)
Stride=0 blocks, Stripe width=0 blocks
3276800 inodes, 13107024 blocks
655351 blocks (5.00%) reserved for the super user
First data block=0
Maximum filesystem blocks=4294967296
400 block groups
32768 blocks per group, 32768 fragments per group
8192 inodes per group
Superblock backups stored on blocks:
32768, 98304, 163840, 229376, 294912, 819200, 884736, 1605632, 2654208,
4096000, 7962624, 11239424
Writing inode tables: done
Creating journal (32768 blocks): done
Writing superblocks and filesystem accounting information: done
This filesystem will be automatically checked every 31 mounts or
180 days, whichever comes first. Use tune2fs -c or -i to override.
[root@localhost /]# mkdir caimz
[root@localhost /]# cd caimz/
[root@localhost caimz]# mkdir kvm
[root@localhost caimz]# ls
kvm
[root@localhost caimz]# cd kvm/
[root@localhost kvm]# cd
[root@localhost ~]# mount /dev/sdb1 /caimz/
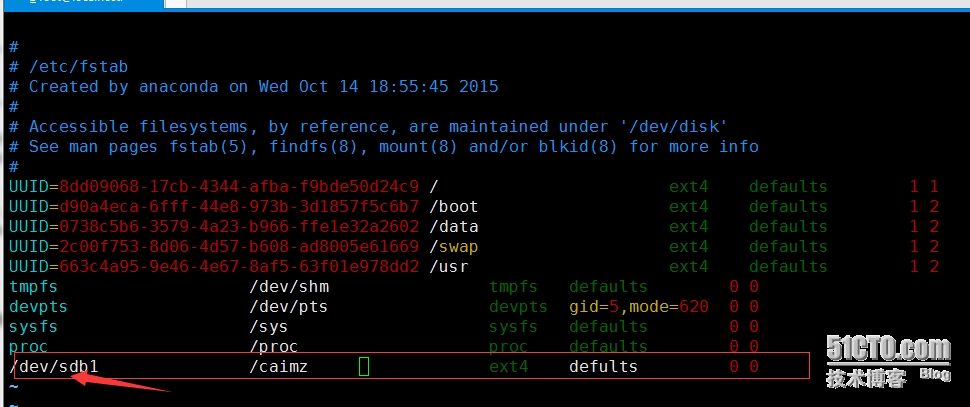 4. 创建虚拟机
mkdir /caimz/kvm //创建一个存储虚拟机虚拟磁盘的目录,该目录所在分区必须足够大
网路安装。
virt-install \
--name caimz_1 \
--ram 512 \
--disk path=/caimz/kvm/caimz.img,size=30 \
--vcpus 1 \
--os-type linux \
--os-variant rhel6 \
--network bridge=br0 \
--graphics none \
--console pty,target_type=serial \
--location 'http://mirrors.163.com/centos/6.7/os/i386/'\
--extra-args 'console=ttyS0,115200n8 serial'

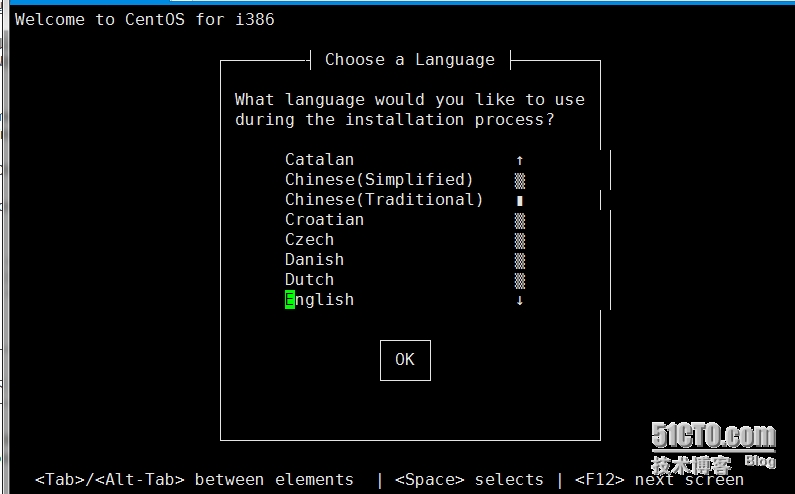
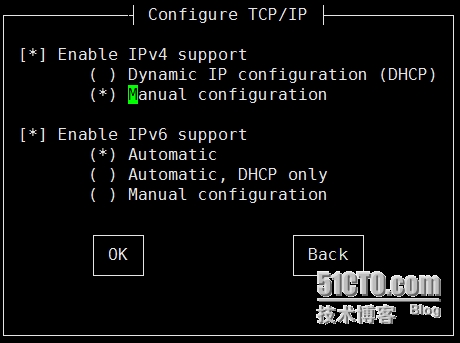
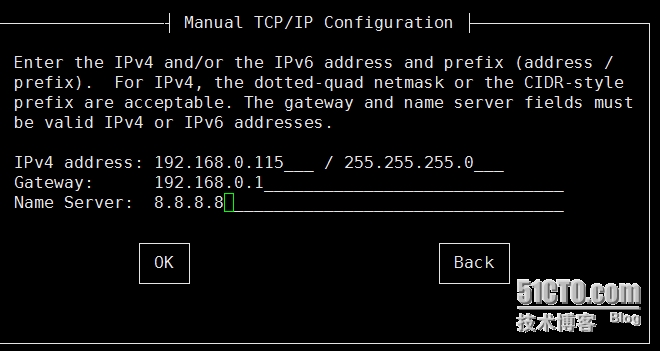


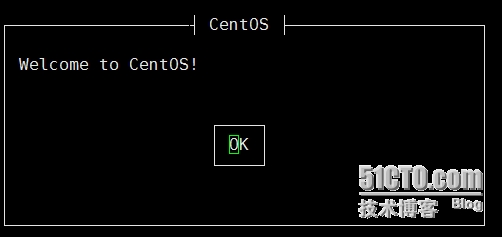
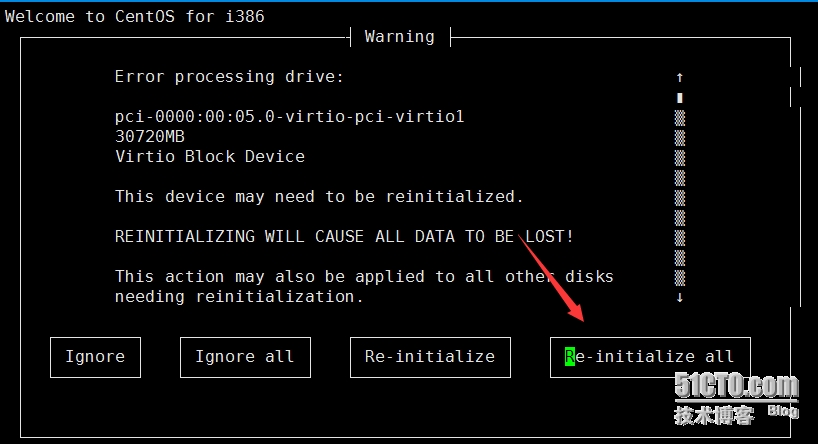
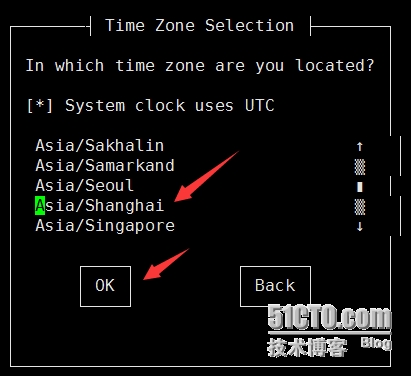
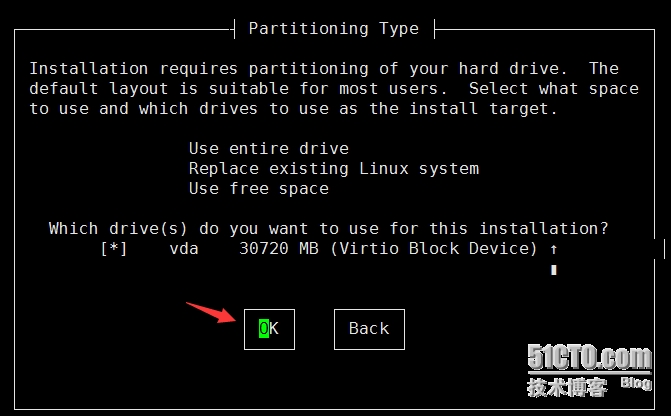
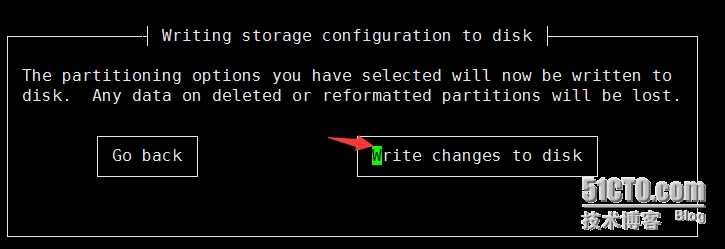
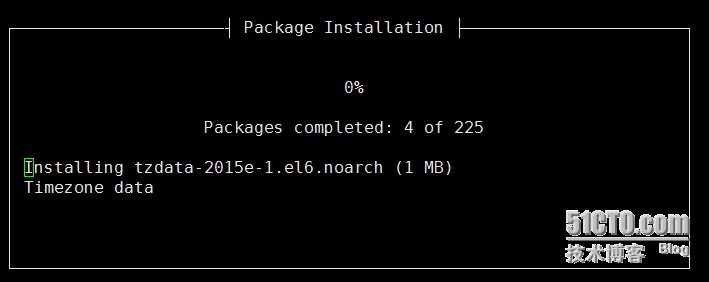
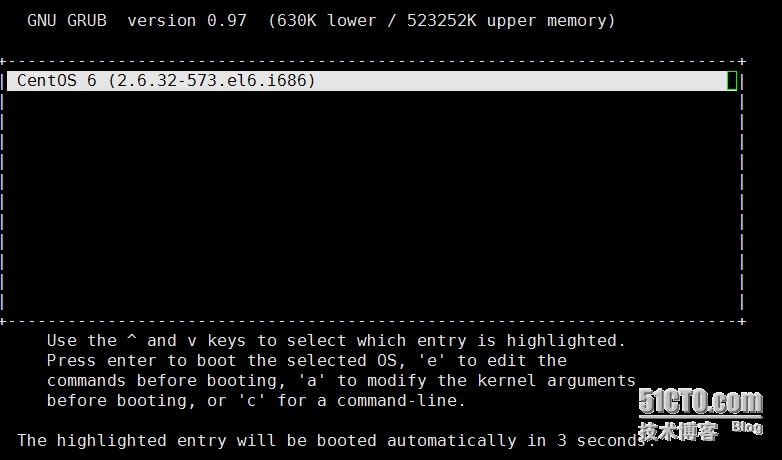
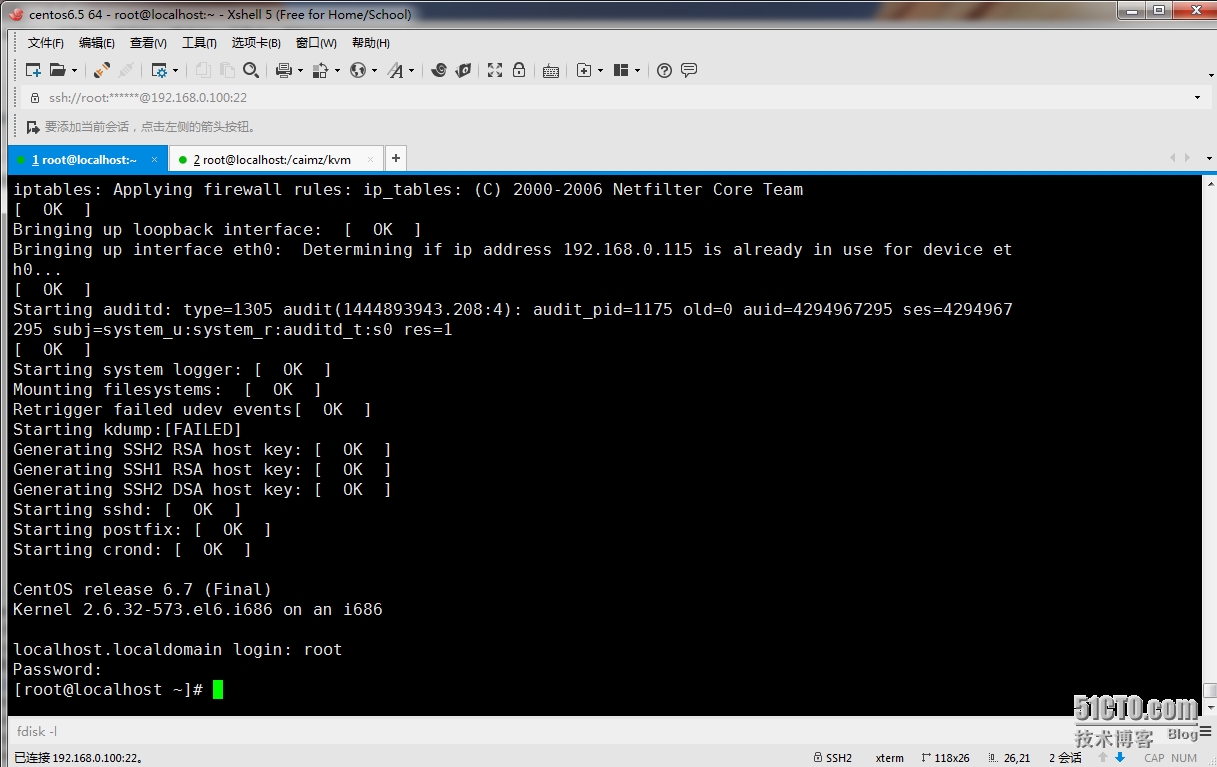
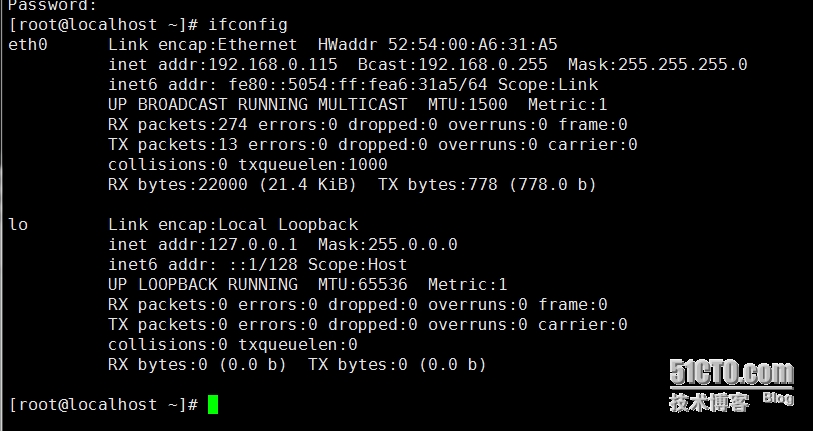
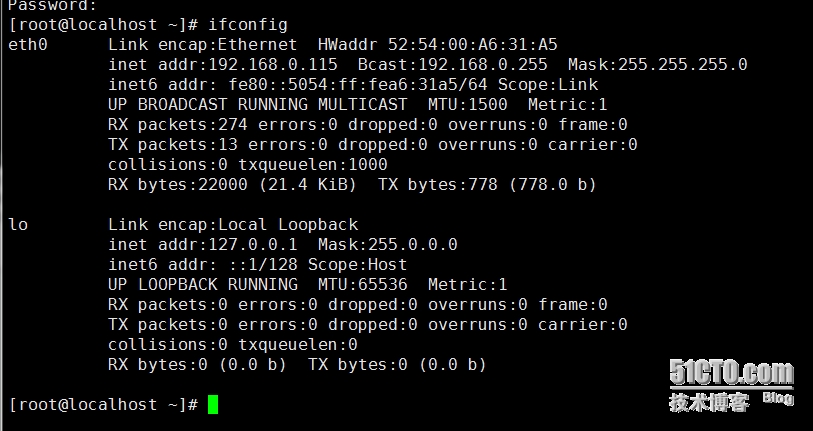

到目前为止一个centos虚拟机里面安装一个不带图形界面的centos,成功。测试。
使用:
1、退回到母机
CTRL + ] (右方括号)
本地安装(NFS)系统
 [root@localhost kvm]# qemu-img create -f qcow2 -o preallocation=metadata /caimz/kvm/caimz3.qcow2 10G
Formatting '/caimz/kvm/caimz3.qcow2', fmt=qcow2 size=10737418240 encryption=off cluster_size=65536 preallocation='metadata'
[root@localhost kvm]# ls /caimz/kvm/caimz*
/caimz/kvm/caimz3.qcow2 /caimz/kvm/caimz.img
 [root@localhost ~]# virt-install --name caimz_4 --ram 512 --disk path=/caimz/kvm/caimz4.qcow2,format=qcow2,size=7,bus=virtio --vcpus 1 --os-type linux --os-variant rhel6 --network bridge=br0 --graphics none --console pty,target_type=serial --location '/mnt/' --extra-args 'console=ttyS0,115200n8 serial'
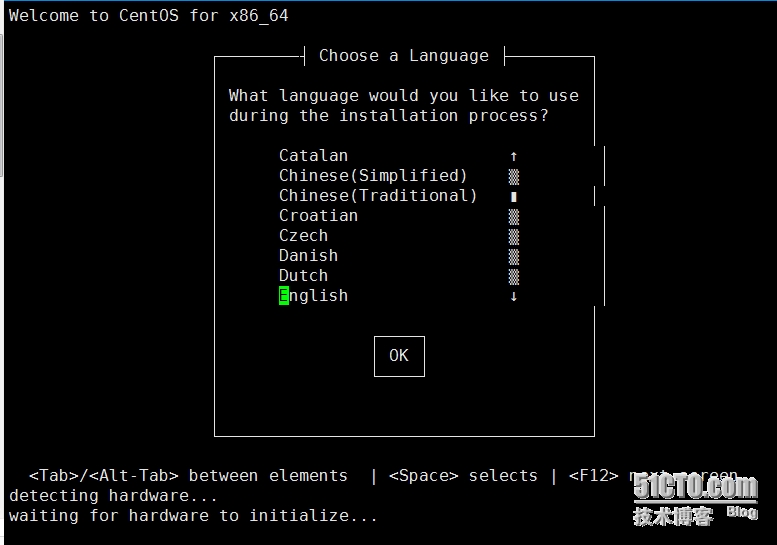 然后下面的和网路安装的一样。
说明:
--name 指定虚拟机的名字
--ram 指定内存分配多少
--disk path 指定虚拟磁盘放到哪里,size=30 指定磁盘大小为30G,这样磁盘文件格式为raw,raw格式不能做快照,后面有说明,需要转换为qcow2格式,如果要使用qcow2格式的虚拟磁盘,需要事先创建qcow2格式的虚拟磁盘。 参考 http://www.361way.com/kvm-qcow2-preallocation-metadata/3354.html 示例:qemu-img create -f qcow2 -o preallocation=metadata /data/test02.img 7G; --disk path=/data/test02.img,format=qcow2,size=7,bus=virtio
--vcpus 指定分配cpu几个
--os-type 指定系统类型为linux
--os-variant 指定系统版本
--network 指定网络类型
--graphics 指定安装通过哪种类型,可以是vnc,也可以没有图形,在这里我们没有使用图形直接使用文本方式
--console 指定控制台类型
--location 指定安装介质地址,可以是网络地址,也可以是本地的一个绝对路径,如果是绝对路径,那么后面还需要指定一个安装介质,比如NFS,假如虚拟机设置ip后,不能连外网,那么就会提示让我们选择安装途径: ┌───┤ Installation Method ├───┐
│ │
│ What type of media contains │
│ the installation image? │
│ │
│ Local CD/DVD │
│ Hard drive │
│ NFS directory │
│ URL │
│ │
│ ┌────┐ ┌──────┐ │
│ │ OK │ │ Back │ │
│ └────┘ └──────┘ │
│ │
│ │
└─────────────────────┘
我在这里选择NFS,设置参数如下:
┌───────────────────────────┤ NFS Setup ├─────────
│ │
│ Please enter the server and NFSv3 path to your CentOS installation │
│ image and optionally additional NFS mount options. │
│ │
│ NFS server name: 172.7.15.3______________ │
│ CentOS directory: /mnt/images/install.img_ │
│ NFS mount options (optional): ro______________________ │
--extra-args 设定内核参数
当按下回车后,稍等几秒钟就可以看到安装提示了。
开始安装......
搜索文件 .treeinfo...... | 720 B 00:00 ...
搜索文件 vmlinuz...... | 7.7 MB 00:02 ...
搜索文件 initrd.img...... | 63 MB 00:23 ...
创建存储文件 centos6.6_1.img | 30 GB 00:00
创建域...... | 0 B 00:00
连接到域 centos6.6_1
Escape character is ^]
然后就是我们非常熟悉的OK or Next 了 ,只不过这个过程是文本模式,如果想使用图形,只能开启vnc啦。
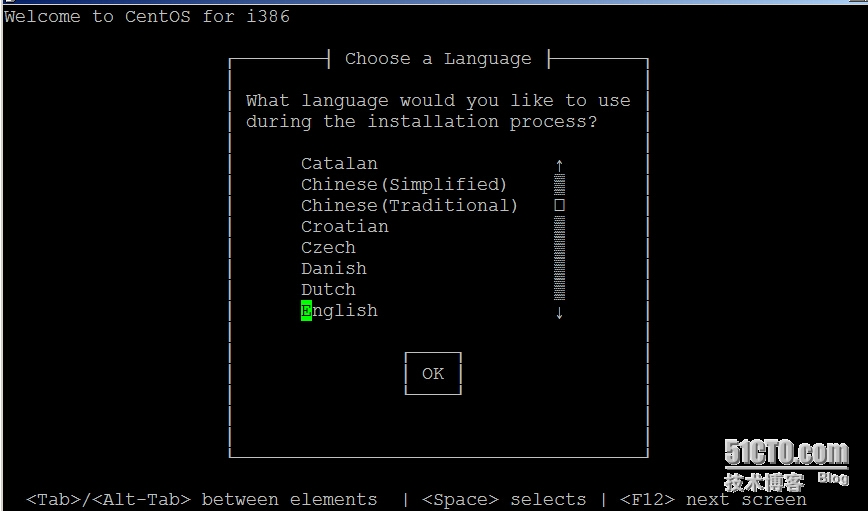 最后安装完,reboot就进入刚刚创建的虚拟机了。要想退回到宿主机,ctrl ] 即可。
virsh list 可以列出当前的子机列表。
virsh console centos6.6_1 可以进入指定的子机