MediaWIKI-install
MediaWIKI给予CentOS6.5-LNMP安装
新建数据库
MySQL -uroot -p
创建数据库
CREATE DATABASE wiki;
对用户wiki授权
GRANT ALL on wikidb.* to wiki@localhost IDENTIFIED BY 'wiki';
FLUSH PRIVILEGES;
下载 MediaWIKI
wget http://releases.wikimedia.org/mediawiki/1.25/mediawiki-1.25.2.tar.gz
tar -zxvf mediawiki-1.25.2.tar.gz
mv ./mediawiki-1.25.2.tar.gz /usr/share/nginx/html/wiki //usr/share/nginx/html是Nginx的网站目录
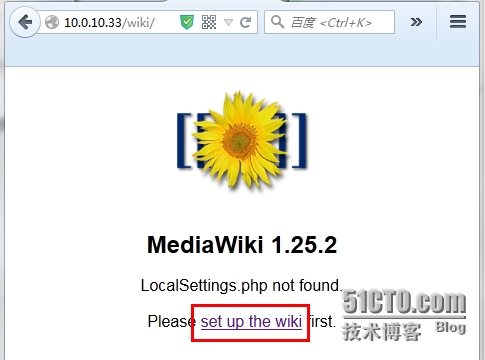 //Set up the wiki
根据提示进行配置安装
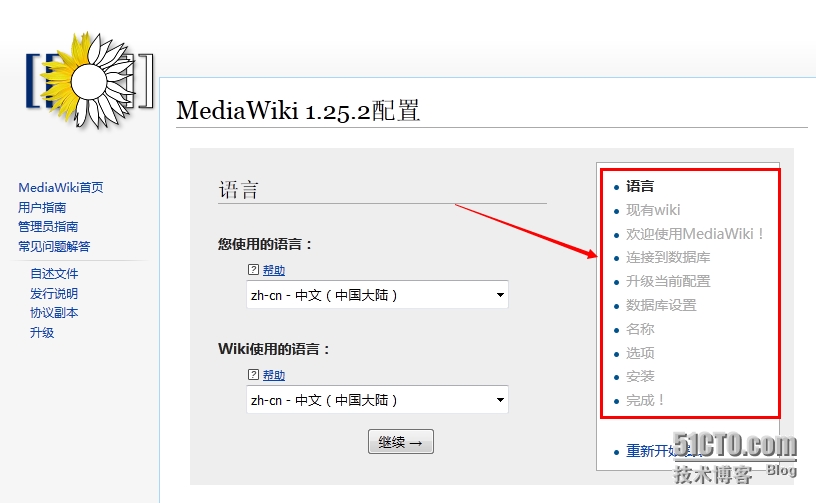
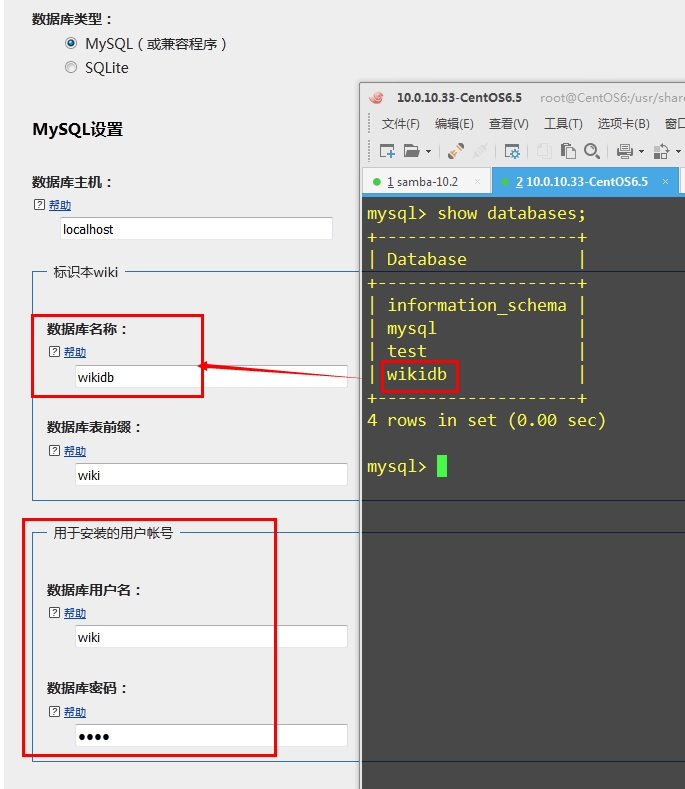
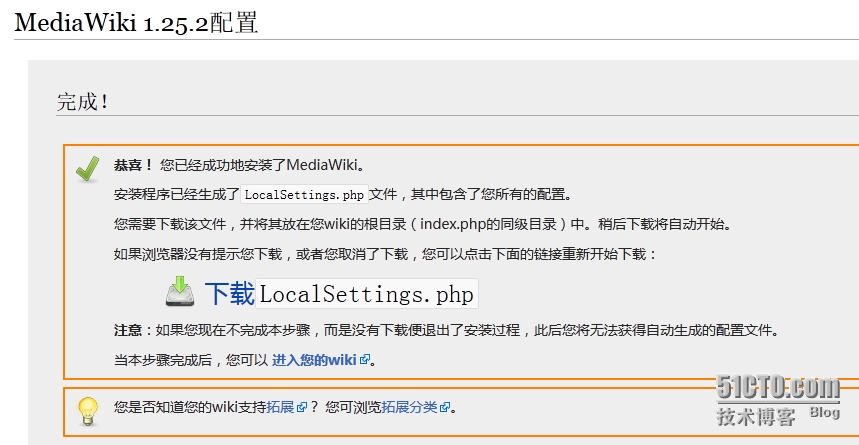
配置XCache加速器,如果不安装MediaWIKI将无法缓存
下载 xcache
wget http://xcache.lighttpd.net/pub/Releases/2.0.1-rc3/xcache-2.0.1-rc3.tar.gz
tar -zxvf xcache-2.0.1-rc3.tar.gz
find / -name phpize //查找安装模块文件,当前用yum安装的位置在/usr/bin/phpize
/usr/bin/phpize //运行模块
./configure --with-php-config=/usr/bin/php-config --enable-xcache --enable-xcache-opt
imizer
make && make install
 //编译完成后,保存此路径
配置密码
echo "123456"|md5sum
配置php.ini文件
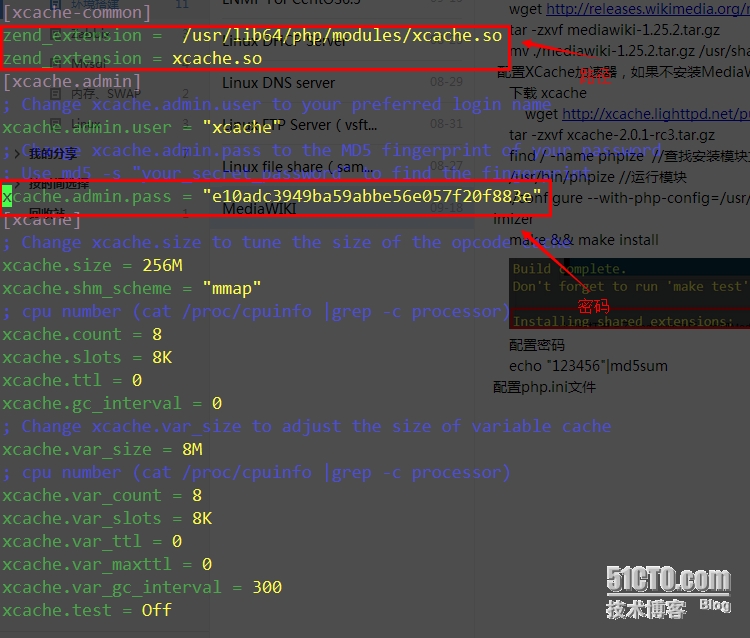
[xcache-common]
zend_extension = /usr/lib64/php/modules/xcache.so
zend_extension = xcache.so
[xcache.admin]
; Change xcache.admin.user to your preferred login name
xcache.admin.user = "xcache"
; Change xcache.admin.pass to the MD5 fingerprint of your password
; Use md5 -s "your_secret_password" to find the fingerprint
xcache.admin.pass = "e10adc3949ba59abbe56e057f20f883e"
[xcache]
; Change xcache.size to tune the size of the opcode cache
xcache.size = 256M
xcache.shm_scheme = "mmap"
; cpu number (cat /proc/cpuinfo |grep -c processor)
xcache.count = 8
xcache.slots = 8K
xcache.ttl = 0
xcache.gc_interval = 0
; Change xcache.var_size to adjust the size of variable cache
xcache.var_size = 8M
; cpu number (cat /proc/cpuinfo |grep -c processor)
xcache.var_count = 8
xcache.var_slots = 8K
xcache.var_ttl = 0
xcache.var_maxttl = 0
xcache.var_gc_interval = 300
xcache.test = Off
注意 zend_extension = 全路径(推荐)或者 extension= cache
重启nginx、php-fpm程序
service nginx restart
service php-fpm restart
PHPINFO
在网站目录新建
<?php
phpinfo();
?>

出现提示安装完成
LOGO图标位置
/usr/share/nginx/html/wiki/resources/assets/wiki.png