通过上面基础知识的准备,我们已经对Maven基本概念有了一定认识。现在,让我们以一个项目案例开启Maven应用开发之旅吧!
Note: 该案例参考自Maven实战,源码已经提供在附件中。文章只挑选Maven配置要点讲解,在读文章的时候读者应该配合源码观看。
1. 案例场景:
我们要开发一个账号服务系统,实现账号注册,登录,验证码,持久化,邮箱服务的基本功能。
模块划分如下:
account-web : 交互入口
account-service : 核心服务模块,负责业务组织与模块调用
account-persist : 持久化支持
account-captcha : google开源验证码模块
account-email : 邮件服务
2. 聚合与继承 account-parent
目前已经对各模块进行了简单的划分,每一个模块都是一个Maven项目(带pom.xml),可独立开发测试的。
我们在外层做一个叫 account-parent 的模块,将各个子模块聚合起来,变成一个项目:
聚合模块 account-parent:
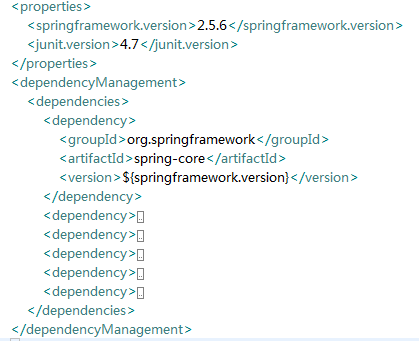
通过关键字 modules 实现了模块聚合,同时,各模块间会存在一些共享资源(如:都依赖spring),那么我们就可以将这部分共享资源放在 account-parent 中,子模块以继承的方式实现共享资源访问。
共享资源定义:
Note : 如果不确定该依赖在所有的子模块中都会用到,就把它放到<dependencyManagement/>元素中,表示可选的继承依赖。
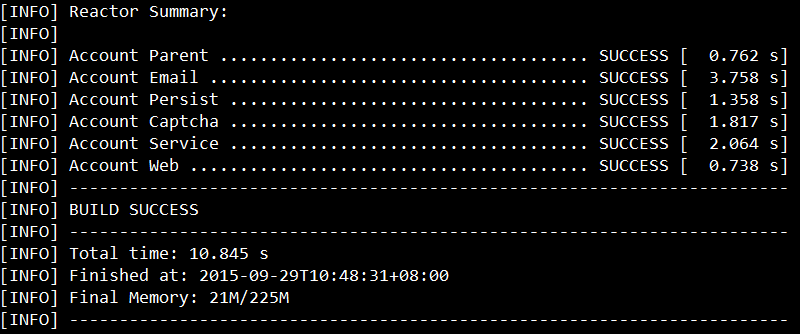
到这里,我们先切换到 account-parent 目录下,运行命令 mvn clean install (前面章节的clean, default生命周期命令哦)
3. account-email
首先这是一个普通的Maven项目,结构如下:
该模块通过 javax.mail 实现邮件发送功能:
<dependency>
  <groupId>javax.mail</groupId>
  <artifactId>mail</artifactId>
  <version>${javax.mail.version}</version>
</dependency>
public interface AccountEmailService {
	void sendMail(String to, String subject, String htmlText);
}
通过关键字 parent 和父模块坐标,继承了 account-parent:
<parent>
  <groupId>com.juvenxu.mvnbook.account</groupId>
  <artifactId>account-parent</artifactId>
  <version>1.0.0-SNAPSHOT</version>
</parent>
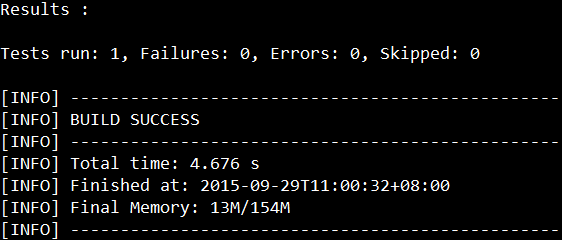
因为 account-email 是一个独立的模块,所以我们可以切换到 account-email 目录下,单独对它构建:mvn clean test
可以看到AccountEmailServiceTest的测试已经通过了。
4. account-captcha
该模块通过使用三方构件,实现验证码生成的功能,配置与email相似。由于该校验码构件并没有提交到中央仓库,所以需要自定义远程仓库路径:
<repositories>
 <repository>
  <id>sonatype-forge</id>
  <name>Sonatype Forge</name>
  <url>http://repository.sonatype.org/content/groups/forge/</url>
  <releases>
    <enabled>true</enabled>
  </releases>
  <snapshots>
    <enabled>false</enabled>
  </snapshots>
 </repository>
</repositories>
5. account-service
这是对外提供业务调度的模块,需要依赖其它的模块才能完成构建行为:
<dependency>
  <groupId>${project.groupId}</groupId>
  <artifactId>account-email</artifactId>
  <version>${project.version}</version>
</dependency>
<dependency>
  <groupId>${project.groupId}</groupId>
  <artifactId>account-persist</artifactId>
  <version>${project.version}</version>
</dependency>
6. account-web
该模块负责前端交互,依赖于 account-service 实现业务的管理
<dependency>
  <groupId>${project.groupId}</groupId>
  <artifactId>account-service</artifactId>
  <version>${project.version}</version>
</dependency>
同时,因为是Web项目,我们需要将它的打包方式改为war包(缺省jar):
<packaging>war</packaging>
还可以看到项目依赖于容器提供的包(前面章节的依赖范围哦):
<dependency>
  <groupId>javax.servlet</groupId>
  <artifactId>servlet-api</artifactId>
  <version>2.4</version>
  <scope>provided</scope>
</dependency>
为了方便开发,还提供了jetty容器插件的集成:
<plugin>
  <groupId>org.mortbay.jetty</groupId>
  <artifactId>jetty-maven-plugin</artifactId>
  <version>7.1.0.RC1</version>
  <configuration>
    <scanIntervalSeconds>10</scanIntervalSeconds>
    <webAppConfig>
      <contextPath>/account</contextPath>
    </webAppConfig>
  </configuration>
</plugin>
因为有一个邮件发送的模块,所以在运行项目之前,还需要配置一下邮件服务器的信息:
开启QQ邮箱的SMTP功能:
7. 运行项目
现在我们已经认识了项目主要的知识点,回到 account-parent 目录,重构建一下项目 mvn clean install
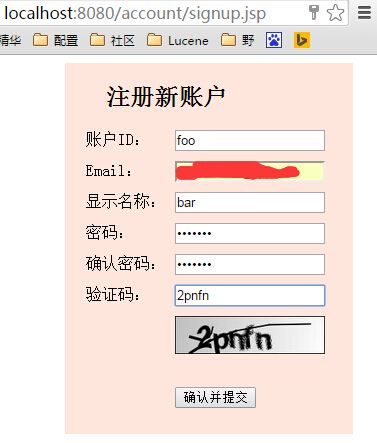
然后再到 account-web 目录,执行 mvn jetty:run ,访问 http://localhost:8080/account 就可以看到项目了。
项目对于初学者可能比较复杂,需要配合源码,多运行琢磨一下!
资料参考:
http://maven.apache.org
Maven实战 - 许晓斌


