raspberrypi监控室内温度
测试环境:
1、 Raspberrypi
2、 面包板
3、 DS18B20温度传感器
4、 Zabbix
安装步骤:
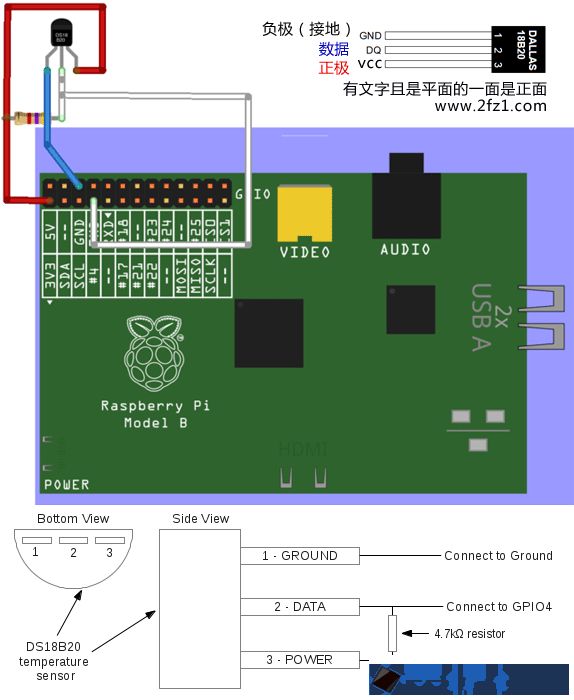
1、 在面包板上接好电路。将DS18B20接到raspberrypi。
2、 连接rasbian修改内核参数启动单总线功能。
修改/boot/config.txt,在文档最后一行添加dtover1ay=w1-gpio参数后reboot。
正常识别DS18B20后会生成/sys/bus/w1/目录
pi@raspberrypi :/sys/bus/w1/devices$ ls
28-00000494cb79 w1_bus_master1
这里的28-00000494cb79就是外接的温度传感器设备,参数表示传感器的序列号。
进行28-00000494cb79后cat w1_slave即显示最新温度
70 01 4b 46 7f ff 10 10 e1 : crc=e1 YES
70 01 4b 46 7f ff 10 10 e1 t=23000
第二行的t=23000就是当前的温度值,要换算成摄氏度,除以1000,即当前温度为23000/1000=23摄氏度。
3、 使用Python脚本读取温度
脚本存放在/script/read.py
# These constants used by the 1-wire device
base_dir = '/sys/bus/w1/devices/'
device_folder = glob.glob(base_dir + '28*')[0]
device_file = device_folder + '/w1_slave'
# Read the temperature message from the device file
def read_temp_raw():
f = open(device_file, 'r')
lines = f.readlines()
f.close()
return lines
# Split the actual temperature out of the message
def read_temp():
lines = read_temp_raw()
while lines[0].strip()[-3:] != 'YES':
time.sleep(0.2)
lines = read_temp_raw()
equals_pos = lines[1].find('t=')
if equals_pos != -1:
temp_string = lines[1][equals_pos+2:]
temp_c = float(temp_string) / 1000.0
return temp_c
print(read_temp())
4、 安装ZabbixServer和ZabbixAgent
执行apt-cache search zabbix查询deb软件包,使用apt-get install zabbix*
安装ZabbixServer、ZabbixWeb和ZabbixAgent。这个需要花很多时间。
5、向Zabbix添加监控项
进入/etc/zabbix/zabbix_agentd.conf.d目录。新建senser.conf插入用户自定义监控项。
UserParameter=senser.read,python /script/read.py
重启ZabbixAgent
/etc/init.d/zabbix-agent restart
在浏览器登录zabbix web管理界面,在Configuration->Hosts主机清单里找到对应服务器打开Application新建Senser应用。
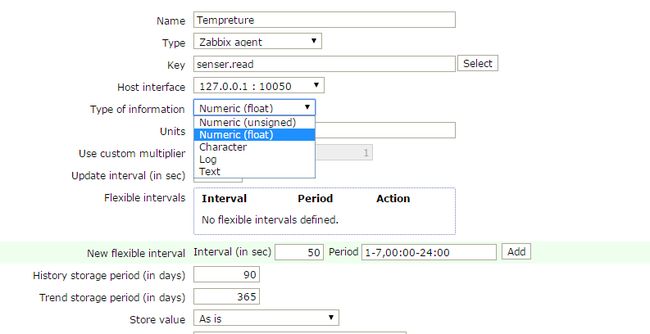
打开Item监控项“CONFIGURATION OF ITEMS”管理菜单,点击右上角的“Create Item”创建新监控项。填写名称“Tempreture”,类型“Zabbix agent”,查询项为“senser.read”最后是将数据类型设置为float类型。
这个“Key”和UserParameter=senser.read,python /script/read.py用户参数里的自定义监控项名称一致。
5、 检查结果。
在Web管理界面“Monitoring->Latest data”找到Sensor应用后打开,会有温度数据正常读出。
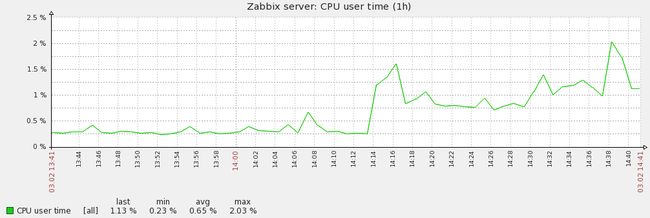
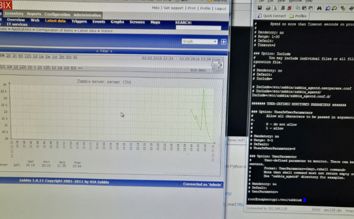
打开Graph可以查看到对应的温度变化图表。
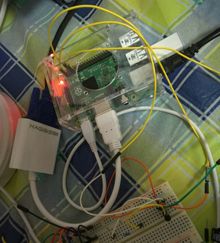
附上测试2张测试照片:
