RedHat7搭建PHP开发环境(Zend Studio)
- 下载Zend Studio
# wget http://downloads.zend.com/studio-eclipse/13.0.1/ZendStudio-13.0.1-linux.gtk.x86_64.tar.gz
- 解压Zend Studio
# tar -zxf ZendStudio-13.0.1-linux.gtk.x86_64.tar.gz -C /opt
- 创建菜单项
# vi /usr/share/applications/ZendStudio.desktop
[Desktop Entry]
Name=ZendStudio
Comment=ZendStudio
Exec=/opt/ZendStudio/ZendStudio
Icon=/opt/ZendStudio/icon.xpm
Terminal=false
Type=Application
Categories=Application;Development;
- 运行Zend Studio
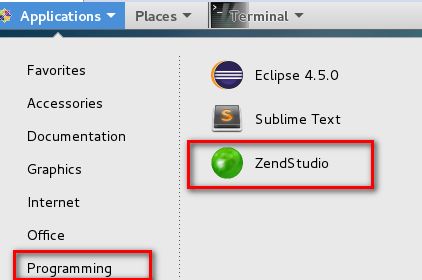
点击Applications -> Programming -> ZendStudio
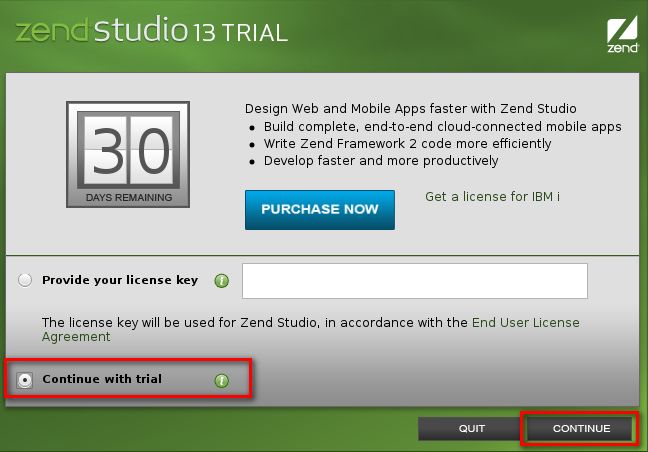
未注册有30天试用期,选择Continue with trial, 点击Continue
- 汉化Zend Studio
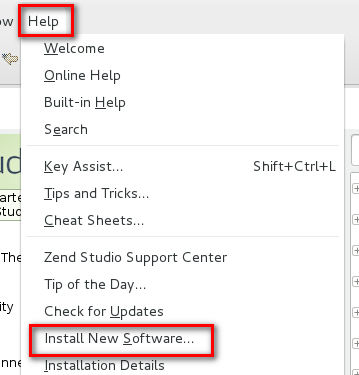
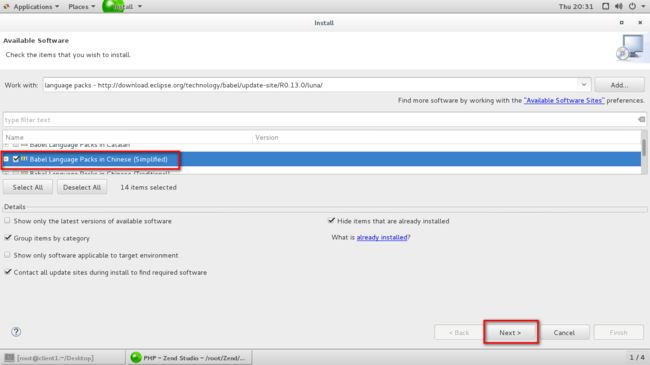
点击Help -> Install New Software...
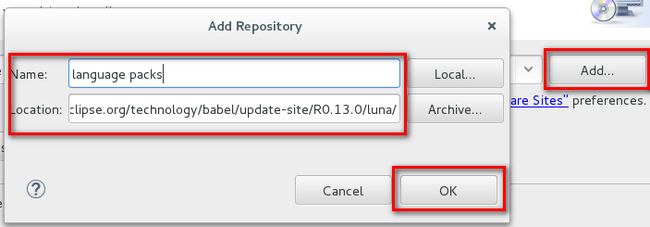
点击Add... ,填入Name: lanuage packs ,Location:http://download.eclipse.org/technology/babel/update-site/R0.13.0/luna ,点击OK
此时正在加载插件,需要等待几分钟,等加载完并出现语言包后,找到“Babel Language Packs in Chinese(Simplified)”一栏打勾,然后一路点击Next
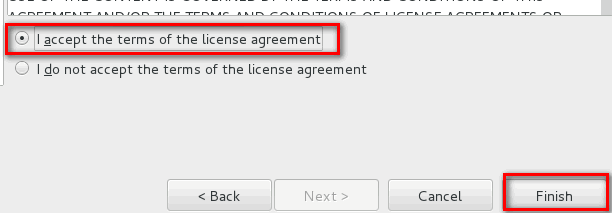
选择“I accept the terms of the license agreement”,点击Finish
安装完成后,点击Yes立即重启软件
- 安装MySQL
# wget http://repo.mysql.com/RPM-GPG-KEY-mysql -P /etc/pki/rpm-gpg
# vi /etc/yum.repos.d/mysql-community.repo
[mysql57-community]
name=MySQL 5.7 Community Server
baseurl=http://repo.mysql.com/yum/mysql-5.7-community/el/7/$basearch/
enabled=1
gpgcheck=1
gpgkey=file:///etc/pki/rpm-gpg/RPM-GPG-KEY-mysql
# yum install mysql-community-server
# systemctl enable mysqld
# systemctl start mysqld
安装完成会生成一个随机密码,查看该密码
# grep 'temporary password' /var/log/mysqld.log
修改MySQL root密码
# mysql -uroot -p
# ALTER USER 'root'@'localhost' IDENTIFIED BY 'Mysql-2016';
MySQL安全设置
# mysql_secure_installation
- 安装Apache
# yum install httpd
# systemctl enable httpd
# systemctl start httpd
开通http,https端口
# firewall-cmd --permanent --add-service={http,https}
# firewall-cmd --reload
- 安装PHP及组件
# yum install php php-mysql
重启Apache服务
# systemctl restart httpd
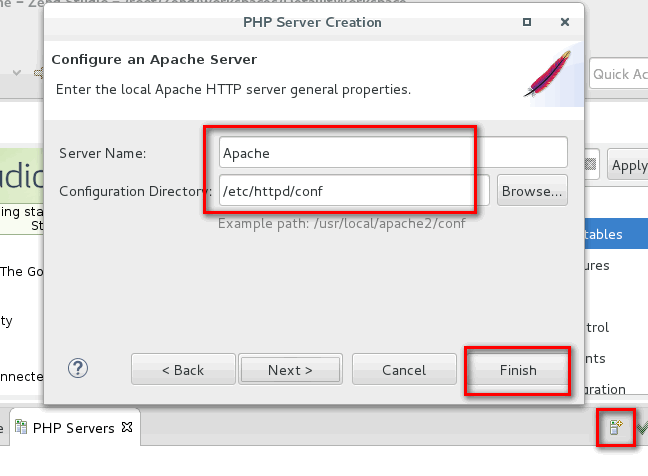
- 配置PHP Server
- 创建demo项目
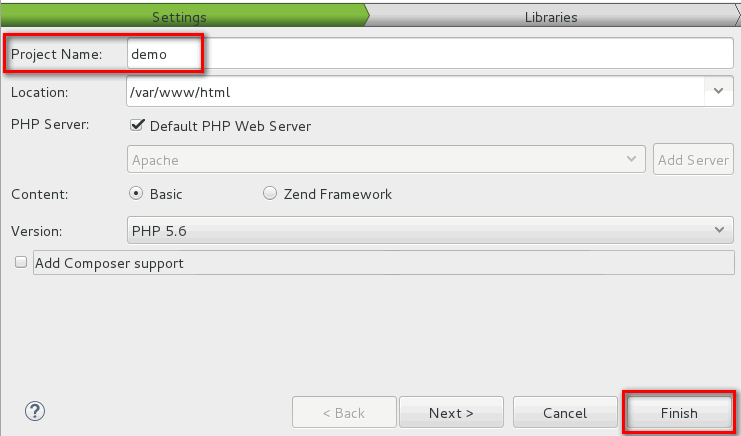
点击File -> New -> Local PHP Project
输入Project Name:demo,点击Finish
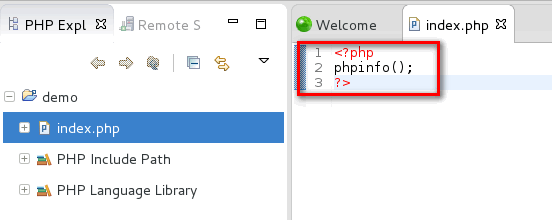
编辑index.php
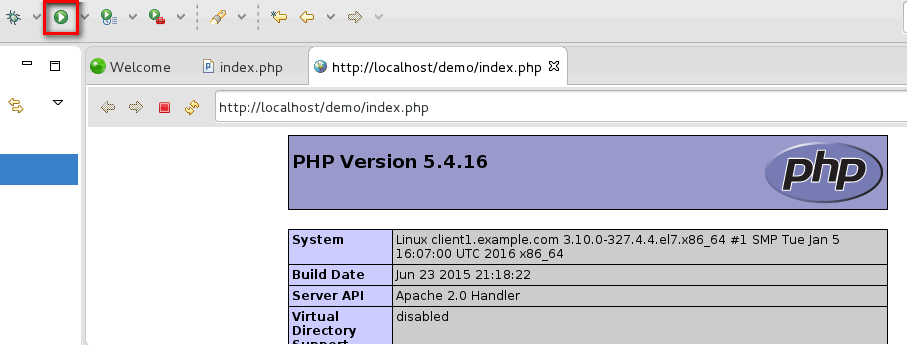
点击Run,测试demo项目
