iOS: How To Make AutoLayout Work On A ScrollView
iOS: How To Make AutoLayout Work On A ScrollView
Ok, I’ll admit. I’ve been seriously struggling with AutoLayout ever since it’s been introduced. I understand the concept, and I LOVE the idea of it, but when I actually do it, it almost never behaves as it does in my head.
So when I had a chance to go talk to an actual Apple Engineer about AutoLayout last week at WWDC, I made sure to go. I thought of my most painful experience using AutoLayout recently – when I was making a login screen with username and password fields on a ScrollView (so it scrolls up when the keyboard comes up) – and had the Apple engineer walk me through the example.
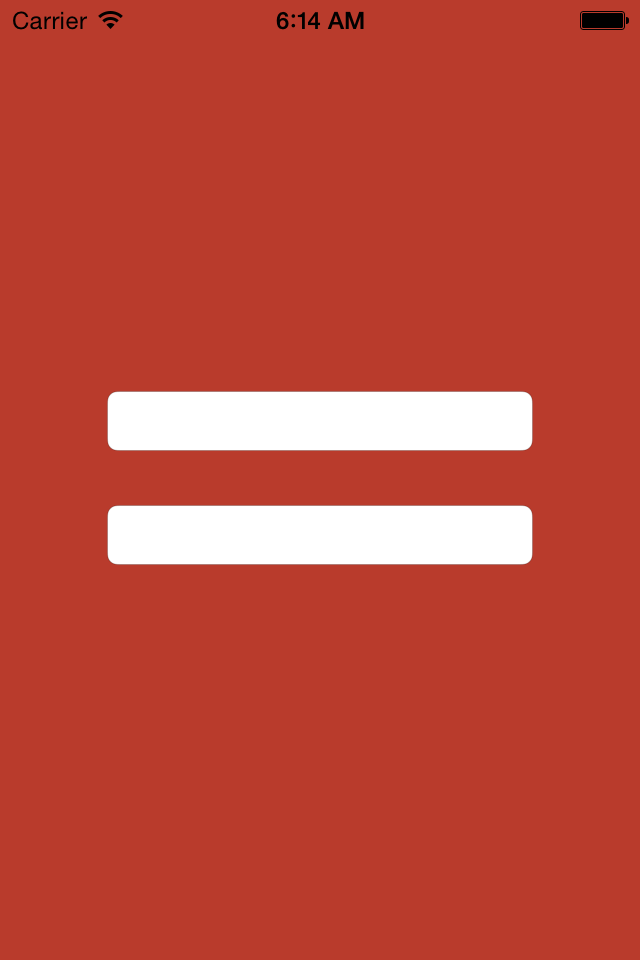
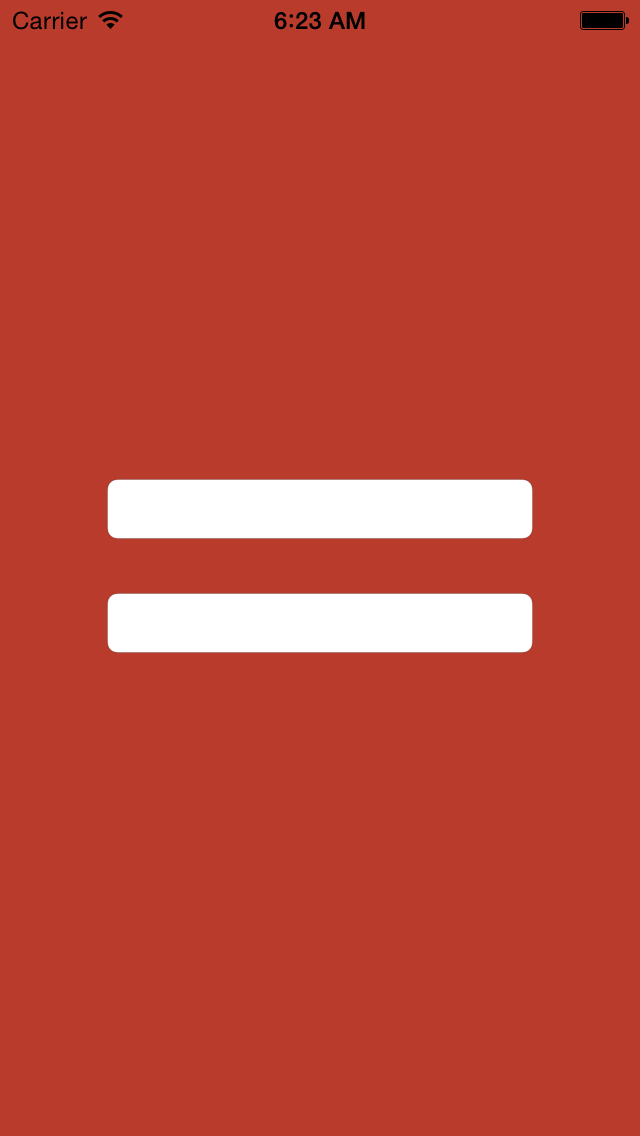
Here is what we made:
This is just two input fields centered on a ScrollView. You can see the AutoLayout at work here – the two input fields are centered correctly both on a 4s and a 5s device.
This “simple” solution took the Apple Engineer 40 minutes to solve! However, several senior engineers I know said that they’ve never been able to get AutoLayout working quite right on a ScrollView, so 40 minutes is actually not bad!
Here are the key tricks to getting AutoLayout to work on a ScrollView:
One View
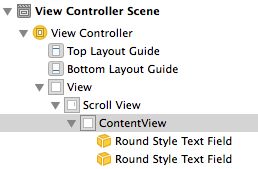
The ScrollView should have only ONE child view. This is forced in Android, so I should have made the connection, but I just didn’t think of it – it’s too easy to put the two input text fields right onto the ScrollView, especially in Interface Builder.
Here is what the View Hierarchy should actually look like:
Again, make sure to put all your fields and custom views inside the one child view of the ScrollView!
Equal Widths
I’m going to start with the constraints from the outside (on the main view) in (to the stuff inside the ContentView).
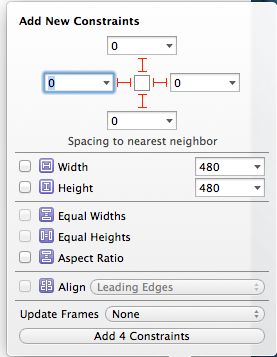
The obvious starting point is to bind the ScrollView to the View – just select the ScrollView from the view hierarchy, and add the following constraints:
The key to getting the constraints to work properly however, is adding anEqual Width constraint between the main View and the ContentView. The ScrollView adjusts to the size of the content inside of it, so setting the ContentView to the Width of the ScrollView leaves the width of the ContentView ambiguous.
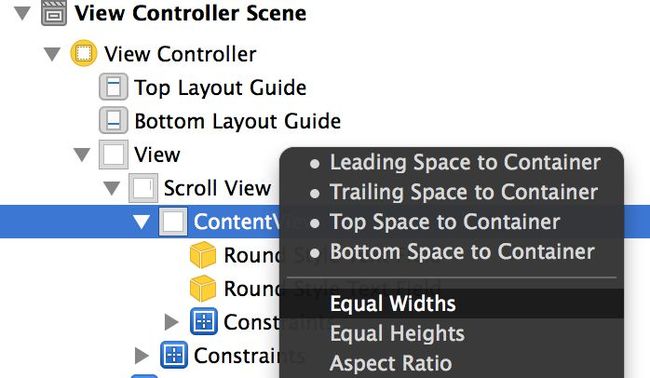
To create the Equal Width Constraint between the ContentView and the View, select the ContentView on the view hierarchy and Control + Drag to the View – you should get a pop-up that gives you the “Equal Widths” option:
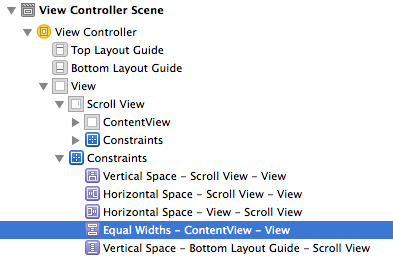
Your constraints between the main View, ScrollView, and ContentView should look like this:
Content Insets
The constraints between the ScrollView and the ContentView are surprisingly straight forward – just bind the ContentView to the ScrollView (make sure the constant to the bottom layout guide is 0):
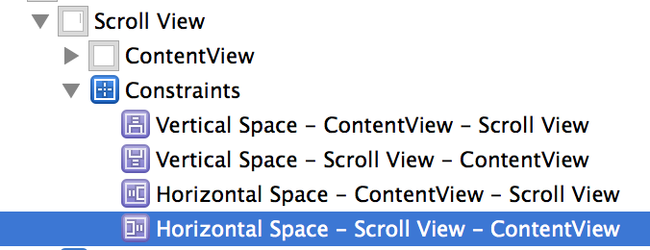
The constraints between the ContentView and ScrollView are now as follows with all constants set at 0:
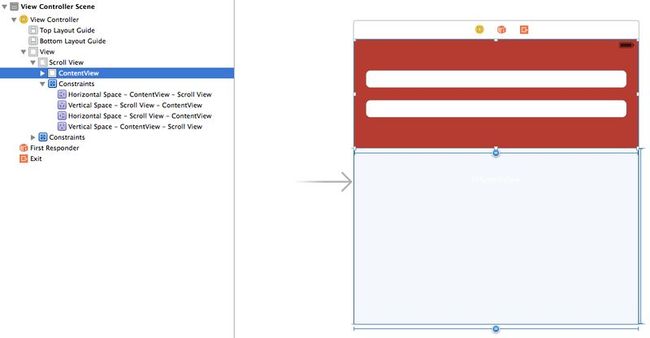
If your storyboard is like mine, you might notice that the actual ContentView is not the full height of the main view or the ScrollView:
However, we do want to make sure the ContentView is centered when it’s rendered on a device. To do that we need to write some code to property set the Content Insets in the ViewController:
|
1
2
3
4
5
6
7
8
9
10
11
12
13
14
15
16
17
18
19
20
21
22
23
24
25
26
27
28
29
30
31
32
33
|
// ViewController.swift
import
UIKit
class
ViewController: UIViewController {
@IBOutlet
var
scrollView : UIScrollView
@IBOutlet
var
contentView : UIView
override func viewDidLoad() {
super
.viewDidLoad()
// Do any additional setup after loading the view, typically from a nib.
}
override func viewDidLayoutSubviews()
{
let
scrollViewBounds = scrollView.bounds
let
containerViewBounds = contentView.bounds
var
scrollViewInsets = UIEdgeInsetsZero
scrollViewInsets.top = scrollViewBounds.size.height/2.0;
scrollViewInsets.top -= contentView.bounds.size.height/2.0;
scrollViewInsets.bottom = scrollViewBounds.size.height/2.0
scrollViewInsets.bottom -= contentView.bounds.size.height/2.0;
scrollViewInsets.bottom += 1
scrollView.contentInset = scrollViewInsets
}
}
|
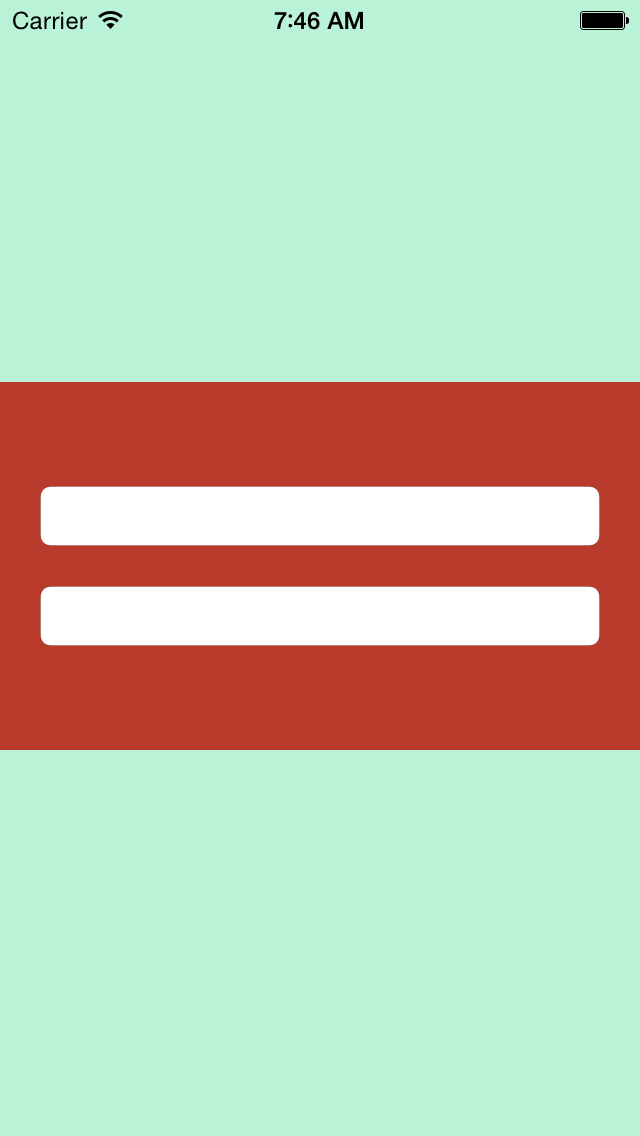
Once you add the proper constraints into the ContentView (see next step), your final result will look like this:
The ugly colors are meant to differentiate the ScrollView (green) from the ContentView (red). Again, in the storyboard, the ContentView is at the top of the ScrollView, but with our content insets set in code, it now becomes centered.
Centering Multiple Views
The final step is to add AutoLayout to the ContentView. This is the same as adding layout normally to any view, so I won’t go into much detail here.
The one thing I did learn that I’d like to share (although now it seems obvious) is how to center the two text fields in the view. Previously, I put the two text fields into a container view, and centered the container view in the parent view. However, that is not necessary.
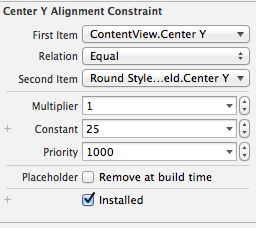
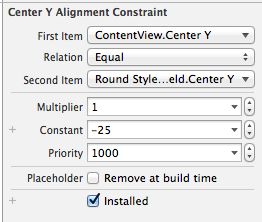
Instead, you can center each text field horizontally in container (so they’re now centered and on top of each other), and then add a constant of 25 to one (so it’s moved up 25 pixels from the center), and add a constant of -25 to the other (so it’s moved down 25 pixels from the center).
This will leave you with a space of 50 pixels between the two text fields, but the space exactly in between them will be the center of the view.
Do you have any other AutoLayout tips? I’m always looking to learn more and improve, so please let me know in the comments!
You can view the source code on Github here.
Enjoy the article? Join over 8,500+ Swift developers and enthusiasts who get my weekly updates.
Subscribe
