TextView 显示图像+文字的方法
TextView 通常的用法只是进行文字的显示,但是仔细了解之后发现它可以显示图像信息。
本文将介绍此种用法:android:drawableLeft="@drawable/ic_launcher"及相应的编码方法
利用TextView 进行图像+文字的显示时,有两种方式:xml文件方式和编码方式
代码如下:
<LinearLayout xmlns:android="http://schemas.android.com/apk/res/android"
    android:layout_width="fill_parent"
    android:layout_height="wrap_content"
    android:orientation="vertical"
    android:padding="6dip">
    <TextView
        android:id="@+id/myTextView1"
        android:layout_width="match_parent"
        android:layout_height="wrap_content"
        android:text="This is a TextView with an image in the left.This is a TextView with an image in the left.This is a TextView with an image in the left."
        android:ellipsize="end"
        android:maxLines="1"
        android:layout_marginLeft="20dp"
        android:drawablePadding="50dp"
        android:drawableLeft="@drawable/ic_launcher"/>

    <TextView
        android:id="@+id/myTextView2"
        android:layout_width="match_parent"
        android:layout_height="wrap_content"
        android:text="This is a TextView with an image in the left.This is a TextView with an image in the left.This is a TextView with an image in the left."
        android:ellipsize="end"
        android:layout_marginLeft="20dp"
        android:drawablePadding="50dp"
        />

</LinearLayout>
该布局文件中垂直放入了两个TextView以分别对对应这两和种方式。
运行效果如下图所示:
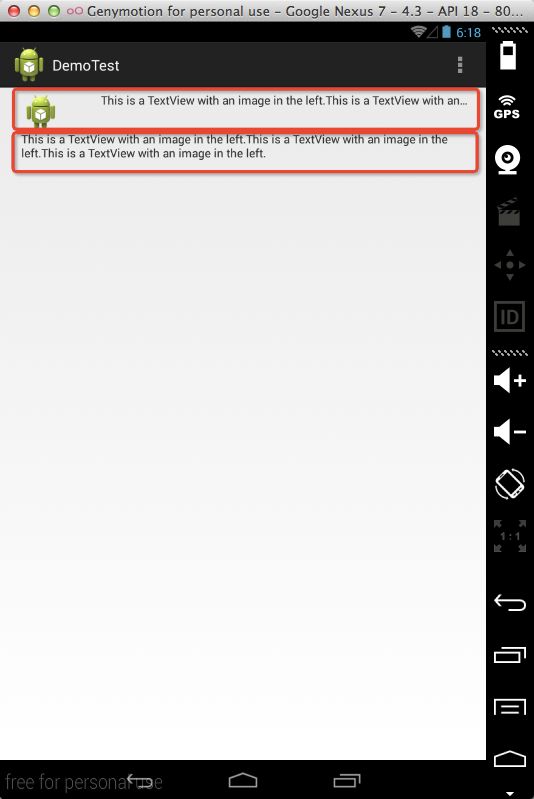
可以看到第一TextView中显示了图像加文字(设置显示效果时注意布局文件中的其他属性)。第二个TextView 还没有通过编码设置,所以显示的只有文字。
下面通过编码的方式达到和第一个TextView 中相同的效果:
package com.demo.demotest;

import android.graphics.drawable.Drawable;
import android.os.Bundle;
import android.support.v7.app.ActionBarActivity;
import android.view.Menu;
import android.view.MenuItem;
import android.widget.TextView;

public class MainActivity extends ActionBarActivity {
	private TextView myTextView2;

	@Override
	protected void onCreate(Bundle savedInstanceState) {
		super.onCreate(savedInstanceState);
		setContentView(R.layout.activity_main);

		init();
	}
	//初始化控件
	private void init(){
		//获取控件 并以编码的方式设置其图像
		myTextView2=(TextView)findViewById(R.id.myTextView2);
		Drawable imagmeDrawable=getResources().getDrawable(R.drawable.ic_launcher);
		//这一步一定要做,否则不会显示图像!!!!
		imagmeDrawable.setBounds(0, 0, imagmeDrawable .getMinimumWidth(), imagmeDrawable.getMinimumHeight());
		myTextView2.setCompoundDrawables(imagmeDrawable, null,null, null);
		myTextView2.setMaxLines(1);
	}
	@Override
	public boolean onCreateOptionsMenu(Menu menu) {
		// Inflate the menu; this adds items to the action bar if it is present.
		getMenuInflater().inflate(R.menu.main, menu);
		return true;
	}

	@Override
	public boolean onOptionsItemSelected(MenuItem item) {
		// Handle action bar item clicks here. The action bar will
		// automatically handle clicks on the Home/Up button, so long
		// as you specify a parent activity in AndroidManifest.xml.
		int id = item.getItemId();
		if (id == R.id.action_settings) {
			return true;
		}
		return super.onOptionsItemSelected(item);
	}
}
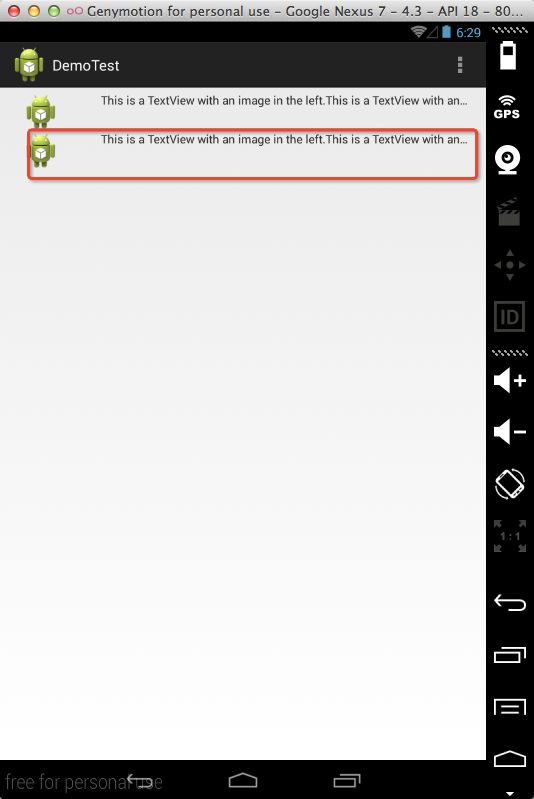
运行之后的效果为:
可以看出能过编码的方式也达到了相同的效果。
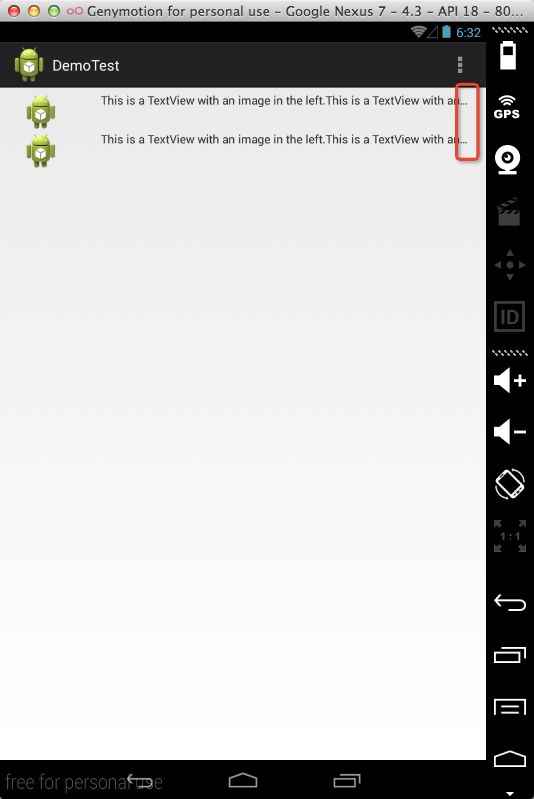
细心一点你会发现每一行最后都有“...”,如下图所示:
实际上是因为每一行文字都没有显示完全,而显示出来的。
这个跟TextView 的android:ellipsize属性有关系,下面介绍一下该属性。
TextView及其子类,当字符内容太长显示不下时可以省略号代替未显示的字符;省略号可以在显示区域的起始,中间,结束位置,或者以跑马灯的方式显示文字(textview的状态为被选中)。
其实现只需在xml中对textview的ellipsize属性做相应的设置即可,或者在程序中可通过setEillpsize显式设置。
android:ellipsize="start"        省略号在开头

android:ellipsize="middle"       省略号在中间

android:ellipsize="end"          省略号在结尾

android:ellipsize="marquee"      跑马灯显示
注: EditText不支持marquee这种模式。Android:ellipsize属性要配合android:MaxLines=“1”一起使用才能生效,因为如果不设置android:MaxLines=“1”的话,TextView中的文字默认多行显示。


