spring3 mvc系列一:架构基本配置(注解版)
小弟新学spring3mvc,大虾请绕道。
开发环境如下:
OS:windows
IDE:Eclipse3.7.2
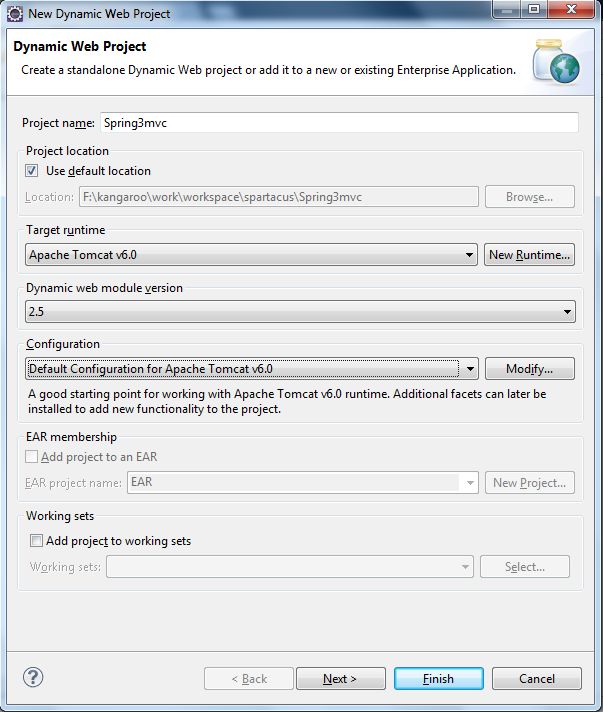
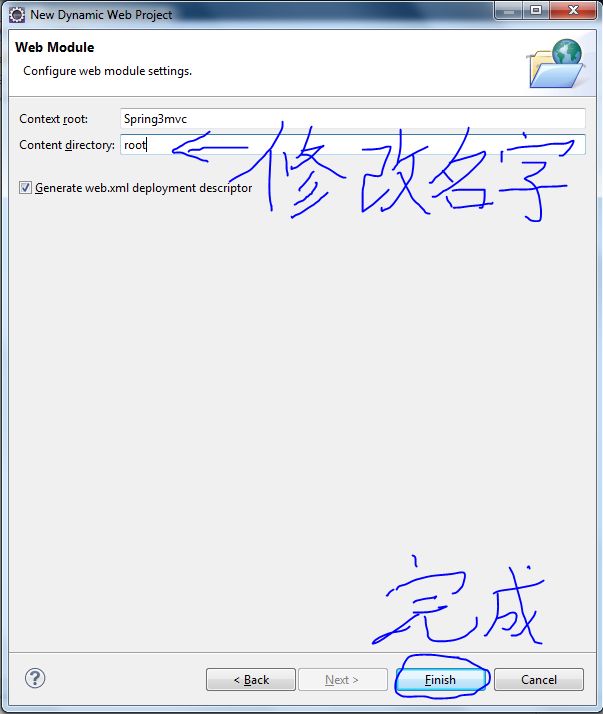
第一步,新建Web工程:

第二步,添加springframework依赖jar包:
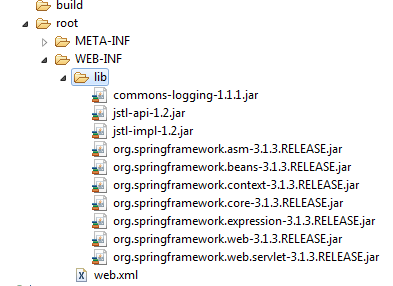
其中commons-logging-1.1.1.jar是spring日志依赖jar包,jstl-api-1.2.jar与jstl-impl-1.2.jar是Oracle官方的JSTL接口与实现,如果选Apche的也可以。
第三步,修改web.xml,实现spring的控制:
<?xml version="1.0" encoding="UTF-8"?>
<web-app xmlns:xsi="http://www.w3.org/2001/XMLSchema-instance" xmlns="http://java.sun.com/xml/ns/javaee" xmlns:web="http://java.sun.com/xml/ns/javaee/web-app_2_5.xsd" xsi:schemaLocation="http://java.sun.com/xml/ns/javaee http://java.sun.com/xml/ns/javaee/web-app_2_5.xsd" id="WebApp_ID" version="2.5">
    <display-name>Spring3mvc</display-name>
    <!-- 添加spring3控制器及映射规则 -->
    <servlet>
        <servlet-name>spring3mvc</servlet-name>
        <servlet-class>org.springframework.web.servlet.DispatcherServlet</servlet-class>
        <load-on-startup>1</load-on-startup>
    </servlet>
    <servlet-mapping>
        <servlet-name>spring3mvc</servlet-name>
        <url-pattern>/app/*</url-pattern>
    </servlet-mapping>
    <!-- 默认跳转到根目录下的页面,在这里为index.jsp -->
    <welcome-file-list>
        <welcome-file>index.jsp</welcome-file>
    </welcome-file-list>
</web-app>
第四步,添加spring配置文件,其文件名需与web.xml中的<servlet-name></servlet-name>中的名字一致:
<?xml version="1.0" encoding="UTF-8"?>
<beans xmlns="http://www.springframework.org/schema/beans" xmlns:xsi="http://www.w3.org/2001/XMLSchema-instance" xmlns:p="http://www.springframework.org/schema/p" xmlns:context="http://www.springframework.org/schema/context" xmlns:mvc="http://www.springframework.org/schema/mvc" xsi:schemaLocation="
    http://www.springframework.org/schema/beans
    http://www.springframework.org/schema/beans/spring-beans-3.0.xsd
    http://www.springframework.org/schema/context
    http://www.springframework.org/schema/context/spring-context-3.0.xsd
    http://www.springframework.org/schema/mvc
    http://www.springframework.org/schema/mvc/spring-mvc-3.0.xsd
    ">
    <!-- 默认扫描的包路径 -->
    <context:component-scan base-package="cn.org.spartacus.spring" />
    <!-- 添加注解驱动 -->
    <mvc:annotation-driven />
    <!-- 定义跳转的文件的前后缀 -->
    <bean id="viewResolver" class="org.springframework.web.servlet.view.InternalResourceViewResolver">
        <property name="prefix" value="/WEB-INF/jsp/" />
        <property name="suffix" value=".jsp" />
    </bean>
</beans>
第五步,完成前后台代码:
首先,在WEB-INF下新建一个jsp包,与上文中prefix的值相对应;并在包内新建一jsp文件,名字随便,在这里我叫它success.jsp。
<%@ page language="java" contentType="text/html; charset=UTF-8" pageEncoding="UTF-8"%>
<!DOCTYPE html PUBLIC "-//W3C//DTD HTML 4.01 Transitional//EN" "http://www.w3.org/TR/html4/loose.dtd">
<html>
<head>
<meta http-equiv="Content-Type" content="text/html; charset=UTF-8">
<title>hello world</title>
</head>
<body>
    Hello world!
</body>
</html>
其次,编写后台代码,包路径一般是公司域名倒写,我这里随便写了,如下:
/**
 * 项目名称:Spring3mvc demo
 * Copyright © 2010-2012 spartacus.org.cn All Rights Reserved
 */
package cn.org.spartacus.spring;

import org.springframework.stereotype.Controller;
import org.springframework.web.bind.annotation.RequestMapping;

/**
 * Description: TODO
 * @author hankaibo
 * @date 2012-11-4
 * @version v1.0
 */
@Controller
@RequestMapping("index")
public class IndexController {
    @RequestMapping("helloWorld")
    public String helloworld() {
        // return "success"; //跳转到success页面
        return "index";
    }

}
第六步,验证。
首先编写根目录下的index.jsp页面,并在其内实现跳转,文件内容如下:
<%@ page language="java" contentType="text/html; charset=UTF-8" pageEncoding="UTF-8"%>
<%@taglib prefix="c" uri="http://java.sun.com/jsp/jstl/core"%>
<!DOCTYPE html PUBLIC "-//W3C//DTD HTML 4.01 Transitional//EN" "http://www.w3.org/TR/html4/loose.dtd">
<html>
<head>
<meta http-equiv="Content-Type" content="text/html; charset=UTF-8">
<title>index</title>
</head>
<body>
    OK!
    <c:redirect url="/app/index/helloWorld" /><!-- 用来实现跳转,验证spring成功与否 -->
</body>
</html>
最后,打开浏览器,输入地址,验证。

测试成功,^_^.