cocos2d cocos2d-x 使用自定义字体
我们写项目,难免游戏或应用里用一些艺术字,今天我们来扯一扯cocos2d-iphone(cocos2d-x一样)的自定义字体CCLabelBMFont:
首先下个字体编辑工具来设置字体
-
http://www.n4te.com/hiero/hiero.jnlp (java version)
-
http://slick.cokeandcode.com/demos/hiero.jnlp (java version)
-
http://www.angelcode.com/products/bmfont/ (windows only)(我们今天以这个为例)
-
http://glyphdesigner.71squared.com/ (Mac only)
-
http://www.bmglyph.com (Mac only)
-
http://tinyfont.com (Mac only)
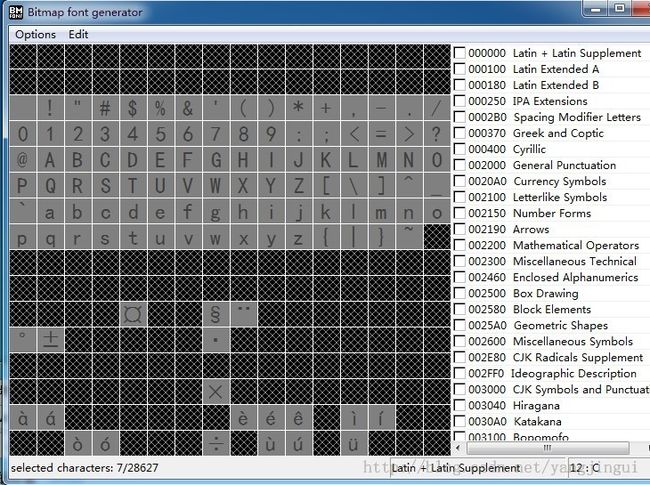
我们今天以Bitmap font generator 为例,下载、安装、打开就看到这么个界面
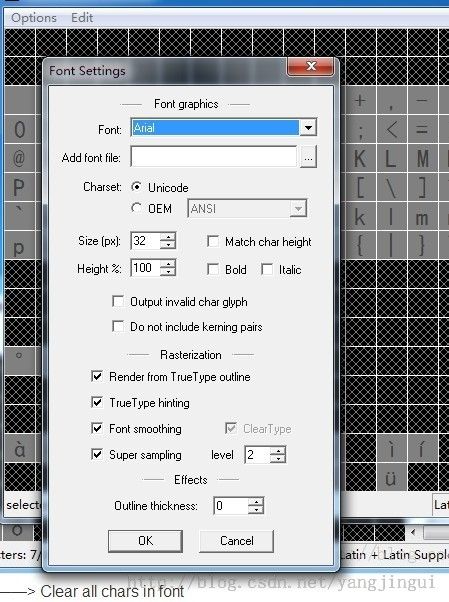
第一步:Options ——> Font settings 设置要自定义字体的基字体
小注: size就是字体大小,因为这个方法会糊,尽可能靠近你使用的字体大小,其他的没啥特别要说明的,根据英文见名知意就好了
第二步:Edit ——> Clear all chars in font。
第三步:Edit ——> Select chars from file
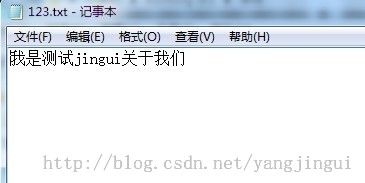
事先建好的一个txt,里面有你要设置特殊字的文字,例如我有一个123.txt
选取这个文件,确定的时候,如果没有任何提示说明就成功了,如果提示有问题,这个就是字符编码的问题,建议选择unicod或UTF-8(当然了,这个后续生成的图片有问题,出现乱码或无图片也就是这个txt的编码问题,修改下就可以了,不要告诉我你不会修改txt的编码)
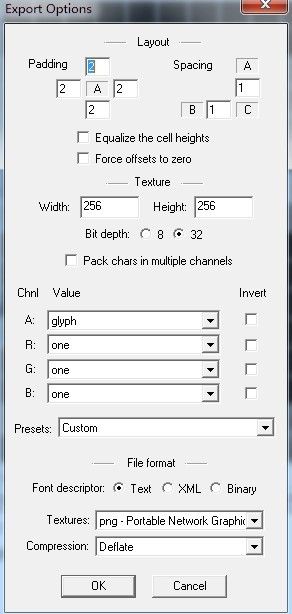
第四步:Options ——> Font settings
小注:因为我要后续描边 所以我的padding 2, 2,2, 2 ; Bit depth:选择32位 这样才支持透明 ;Texture 的width和高度,根据你的字体大约数字调整,因为我们在玩cocos2d-x和cocos2d,所以记得2的n次方,不浪费的程序员才是好程序员(哈哈,这里千万别太省了,太省了你会二笔的发现,保存字体后,我靠,好多 .fnt 和 .png); Textures这个肯定png了,然后OK。
最后一步:导出字体 Ctrl+S ( Options ——> Save bitmap font as ) 起个名字,然后就看到了一个*.fnt 和一个*.png
OK 拿着这两个东东,.png加工后(这个png我是拿到photoshop里面做了个简单的描边),切处理完毕,这两个东东 托到我们的项目里面去。
首先呢,我们来看看cocos2d-iphone
 CCLabelBMFont *label = [CCLabelBMFont labelWithString:@"关于我们" fntFile:@"jingui.fnt" width:32 alignment:NSTextAlignmentLeft];

// ask director for the window size
CGSize size = [[CCDirector sharedDirector] winSize];

// position the label on the center of the screen
label.position =  ccp( size.width /2 , size.height/2 );

CCLabelBMFont *label2 = [CCLabelBMFont labelWithString:@"我是jingui" fntFile:@"jingui.fnt" width:32 alignment:NSTextAlignmentLeft];


// position the label on the center of the screen
label2.position =  ccp( size.width /2 , size.height*0.76 );


// add the label as a child to this Layer

 [self addChild: label];
 [self addChild: label2];
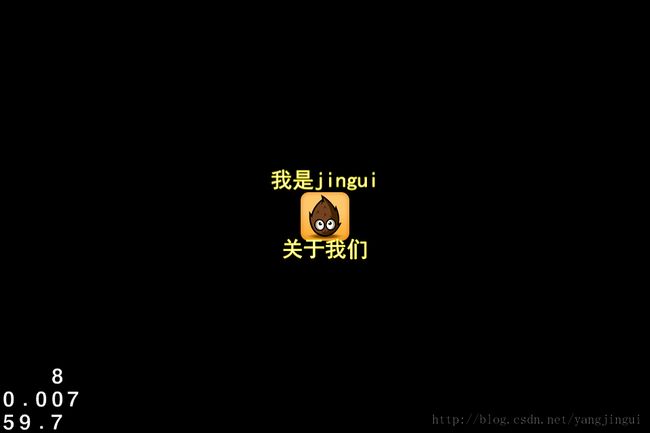
运行效果:
然后我们再来看看cocos2d-x
    CCLabelBMFont *labelTest = CCLabelBMFont::create("我是jingui", "jingui.fnt", 32.f, kCCTextAlignmentLeft);

    labelTest->setPosition(ccp(origin.x + visibleSize.width*0.5,
                            origin.y + visibleSize.height*0.66));

    // add the label as a child to this layer

    this->addChild(labelTest,1);
运行效果:
OK 效果不错吧,最后啰嗦一句,经过测试发现我这个描边 在photoshop里面选中间描边效果看上去最佳(如果直接放进来,应该显示导出时的白色的字体)。
