检测边缘、检测直线----opencv2.0学习笔记3
一、利用Canny检测图像边缘
#include "stdafx.h"
using namespace std;
using namespace cv;

void main()
{
	Mat image = imread("6.jpg");

	namedWindow("img");
	imshow("img",image);

	Mat contours;
	Canny(image,contours,125,350);

	Mat contoursInv;
	threshold(contours,contoursInv,128,255,cv::THRESH_BINARY_INV);

	namedWindow("imageresult");
	imshow("imageresult",contoursInv);
	waitKey(0);
}
函数说明:
threshold(contours,contoursInv,128,255,cv::THRESH_BINARY_INV); //将像素值低于128的都设置为255。
Canny(image,contours,125,350); //第三和第四参数为两个阈值,
原图:
反转后的效果:
二、利用普通Hough变换进直线行检测
#include "stdafx.h"
using namespace std;
using namespace cv;
#define PI 3.1415926

void main()
{
	Mat image = imread("6.jpg");

	namedWindow("img");
	imshow("img",image);

	Mat contours;
	Canny(image,contours,125,350);

	vector<cv::Vec2f> lines;
	HoughLines(contours,lines,1,PI/180,80);

	vector<cv::Vec2f>::const_iterator it = lines.begin();
	while( it != lines.end())
	{
		float rho = (*it)[0];
		float theta = (*it)[1];
		//分别处理与水平线相交的直线和垂直线相交的直线
		if(theta < PI/4 || theta > 3.*PI/4)//处理接近于垂直的直线
		{
			Point pt1(rho/cos(theta),0);
			Point pt2((rho-contours.rows*sin(theta))/
				cos(theta) , contours.rows);
			line(contours,pt1,pt2,Scalar(255),1);
		}else
		{
			Point pt1(0,rho/sin(theta));
			Point pt2(contours.cols,
				(rho-contours.cols*cos(theta))/sin(theta));
			line(contours,pt1,pt2,Scalar(255),1);
		}
		++it;
	}
	namedWindow("imageresult");
	imshow("imageresult",contours);
	waitKey(0);
}
函数说明:
HoughLines(contours,lines,1,PI/180,80); //lines:用于存储检测到的直线的参数rho和theta, 1,PI/180:为rho和theta 每次扫描的步长和角度 80:
line(contours,pt1,pt2,Scalar(255),1); //画直线,最后一个参数为直线的粗细
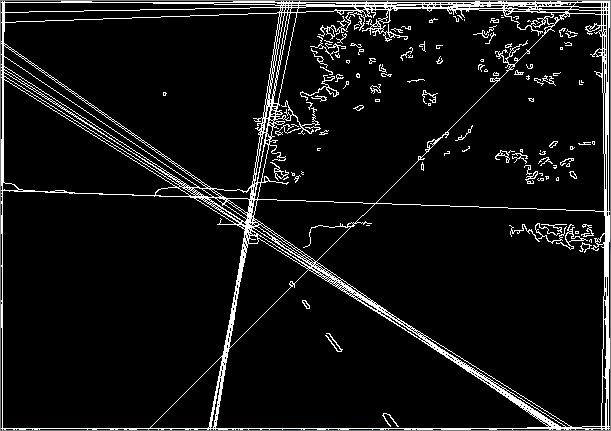
处理效果;
三、