eclipse + qemu 编译调试Linux内核
A screencast demonstrating roughly the same thing is available at: http://blip.tv/file/586651
For iTunes users there's a videopodcast at: http://takis.blip.tv/rss/itunes/
Download the Linux kernel sourcecode from http://www.kernel.org/. For example, the current kernel version is 2.6.23, a direct link would be http://kernel.org/pub/linux/kernel/v2.6/linux-2.6.23.9.tar.bz2
Extract the Linux kernel sourcecode:
cd /usr/local/src
tar xvjf linux-2.6.23.9.tar.bz2
We will build the Linux kernel in a different directory:
mkdir -p /mnt/build/linux-2.6
Next, we'll configure the kernel. Just keep pressing enter to use the default answers to all the questions that the kernel configuration program will ask you.
cd /usr/local/src/linux-2.6.23
make oldconfig O=/mnt/build/linux-2.6
Next, make the kernel a bit easier to debug:
make menuconfig O=/mnt/build/linux-2.6
And enable the following options: In the "Kernel hacking" menu enable both "Compile the kernel with debug info" and "Compile the kernel with frame pointers".
Now, we'll fire up Eclipse with the CDT plugin. You can download Eclipse with the CDT plugin from http://www.eclipse.org/downloads/. You'll need to download "Eclipse IDE for C/C++ Developers".
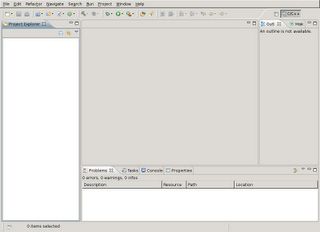
Get rid of the intro screen.
You'll get an empty workspace as shown in the screenshot. First disable automatic building, by using the "Window->Preferences" menu, selecting "General->Workspace" and deselecting "Build automatically". Eclipse will perform a time consuming indexing operation which you can disable by using the "Window->Preferences" menu, selecting "C/C++->Indexer" and switching from "Fast C/C++ Indexer" to "No Indexer".
Start a new project, by using File->New->Project...
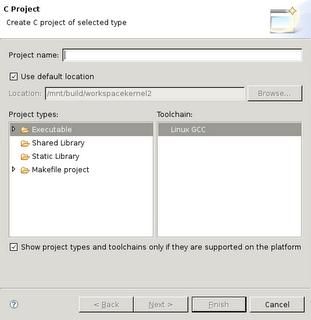
Then select "C Project", "Makefile project", "Empty Project".
Now enter a project name and specify a specific directory for the project sourcecode. To do this, first uncheck the "Use default location" checkbox.
Finally click "Finish".
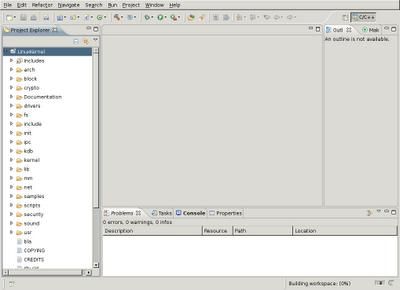
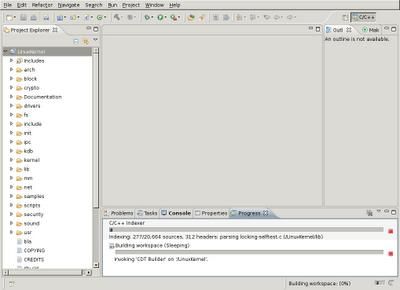
If you hadn't disabled indexing, Eclipse will now start indexing the Linux kernel sourcecode. This will take a long time.
You'll see a progressbar which might give you an indication on how long it might take to complete.
Eclipse finished indexing the kernel sourcecode. Now, we're ready to configure our debugger. Right-click on the project-name in the left pane (Project explorer) and select "Properties".
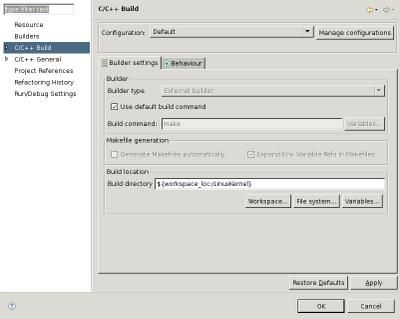
We want to modify the default build command and the location where the build files should go.
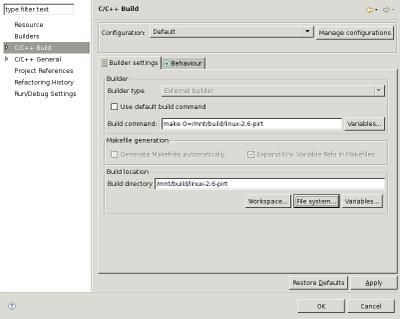
Uncheck "Use default build command" and enter make CC=gcc-3.4 O=/mnt/build/linux-2.6
Modify the build location by clicking the "File system..." button and browsing to /mnt/build/linux-2.6
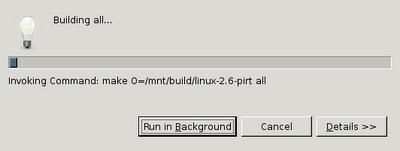
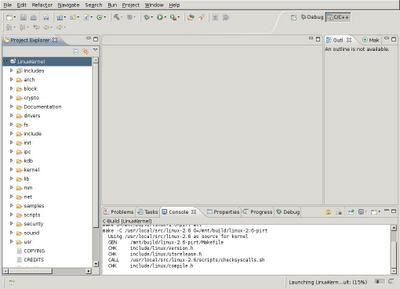
Through the menu-bar select "Project->Build all" or press "Ctrl-b".
After some time the Linux kernel build will be completed and you see "bzImage is ready" appear in the Eclipse Console output.
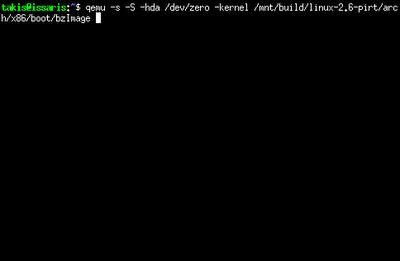
Next, we'll run our kernel binary using the Qemu system emulator. The nice thing about Qemu is that besides the normal virtual HD, floppy and ISO image booting, it can also boot Linux kernels directly. And, Qemu provides a GDB-stub to which we can connect from our Eclipse debugger. The "-s" switch activates this GDB-stub. The "-S" switch makes sure Qemu doesn't start running before we're ready (it freezes the CPU at startup).
Because the CPU is "frozen" at startup, the Qemu window won't show anything useful yet.
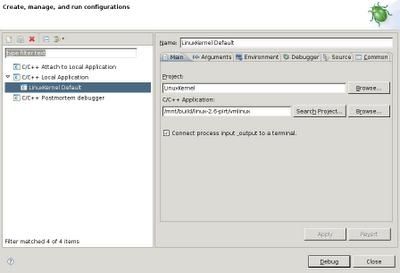
Through the menubar, select "Run->Debug Configurations...". Double-click "C/C++ Local Application". Modify the "C/C++ Application" textentry to point to the actual Linux kernel, being /mnt/build/linux-2.6/vmlinux
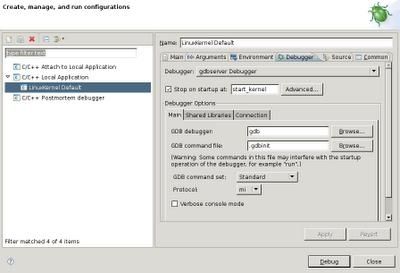
Click on the "Debugger" tab, and in the "Debugger" listbox select the "gdbserver Debugger". Next, modify the "Stop on startup at:" to "start_kernel". Below this, you'll notice a frame named "Debugger Options"; click the "Connection" tab in this frame and modify the "Type" to "TCP" and the "Port number" to 1234. Continue by clicking the "Debug" button.
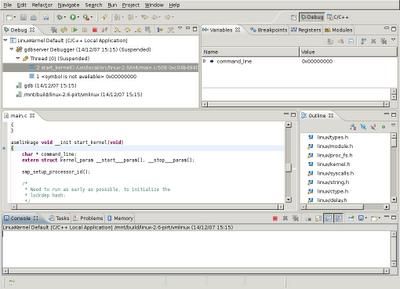
Eclipse might compile and link a bit, but will finally launch the debugger and ask if you want to switch to the debugging perspective. Say yes.
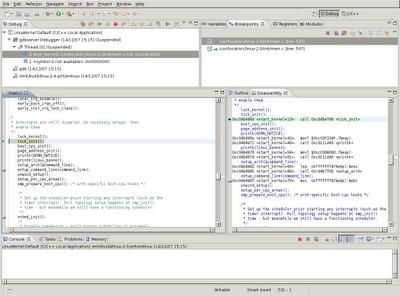
The next screenshot shows the debugging perspective. Just like with normal applications, you'll see that the line it is about the execute is highlighted.
In the Qemu window, you'll notice some output already. This is the output which happened in functions preceding the start_kernel() function.
...
By using "Run->Step over" or pressing the "F6" key, you can execute the kernel code line by line and examine what's happening.
If you want to see the assembly instructions which are being executed, you can add a view which displays this by selecting "Windows->Show View->Disassembly".
There's a register view too, as can be seen in the next screenshot. Registers who's contents has been altered by the previous execution step are highlighted in yellow.
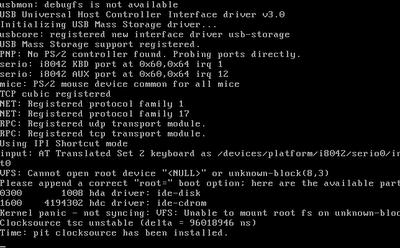
You can add breakpoints, inspect variables, inspect memory and much more, but as you keep running the kernel you'll run in trouble as we did not specify a true harddisk image for Qemu. So, you'll get the following output in the Qemu window, because the Linux kernel could not find a root filesystem on our fake harddisk image "/dev/zero".
That's it. Hopefully the above is useful (and fun) for anyone :)
