swift语言IOS8开发战记6.Alert&ActionSheet
今天来重点讲解一下Alert和ActionSheet的用法。Alert主要用来提示用户一些信息,而当用户除了需要看到消息之外,还需要做出反应,这时候就需要用到ActionSheet,也就是操作表。我们在前面的基础上继续进行,将之前的cell代理方法中调用的alertview删掉,重新编写一个ActionSheet。编写好的代码如下,稍后我将对代码进行解释。
func tableView(tableView: UITableView, didSelectRowAtIndexPath indexPath: NSIndexPath) {
            let callActionHandler = {(action:UIAlertAction!) -> Void in
                let alertMessage = UIAlertController(title: "Service is unavalable", message: "You can choice another rest" , preferredStyle: UIAlertControllerStyle.Alert)
                alertMessage.addAction(UIAlertAction(title: "ok", style: UIAlertActionStyle.Default, handler: nil))
                self.presentViewController(alertMessage, animated: true, completion: nil)
            }

        let option = UIAlertController(title: nil, message: "What are you goning to do?", preferredStyle: UIAlertControllerStyle.ActionSheet)
        let callAction = UIAlertAction(title: "Call"+"180-123-\(indexPath.row)", style: UIAlertActionStyle.Default, handler: callActionHandler)//自定义的callActionHandler来响应点击的事件
        let cancelAction = UIAlertAction(title: "ok", style: UIAlertActionStyle.Cancel, handler: nil)
        self.presentViewController(option, animated: true, completion: nil)
        option.addAction(cancelAction)
            option.addAction(callAction)
    }
我们自定义了一个名为option的ActionSheet。假使我们希望点击cell的时候能够拨打对应的条目的电话,电话号码跟行数有关系,所以定义了一个callAction,它是一个UIAlertAction,点击号码后需要一个自定义的handler来响应我们的点击事件,假设我们希望点击call之后电话并不能被拨通,这需要在我们定义的handler中展示另一个AlertView。
callActionHandler是我们定义的handler,in关键字表示这是一个闭包,请注意Void的首字母是大写的!。如果不清楚闭包是什么,可以看我的博文《Swift开发笔记2.浅谈闭包》,闭包功能是弹出一个新的AlertView,注意我们在操作AlertView的时候定义每个构件后都需要有一个添加的动作,比如UIAlertAction需要用self.presentViewController来添加,而action需要在它所属的UIAlertController上用addAction添加。
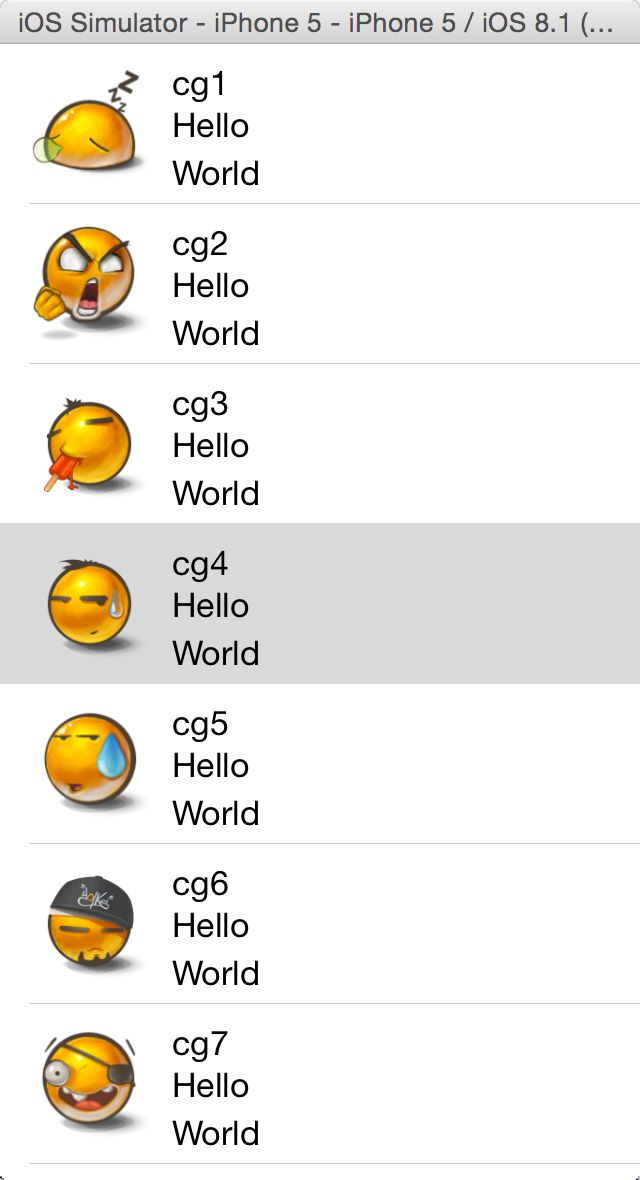
之后还定义了一个取消按键,把取消和电话两个按键都放到了option上。运行效果如图所示:
当我们点击某个cell时的效果如图:
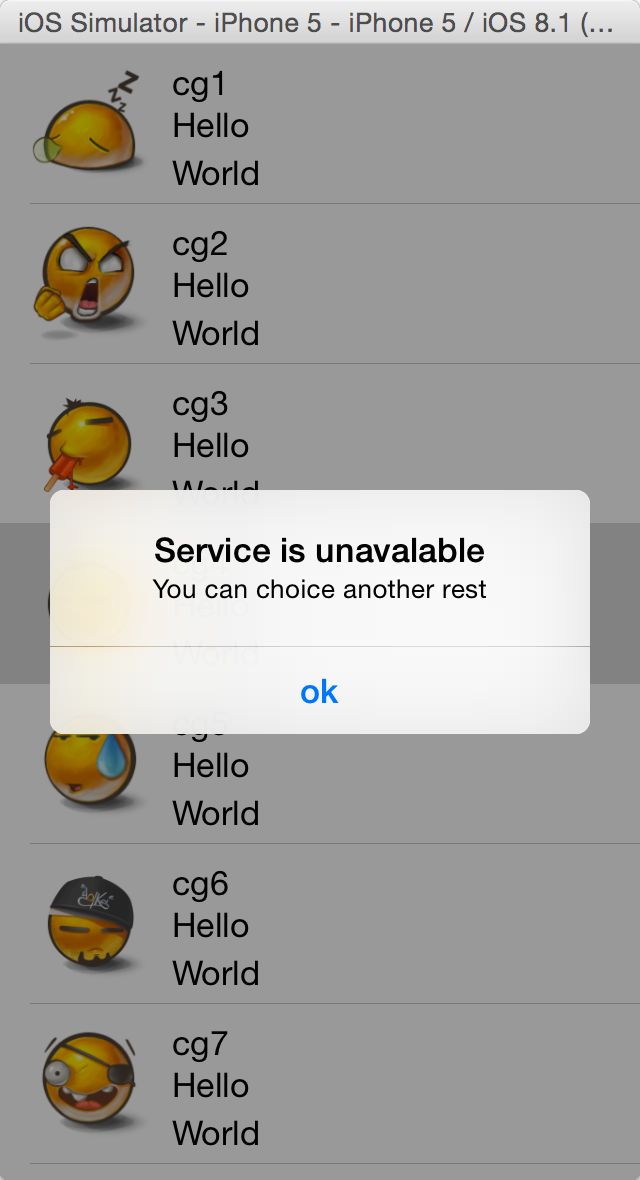
可以看到电话号码的末位是所在行数(从0开始计数)。点击“call”会有什么效果呢?如图:
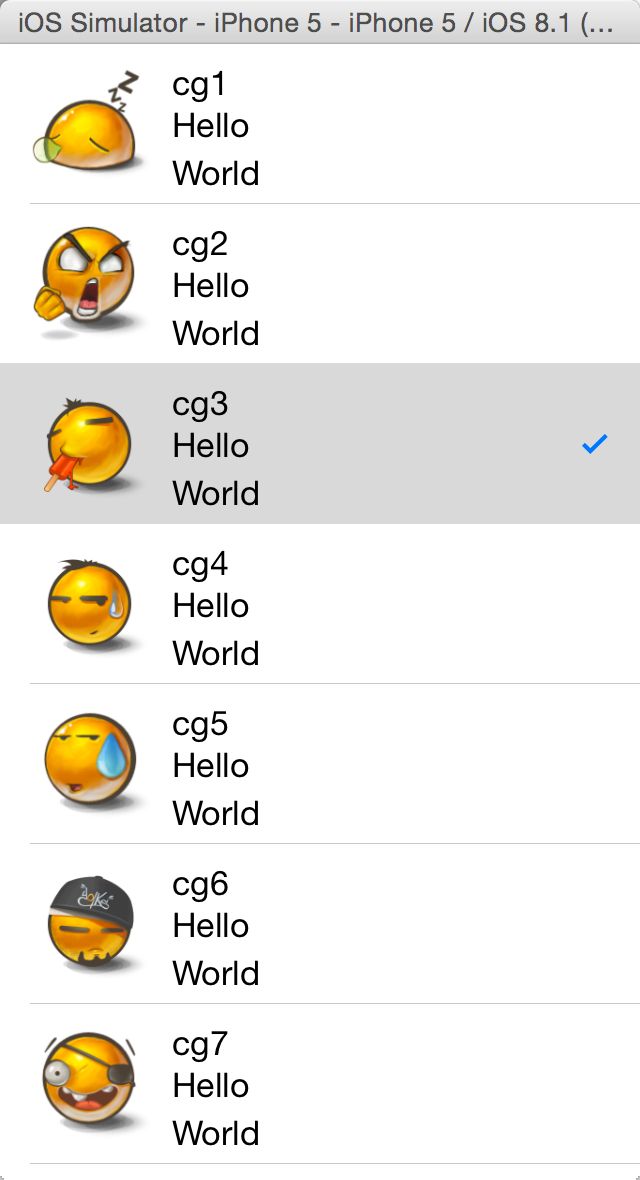
我们继续定义一个markAction,当我们在Actionsheet中选中时,会给当前选中的cell后面添加一个对号。代码如下:
 let markAction = UIAlertAction(title: "I'm here", style: UIAlertActionStyle.Default, handler: {
                (action:UIAlertAction!) ->Void in
                let cell = tableView.cellForRowAtIndexPath(indexPath)
                cell?.accessoryType = UITableViewCellAccessoryType.Checkmark   //对号
            })
            option.addAction(markAction)
效果如图:
怎么样,是不是瞬间觉得高大上了不少,但是有一个问题,这与Swift的机制有关,当我们上下拖动列表时,其实当前屏幕之外的cell信息被保存在缓冲池之后,这就会引发我们之前标记的对号的错位,所以需要在代码中设置一个标记,具体做法如下:
1.定义一个布尔类型的全局数组restIsMask,用来表示每一行的标记情况:
var restIsMark = [Bool](count: 11, repeatedValue: false)
count与我们的行数对应,repeatedValue标示初始情况
2.在markAction中当我们给某一行加上一个对号之后,把相应位置的restIsMark标记为true。
let markAction = UIAlertAction(title: "I'm here", style: UIAlertActionStyle.Default, handler: {
                (action:UIAlertAction!) ->Void in
                let cell = tableView.cellForRowAtIndexPath(indexPath)
                cell?.accessoryType = UITableViewCellAccessoryType.Checkmark   //对号
                self.restIsMark[indexPath.row] = true
            })
            option.addAction(markAction)
3.在cell的代理方法中,返回cell之前增加对restIsMark的值的判断,根据这个标记对每一行是否有对号进行重新赋值。
func tableView(tableView: UITableView, cellForRowAtIndexPath indexPath: NSIndexPath) -> UITableViewCell {
        let identiString = "Cell" //代码复用
        var cell = tableView.dequeueReusableCellWithIdentifier(identiString,forIndexPath : indexPath) as? CustomTableViewCell
        if cell == nil {
            cell = UITableViewCell(style: UITableViewCellStyle.Default, reuseIdentifier: identiString) as? CustomTableViewCell
        }
        var restName = restaurantNames[indexPath.row]
        var restLocation = "Hello"
        var imageName = restaurantImages[indexPath.row]
        var restType = "World"
        cell?.initWith(imageName, restName: restName, restLocation: restLocation, restType: restType)
        if restIsMark[indexPath.row]{
            cell?.accessoryType = .Checkmark
        } else {
            cell?.accessoryType = .None
        }
        return cell!
    }
最后再次运行并拖动,之前错位的情况不复存在了!最后每一次打上对号之后,这一行还是一个被选中的状态,如何消去这个状态呢?
在
func tableView(tableView: UITableView, didSelectRowAtIndexPath indexPath: NSIndexPath)这个代理方法中调用以下代码:
tableView.deselectRowAtIndexPath(indexPath, animated: true)
就OK了。
对Alert和ActionSheet的讲解就到这里,不知道大家有没有收获。


