使用JAX-WS开发Web Service
在MyEclipse中开发和访问Web Service
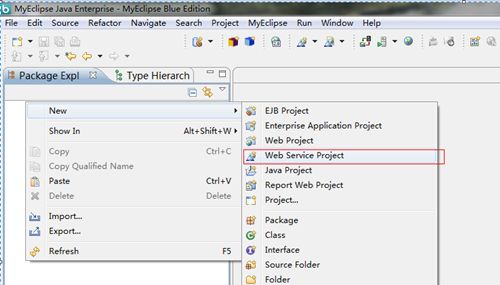
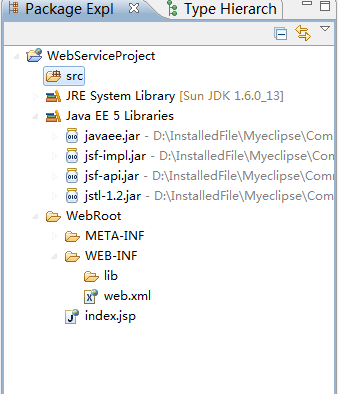
1.创建Web Service工程
文档目录:
2.创建Web Service类。首先创建包,名为webservices.simple,然后创建类,名为Calculator。
在Calculator类中添加add、subtract、multiply、divide方法。
package webservices.simple;

public class Calculator {

	public int add(int a,int b)
	{
		return (a + b);
	}
	public int subtract(int a,int b)
	{
		return (a - b);
	}
	public int multiply(int a,int b)
	{
		return (a * b);
	}
	public int divide(int a,int b)
	{
		return (a / b);
	}
}
3.创建Web Service
下面根据上面的类生成Web Service。
4.部署并测试Web Service
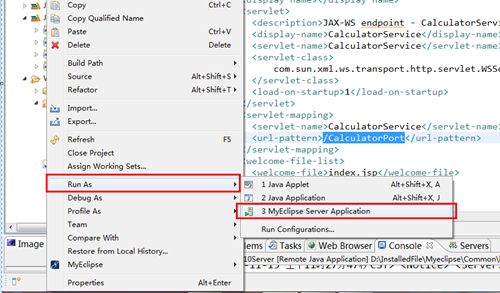
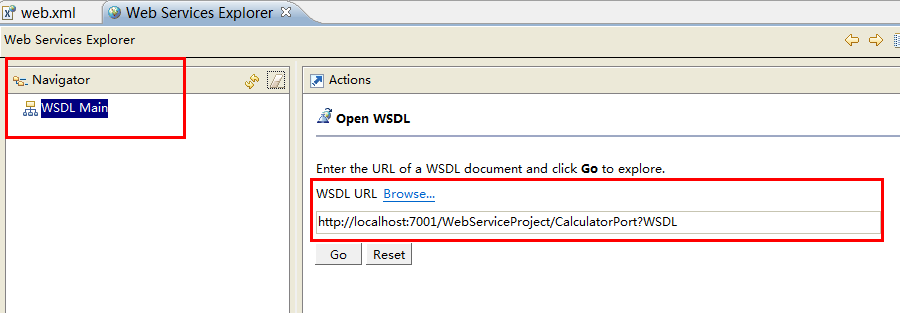
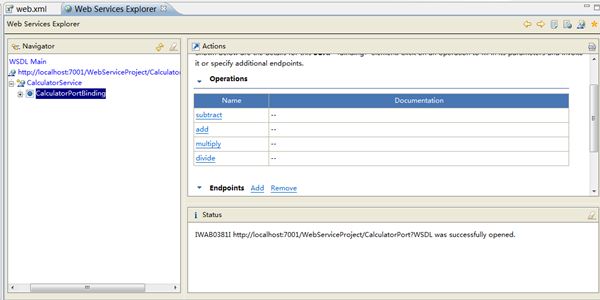
在Tomcat和Weblogic都试过,都可以运行。下面将演示在Weblogic中部署和测试。
测试add方法。
5.创建Web Service的客户端
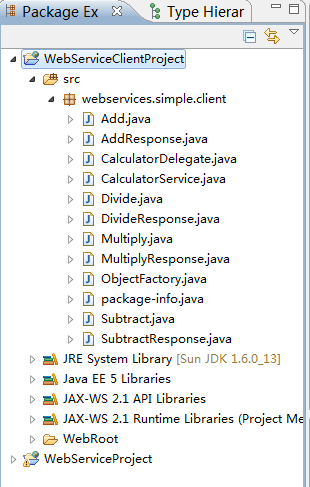
首先创建工程,工程名字为WebServiceClientProject。创建过程参照之前过程。先创建包,webservices.simple.client。
接下来创建Web Service客户端。
注意:如果有验证错误,请查看服务器是否启动,Web Service是否部署。
接下来编写测试类。创建一个新类:WebServiceClient,并选择生成mian方法。
package webservices.simple.main;

import webservices.simple.client.CalculatorDelegate;
import webservices.simple.client.CalculatorService;

public class WebServiceClient {

	/**
	 * @param args
	 */
	public static void main(String[] args) {

		/*创建service实例*/
		CalculatorService service = new CalculatorService();
		CalculatorDelegate delegate = service.getCalculatorPort();

		/*调用Web Service,执行加减乘除操作*/
		System.out.println("1. 3 + 7 =" + delegate.add(3, 7));
		System.out.println("2. 12 - 2 =" + delegate.subtract(12, 2));
		System.out.println("3. 9 * 9 =" + delegate.multiply(9, 9));
		System.out.println("4. 40 / 2 =" + delegate.divide(40, 2));

	}

}
运行结果:
