Redhat5中glibc2.5升级到glibc2.9
1.下载源码安装包
下载glibc :
http://ftp.gnu.org/gnu/glibc/glibc-2.9.tar.bz2
下载glibc-linuxthreads
http://ftp.gnu.org/gnu/glibc/glibc-linuxthreads-2.5.tar.bz2
2.解压
[root@localhost glibc]# tar -jxvf glibc-2.9.tar.bz2[root@localhost glibc-2.9]# tar -jxvf ../glibc-linuxthreads-2.5.tar.bz2
3.配置编译
[root@localhost glibc-2.9]# mkdir glibc_bulid[root@localhost glibc-2.9]# cd glibc_bulid/
[root@localhost glibc_bulid]# ../configure --prefix=/usr --disable-profile --enable-add-ons --with-headers=/usr/include --with-binutils=/usr/bin

[root@localhost glibc_bulid]# make
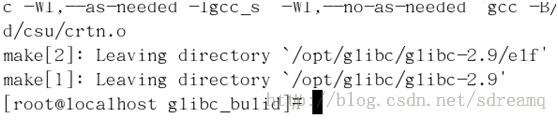
[root@localhost glibc_bulid]# make install

4.检测是否升级成功
[root@localhost glibc_bulid]# ll /lib/libc.so.6
lrwxrwxrwx 1 root root 11 08-04 14:44 /lib/libc.so.6 -> libc-2.9.so
注意:
1.
glibc-linuxthreads要解压在glibc-2.9目录下
2.不能在glibc当前目录下运行configure,应该在一个空目录下进行配置