Adnroid ViewPage 使用
引:很早之前就想写ViewPage的使用,但是因为各种原因拖了很久.
这段时间项目需要使用到ViewPage,借此机会写写对于ViewPage的一些认识.
ViewPage使用
ViewPage作为一个布局管理器,继承于ViewGroup和LinearLayout/FrameLayout等同属于布局管理器.一般ViewPage允许用户通过向左向右滑动实现页面的切换,当然你还需要实现一个PageAdapter来提供切换所需要的View.
现在ViewPage使用不得不提到Fragment了.ViewPage只负责进行页面的切换(Fragment的切换).Fragment负责提供视图并且管理自己的生命周期.绝配的一对!
我们需要要实现FragmentPageAdapter或者FragmentStatePagerAdapter其中一个即可.区别在于?
FragmentPageAdapter使用场景:页面不多并且是固定的
FragmentStatePagerAdapter使用场景:页面很多并且不固定的
接下来看看如何简单实用ViewPage
activity_main.xml
<?xml version="1.0" encoding="utf-8"?>
<LinearLayout xmlns:android="http://schemas.android.com/apk/res/android" android:layout_width="match_parent" android:layout_height="match_parent" android:orientation="vertical">

    <android.support.v4.view.ViewPager  android:id="@+id/viewPageMainContent" android:layout_width="match_parent" android:layout_height="match_parent" />
</LinearLayout>
MainActivity.java
package com.example.dsliang.viewpagedemo;

import android.os.Bundle;
import android.support.v4.app.Fragment;
import android.support.v4.app.FragmentManager;
import android.support.v4.app.FragmentStatePagerAdapter;
import android.support.v4.view.ViewPager;
import android.support.v7.app.AppCompatActivity;
import android.util.Log;
import android.view.LayoutInflater;
import android.view.View;
import android.view.ViewGroup;
import android.widget.TextView;

public class MainActivity extends AppCompatActivity {

    ViewPager mViewPageMainContent;

    @Override
    protected void onCreate(Bundle savedInstanceState) {
        super.onCreate(savedInstanceState);
        setContentView(R.layout.activity_main);

        mViewPageMainContent = (ViewPager) findViewById(R.id.viewPageMainContent);
        mViewPageMainContent.setAdapter(new ViewPagerontentAdapter(getSupportFragmentManager()));
    }

    // class ViewPagerontentAdapter extends FragmentPagerAdapter {
    class ViewPagerontentAdapter extends FragmentStatePagerAdapter {

        public ViewPagerontentAdapter(FragmentManager fm) {
            super(fm);
        }

        @Override
        public Fragment getItem(int position) {
            Fragment fragment;
            Bundle args;

            fragment = new ViewPageContentFragment();
            args = new Bundle();
            args.putInt(ViewPageContentFragment.ARG_OBJECT, position + 1);
            fragment.setArguments(args);

            return fragment;
        }

        @Override
        public int getCount() {
            return 10;
        }
    }

    class ViewPageContentFragment extends Fragment {

        public static final String ARG_OBJECT = "object";
        public final String TAG = ViewPageContentFragment.class.getSimpleName();

        @Override
        public void onCreate(Bundle savedInstanceState) {
            super.onCreate(savedInstanceState);
            Toast.makeText(getActivity(), "onCreate", Toast.LENGTH_SHORT).show();
        }

        @Override
        public View onCreateView(LayoutInflater inflater, ViewGroup container, Bundle savedInstanceState) {
            View view;
            view = inflater.inflate(R.layout.layout_viewpage, container, false);

            Bundle args = getArguments();
            ((TextView) view.findViewById(R.id.txtText)).setText(
                    Integer.toString(args.getInt(ARG_OBJECT)));
            return view;
        }

        @Override
        public void onDestroy() {
            super.onDestroy();
            Toast.makeText(getActivity(), "onDestroy", Toast.LENGTH_SHORT).show();
        }
    }
}
FragmentPagerAdapter或者FragmentStatePagerAdapter
只需要实现getCount,getItem函数即可
通过调用ViewPage.setAdapter(…)函数设置适配器,ViewPage就可以运行起来了
需要注意就是FragmentPagerAdapter和FragmentStatePagerAdapter区别在于
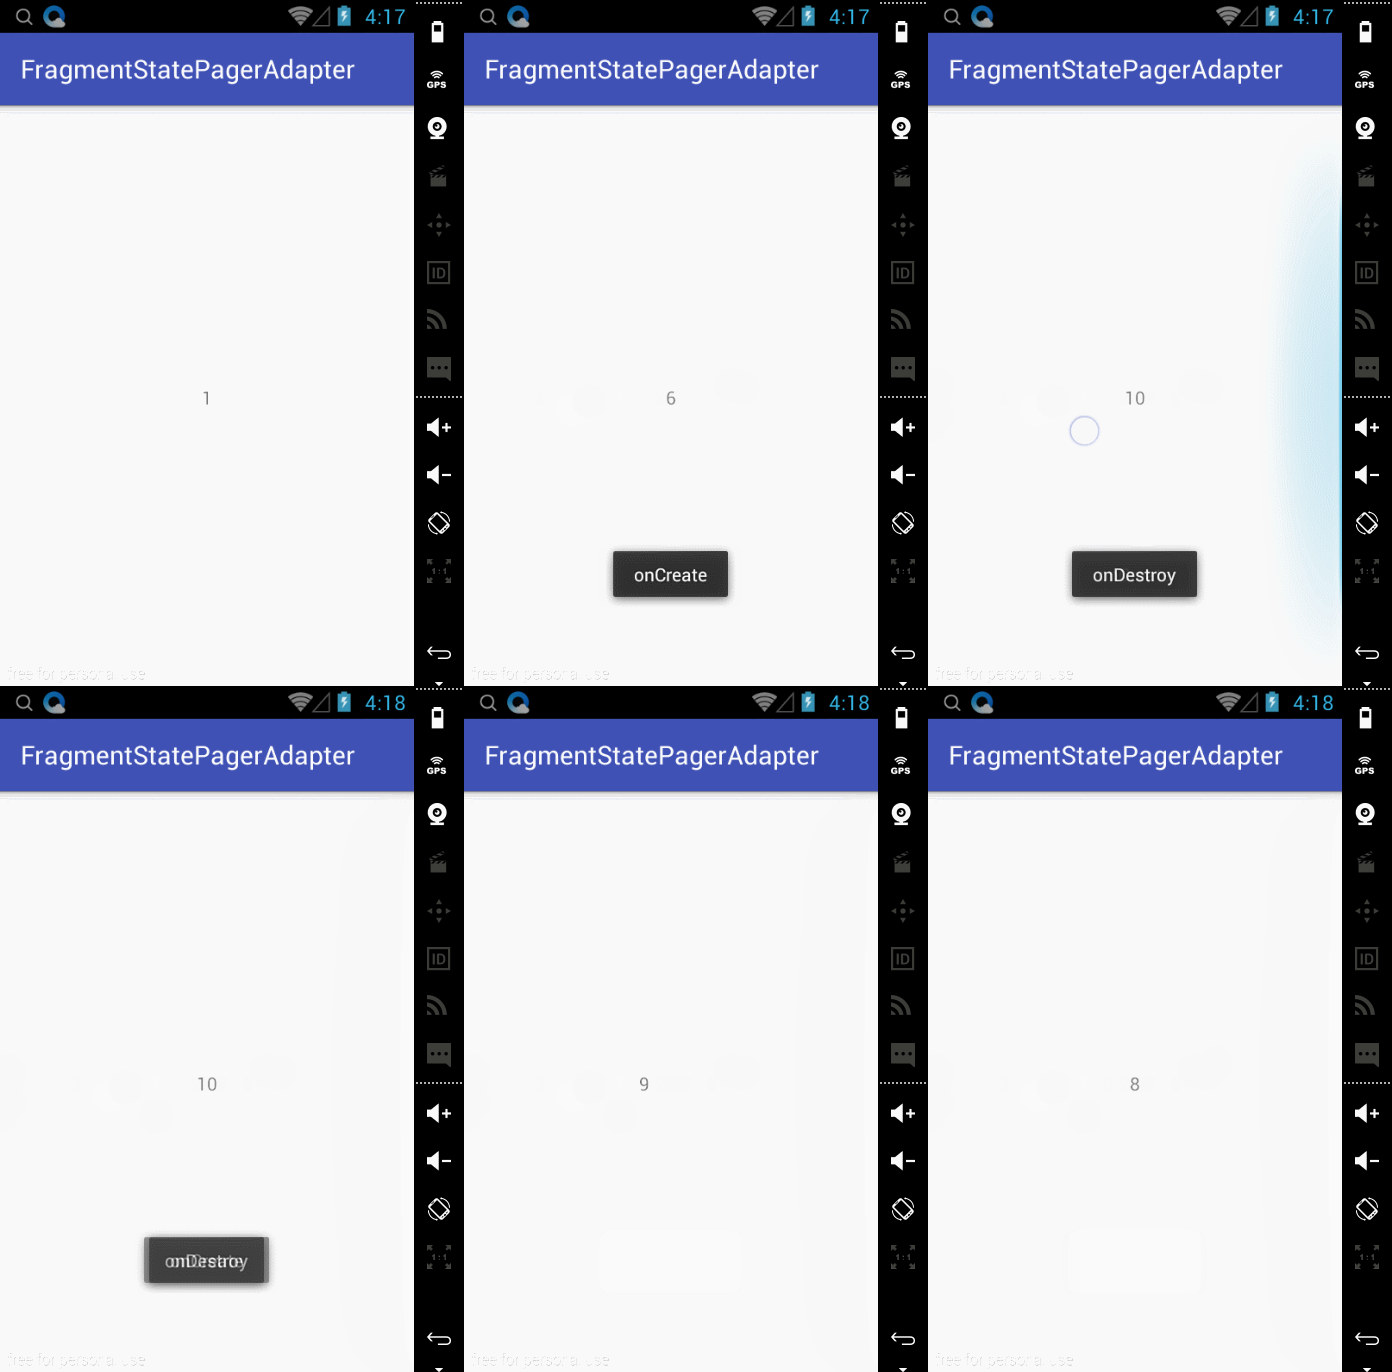
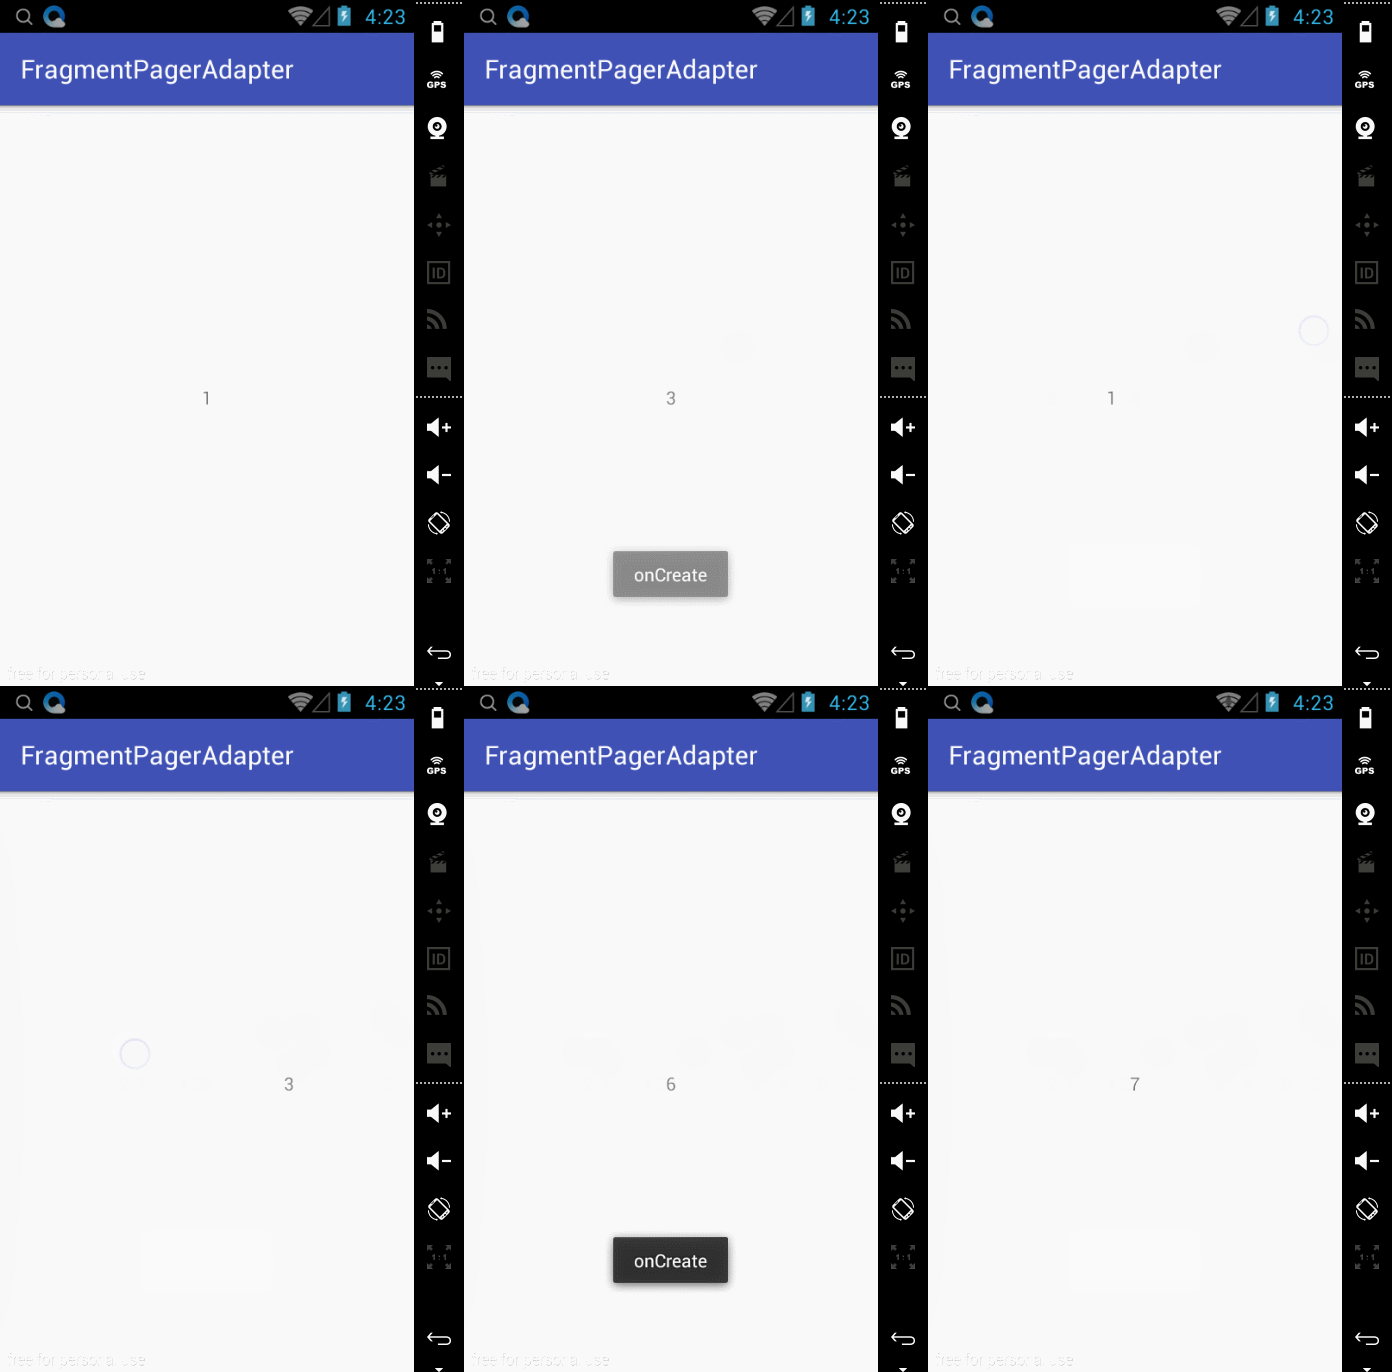
当切换到其他页面的时候FragmentStatePagerAdapter会把之前的Fragment销毁.而FragmentPagerAdapter并不会把之前的实例销毁会一直持有,意味着什么?如果一直持有那么切换回去的时候之前的状态也是会恢复.销毁了那么就什么都的重头再来呗.
如果当你会创建大量的Fragment的时候,千万别用FragmentPageAdapter了.估计随着页面的增多会越来越卡吧.(仅仅是猜测)
ViewPage配合PagerTitleStrip/PagerTabStrip使用
ViewPage的使用没有Tab/Title怎么行?接下来看看怎么使用Tab/Title.
PagerTitleStrip
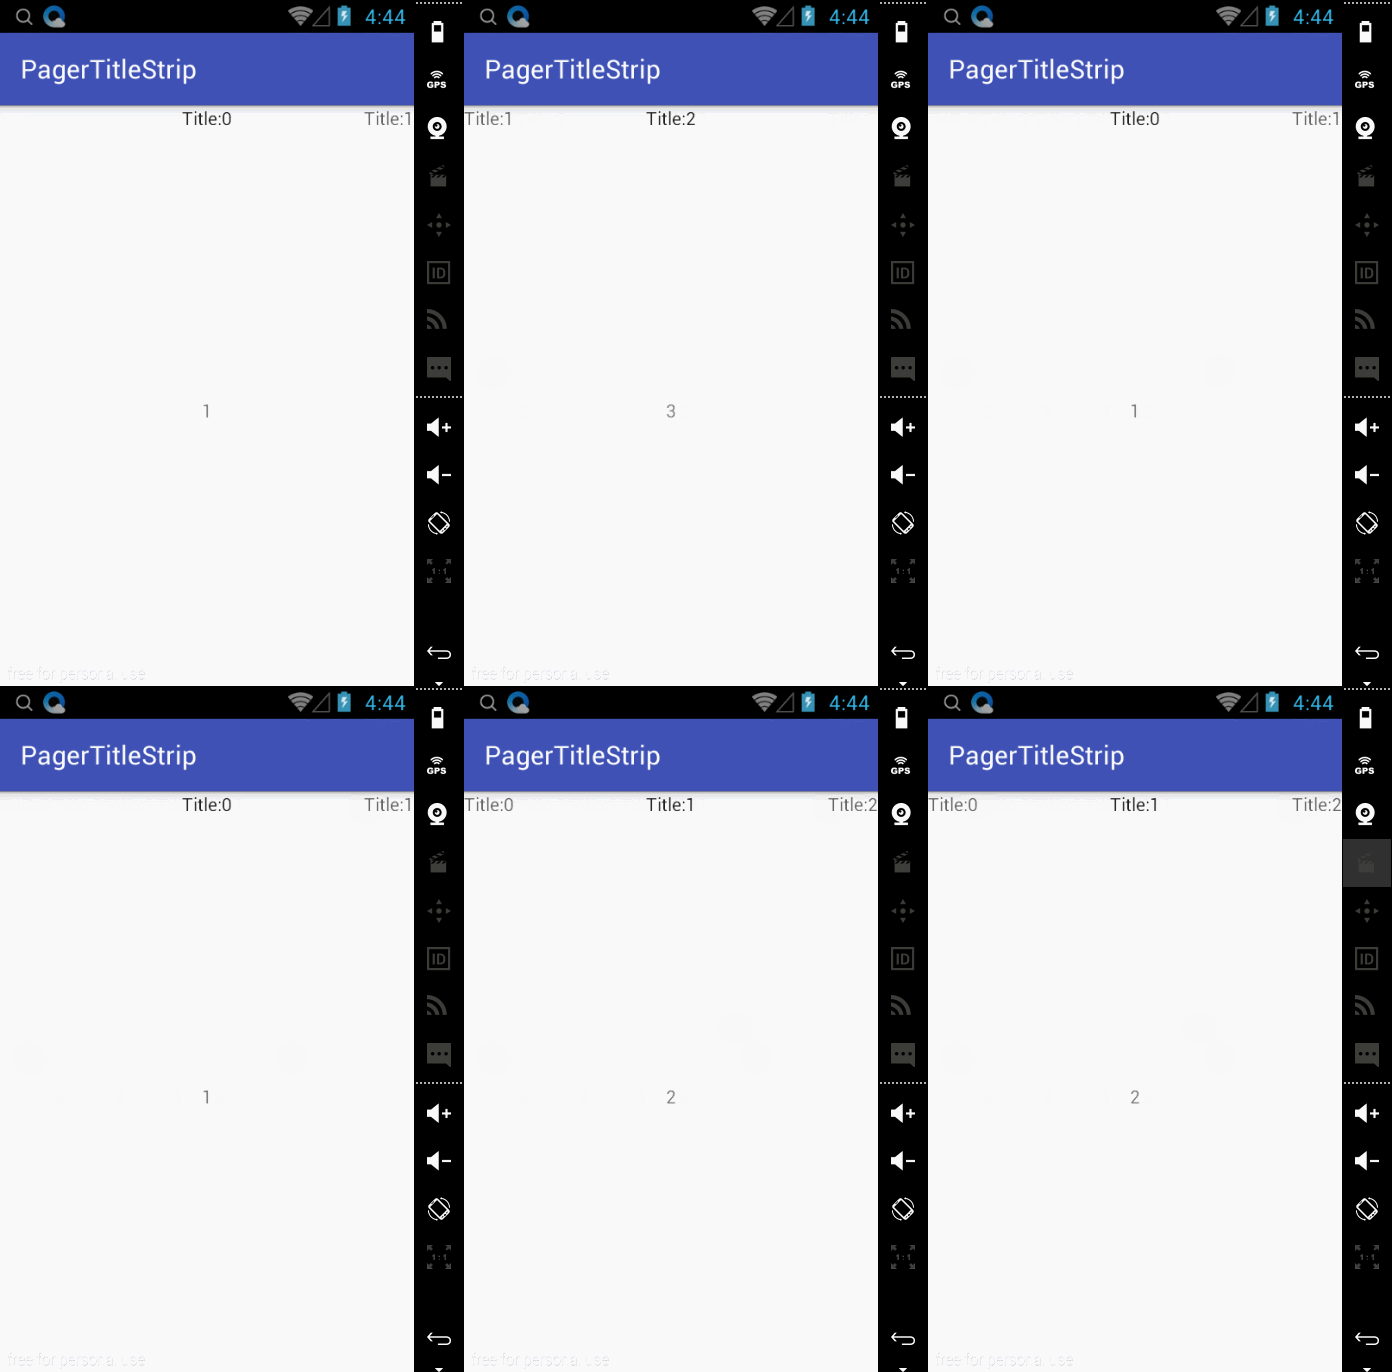
首先需要在ViewPage里面嵌入一个PagerTitleStrip控件.并且在ViewPage添加layout_gravity属性.layout_gravity可以设置为:TOP/BOTTOM.对应表示PagerTitleStrip是处于ViewPage的顶部还是底部.
FragmentPagerAdapter/FragmentStatePagerAdapter需要复写getPageTitle函数.getPageTitle提供Title的标识(字符串).
仅仅提供关键代码
MainActivity.java
...

 class ViewPagerontentAdapter extends FragmentPagerAdapter {

        public ViewPagerontentAdapter(FragmentManager fm) {
            super(fm);
        }

        @Override
        public CharSequence getPageTitle(int position) {
            return "Title:" + String.valueOf(position);
        }

        @Override
        public Fragment getItem(int position) {
            Fragment fragment;
            Bundle args;

            fragment = new ViewPageContentFragment();
            args = new Bundle();
            args.putInt(ViewPageContentFragment.ARG_OBJECT, position + 1);
            fragment.setArguments(args);

            return fragment;
        }

        @Override
        public int getCount() {
            return 3;
        }
    }
...
activity_main.xml
<?xml version="1.0" encoding="utf-8"?>
<LinearLayout xmlns:android="http://schemas.android.com/apk/res/android" android:layout_width="match_parent" android:layout_height="match_parent" android:orientation="vertical">

    <android.support.v4.view.ViewPager  android:id="@+id/viewPageMainContent" android:layout_width="match_parent" android:layout_height="match_parent" android:layout_gravity="top">

        <android.support.v4.view.PagerTitleStrip  android:id="@+id/titleIndicator" android:layout_width="match_parent" android:layout_height="wrap_content" />
    </android.support.v4.view.ViewPager>
</LinearLayout>
PagerTabStrip
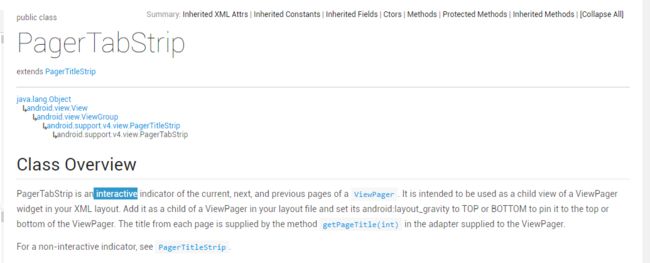
有了PagerTitleStrip为何还需PagerTabStrip?留意上面的图片其实点击Title并没有切换到相应的Page,PagerTabStrip就是为了这个理由而存在?
当然官方文档写的清清楚楚了.区别在于”交互”二字.
PagerTabStrip使用上和PagerTitleStrip基本是大同小异.
activity_main.xml
<?xml version="1.0" encoding="utf-8"?>
<LinearLayout xmlns:android="http://schemas.android.com/apk/res/android" android:layout_width="match_parent" android:layout_height="match_parent" android:orientation="vertical">

    <android.support.v4.view.ViewPager  android:id="@+id/viewPageMainContent" android:layout_width="match_parent" android:layout_height="match_parent" android:layout_gravity="top">

        <android.support.v4.view.PagerTabStrip  android:id="@+id/titleIndicator" android:layout_width="match_parent" android:layout_height="wrap_content" />
    </android.support.v4.view.ViewPager>
</LinearLayout>
PagerTabStrip效果图:
ViewPage配合PagerTitleStrip/PagerTabStrip使用起来很简单.但是不得不说原生的Tab/Title真的做的很丑陋!
ViewPage配合ActionBar使用
当然在ActionBar里面还可以嵌入Tab!ActionBar赋予了太多功能了吧?接下来说说怎么使用ActionBar的Tab模式.ActionBar可以配合ViewPage一起使用实现Tab+ViewPage效果.
TabViewPageActivity.java
package com.example.dsliang.viewpagedemo;

import android.os.Bundle;
import android.support.annotation.Nullable;
import android.support.v4.app.Fragment;
import android.support.v4.app.FragmentManager;
import android.support.v4.app.FragmentPagerAdapter;
import android.support.v4.app.FragmentTransaction;
import android.support.v4.view.ViewPager;
import android.support.v7.app.ActionBar;
import android.support.v7.app.AppCompatActivity;
import android.view.LayoutInflater;
import android.view.View;
import android.view.ViewGroup;
import android.widget.TextView;

/** * Created by dsliang on 2016/4/4. */
public class TabViewPageActivity extends AppCompatActivity {

    ActionBar mActionBar;
    ActionBar.TabListener mTabListener;
    ViewPager mViewPager;

    @Override
    protected void onCreate(@Nullable Bundle savedInstanceState) {
        super.onCreate(savedInstanceState);
        setContentView(R.layout.activityt_tab_viewpage);

        mViewPager = (ViewPager) findViewById(R.id.viewPageMainContent);

        mActionBar = getSupportActionBar();
        mActionBar.setNavigationMode(ActionBar.NAVIGATION_MODE_TABS);

        mTabListener = new ActionBar.TabListener() {
            @Override
            public void onTabSelected(ActionBar.Tab tab, FragmentTransaction ft) {

            }

            @Override
            public void onTabUnselected(ActionBar.Tab tab, FragmentTransaction ft) {

            }

            @Override
            public void onTabReselected(ActionBar.Tab tab, FragmentTransaction ft) {

            }
        };

        for (int i = 0; i < 3; i++) {
            mActionBar.addTab(mActionBar.newTab().setText("Tab " + i + 1)
                    .setTabListener(mTabListener));

        }

        mViewPager.setAdapter(new ViewPagerontentAdapter(getSupportFragmentManager()));
    }

    class ViewPagerontentAdapter extends FragmentPagerAdapter {

        public ViewPagerontentAdapter(FragmentManager fm) {
            super(fm);
        }

        @Override
        public CharSequence getPageTitle(int position) {
            return "Title:" + String.valueOf(position);
        }

        @Override
        public Fragment getItem(int position) {
            Fragment fragment;
            Bundle args;

            fragment = new ViewPageContentFragment();
            args = new Bundle();
            args.putInt(ViewPageContentFragment.ARG_OBJECT, position + 1);
            fragment.setArguments(args);

            return fragment;
        }

        @Override
        public int getCount() {
            return 3;
        }
    }

    class ViewPageContentFragment extends Fragment {

        public static final String ARG_OBJECT = "object";
        public final String TAG = ViewPageContentFragment.class.getSimpleName();

        @Override
        public View onCreateView(LayoutInflater inflater, ViewGroup container, Bundle savedInstanceState) {
            View view;
            view = inflater.inflate(R.layout.layout_viewpage, container, false);

            Bundle args = getArguments();
            ((TextView) view.findViewById(R.id.txtText)).setText(
                    Integer.toString(args.getInt(ARG_OBJECT)));
            return view;
        }

    }
}
activityt_tab_viewpage.xml
<?xml version="1.0" encoding="utf-8"?>
<LinearLayout xmlns:android="http://schemas.android.com/apk/res/android" android:layout_width="match_parent" android:layout_height="match_parent" android:orientation="vertical">

    <android.support.v4.view.ViewPager  android:id="@+id/viewPageMainContent" android:layout_width="match_parent" android:layout_height="match_parent" android:layout_gravity="top" />
</LinearLayout>
ViewPage部分代码和之前一样.
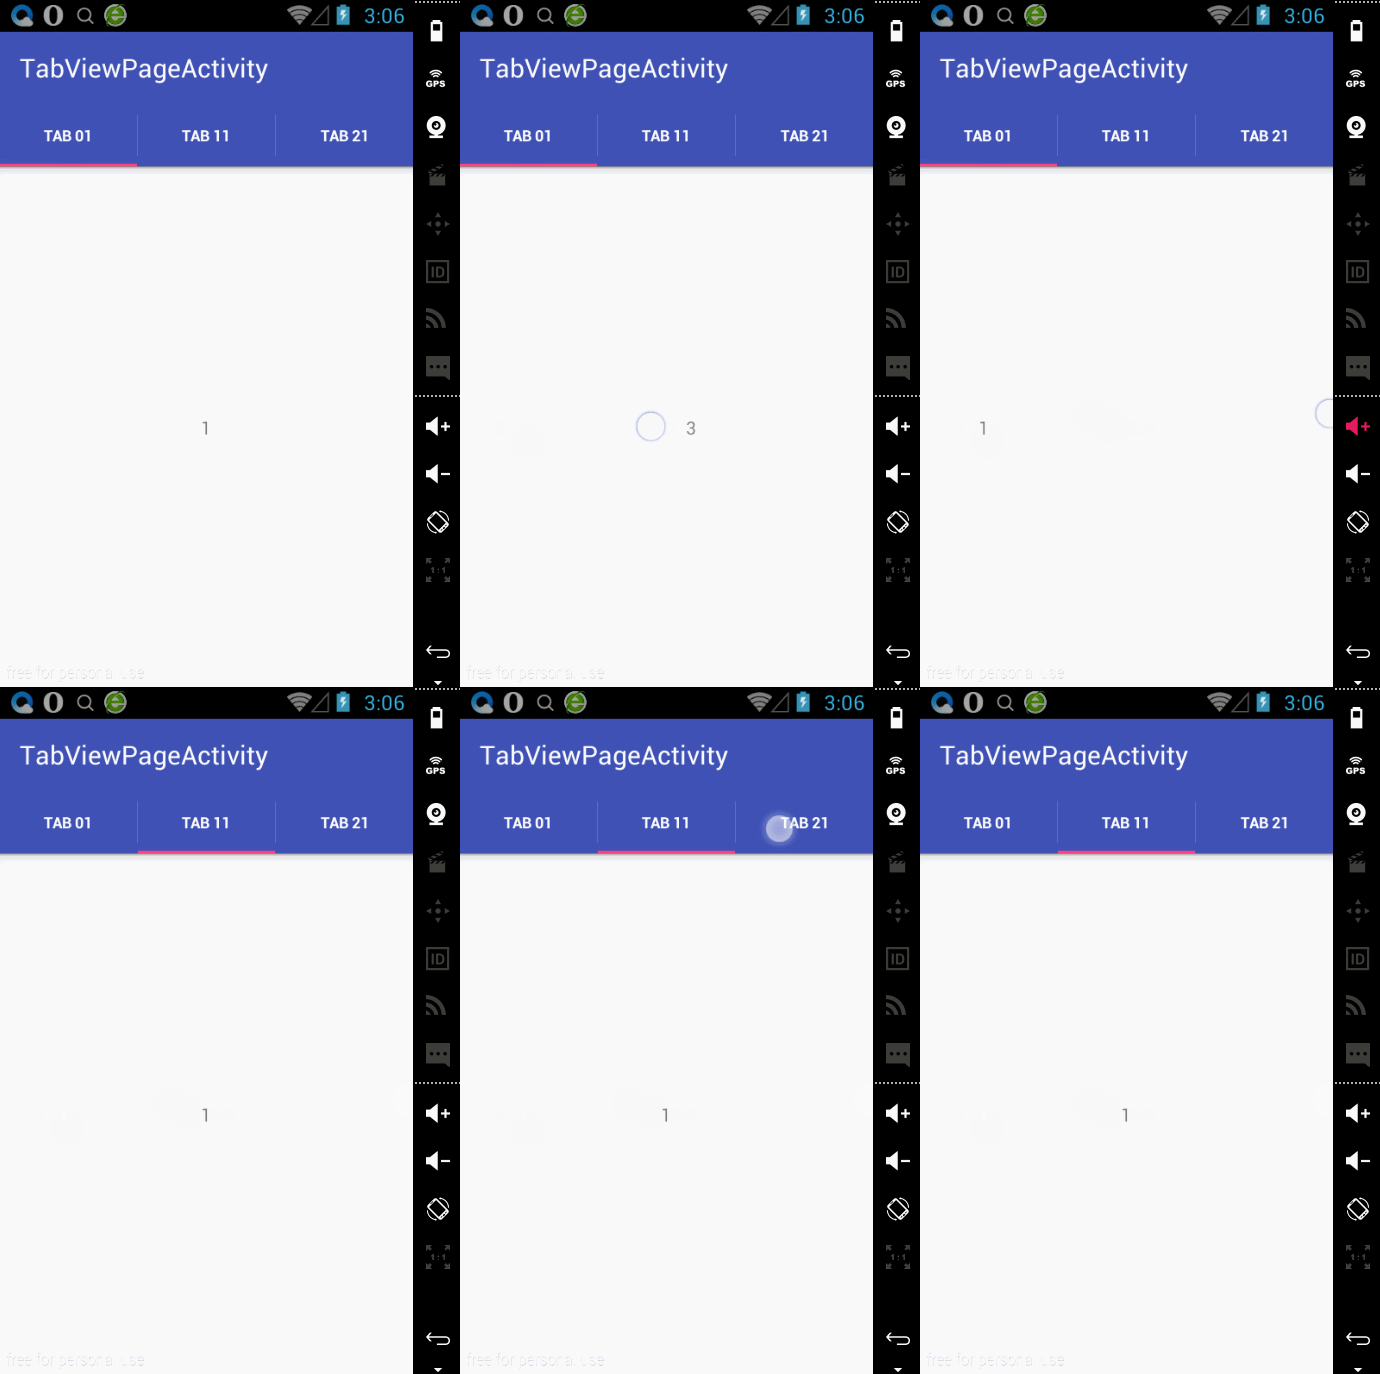
ActionBar部分.首先获取ActionBar实例然后设置成NAVIGATION_MODE_TABS模式.然后添加Tab到ActionBar就可以实现Tab功能.如效果图那样,但是还没把ViewPage和Tab关联起来.
实现ActionBar和ViewPage联动.
实现ActionBar.TabListener和ViewPager.OnPageChangeListener即可.
...

tabListener = new ActionBar.TabListener() {
            @Override
            public void onTabSelected(ActionBar.Tab tab, FragmentTransaction ft) {
                mViewPager.setCurrentItem(tab.getPosition());
            }

            @Override
            public void onTabUnselected(ActionBar.Tab tab, FragmentTransaction ft) {

            }

            @Override
            public void onTabReselected(ActionBar.Tab tab, FragmentTransaction ft) {

            }
        };

...

mViewPager.setOnPageChangeListener(new ViewPager.OnPageChangeListener() {
            @Override
            public void onPageScrolled(int position, float positionOffset, int positionOffsetPixels) {

            }

            @Override
            public void onPageSelected(int position) {
                getSupportActionBar().setSelectedNavigationItem(position);
            }

            @Override
            public void onPageScrollStateChanged(int state) {

            }
        });

...
效果图:
作为一个Mark.
参考:
http://android.xsoftlab.net/training/implementing-navigation/lateral.html#swipe-tabs
http://android.xsoftlab.net/reference/android/support/v4/view/ViewPager.html
http://android.xsoftlab.net/reference/android/support/v4/view/PagerTabStrip.html
http://android.xsoftlab.net/reference/android/support/v4/view/PagerTitleStrip.html
