Android Spinner
Android 中下拉列表选择,提供了控件Spinner,现做一个小总结,以备使用。从1.Spinner属性2.设置Spinner的adapter说起。
1.Spinner属性
首先写一个简单的Spinner
activity_main.xml
<?xml version="1.0" encoding="utf-8"?>
<RelativeLayout xmlns:android="http://schemas.android.com/apk/res/android" android:layout_width="match_parent" android:layout_height="match_parent">

    <Spinner  android:id="@+id/spin001" android:layout_width="wrap_content" android:layout_height="wrap_content" android:layout_centerHorizontal="true" android:layout_marginTop="25dp" android:entries="@array/spin001_array" />
</RelativeLayout>
values/arrays中的spin001_array资源:
<array name="spin001_array">
        <item>中国工商银行</item>
        <item>中国人民银行</item>
        <item>中国银行</item>
        <item>中国建设银行</item>
        <item>中国农业银行</item>
        <item>招商银行</item>
    </array>
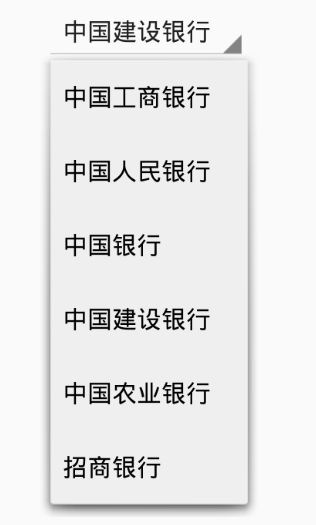
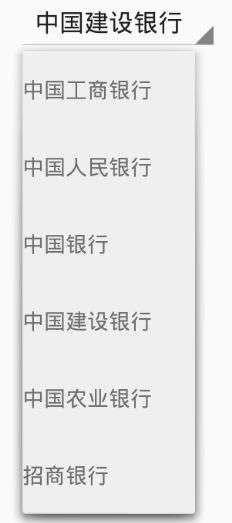
如果不需要逻辑的话,至此一个简单的下拉菜单就写完了,不需要adapter,也不需要在MainActivity中findViewById(),看效果图:
Spinner的具体属性
- android:entries=”@array/spin001_array”
可以直接在xml中绑定数据源。上面的例子就是这种方式实现的。
- spinnerMode: 显示形式
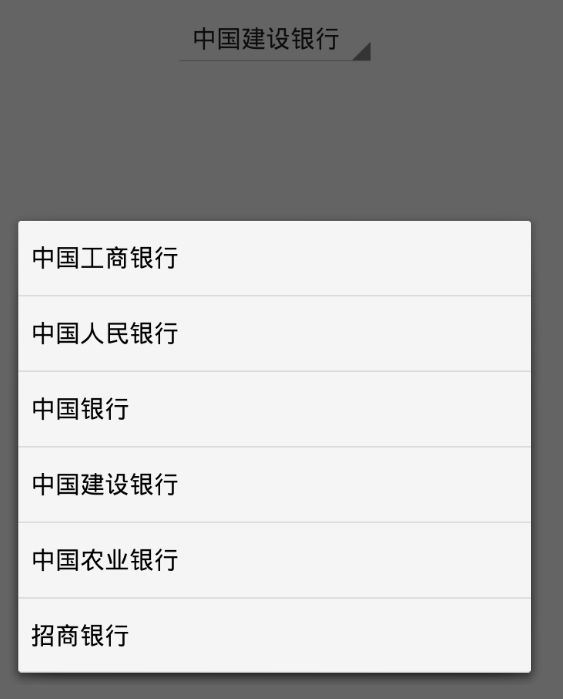
有dropdown和dialog两种显示模式。上面的例子就是dropdown形式的,dialog形式的为:
- spin001.setDropDownHorizontalOffset();
spinnerMode=”dropdown”时,下拉的项目选择窗口在水平方向相对于Spinner窗口的偏移量。单位为pixels像素值。
- android:dropDownSelector
用于设置列表选择器的显示效果。
- spin001.setDropDownVerticalOffset();
spinnerMode=”dropdown”时,下拉的项目选择窗口在垂直方向相对于Spinner窗口的偏移量。单位为pixels像素值。
- android:dropDownWidth=”“
设置下拉的项目选择窗口的宽度。
- android:popupBackground=”“
设置下拉的项目选择窗口的背景。
- spin001.setPopupBackgroundDrawable();
设置下拉的项目选择窗口的背景dwawable。效果图:
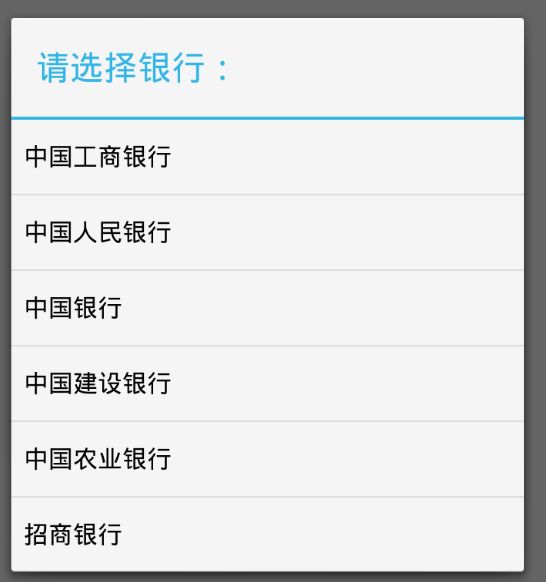
- android:prompt=”@string/bank_prompt”
设置下拉的项目选择窗口的标题,要采用@string/格式引用数据,不然会报错的。效果图:
2.设置Spinner的adapter
- 采用ArrayAdapter
  ArrayAdapter<CharSequence> adapter = ArrayAdapter.createFromResource(
                this, R.array.spin001_array, android.R.layout.simple_spinner_item);
  spin001.setAdapter(adapter);
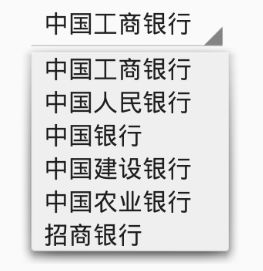
效果图如下:
细心的我们会发现,为何在下拉窗口中,item之间的间距这么小,看着很不舒服,这时候就需要自定义下拉item了。在adapter中提供了一个方法setDropDownViewResource();利用它就可以实现美观的效果了。
adapter.setDropDownViewResource(R.layout.custom_spinner_item);代码如下:
<?xml version="1.0" encoding="utf-8"?>
<TextView xmlns:android="http://schemas.android.com/apk/res/android" android:layout_width="wrap_content" android:layout_height="50dp" android:gravity="center" android:singleLine="true" />
效果如下:
- 自定义BaseAdapter
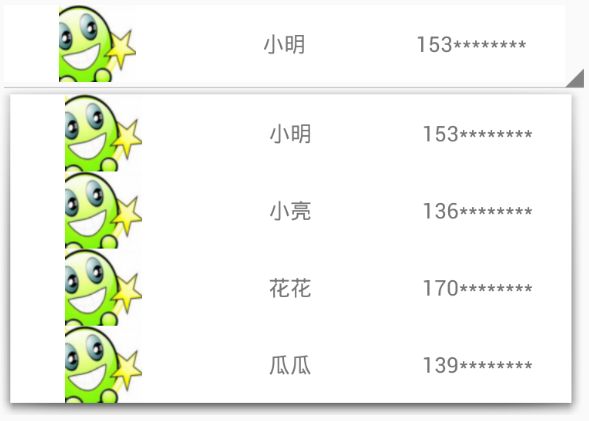
当我们需要在下拉框中显示一个用户信息,比如头像,用户名,手机号时,我们就需要使用BaseAdapter了。效果图如下:
代码:
activity_main.xml
<?xml version="1.0" encoding="utf-8"?>
<RelativeLayout xmlns:android="http://schemas.android.com/apk/res/android" android:layout_width="match_parent" android:layout_height="match_parent">

    <Spinner  android:id="@+id/spin002" android:layout_width="match_parent" android:layout_height="wrap_content" android:layout_centerHorizontal="true" android:layout_marginTop="25dp" />
</RelativeLayout>
MainActivity.java
  Spinner spin002 = (Spinner) findViewById(R.id.spin002);
        // 建立数据源
        List<Person> persons = new ArrayList<Person>();
        persons.add(new Person("小明", "153********"));
        persons.add(new Person("小亮", "136********"));
        persons.add(new Person("花花", "170********"));
        persons.add(new Person("瓜瓜", "139********"));
        // 建立Adapter绑定数据源
        MySpinnerAdapter mAdapter = new MySpinnerAdapter(this, persons);
        //绑定Adapter
        spin002.setAdapter(mAdapter);
Person.java
/** * @author zyc * created at 2016/4/27 11:28 */
public class Person {

    private String personName;
    private String cellPhone;

    public Person(String personName, String cellPhone) {
        super();
        this.personName = personName;
        this.cellPhone = cellPhone;
    }

    public String getPersonName() {
        return personName;
    }

    public void setPersonName(String personName) {
        this.personName = personName;
    }

    public String getcellPhone() {
        return cellPhone;
    }

    public void setcellPhone(String cellPhone) {
        this.cellPhone = cellPhone;
    }

}
MySpinnerAdapter.java
/** * @author zyc * created at 2016/4/27 11:30 */
public class MySpinnerAdapter extends BaseAdapter {

    private Context mContext;
    private List<Person> mList;
    private final LayoutInflater layoutInflater;

    public MySpinnerAdapter(Context context, List<Person> persons) {
        this.mContext = context;
        this.mList = persons;
        layoutInflater = LayoutInflater.from(mContext);
    }

    @Override
    public int getCount() {
        return mList.size();
    }

    @Override
    public Object getItem(int i) {
        return mList.get(i);
    }

    @Override
    public long getItemId(int i) {
        return 0;
    }

    @Override
    public View getView(int i, View convertView, ViewGroup viewGroup) {

        convertView = layoutInflater.inflate(R.layout.spinner_base_adapter, viewGroup, false);
        if (convertView != null) {
            ImageView imageView = (ImageView) convertView.findViewById(R.id.iv_head);
            imageView.setImageResource(R.drawable.dachaoxuexi);
            TextView tv_name = (TextView) convertView.findViewById(R.id.tv_name);
            TextView tv_cell_phone = (TextView) convertView.findViewById(R.id.tv_cell_phone);
            tv_name.setText(mList.get(i).getPersonName());
            tv_cell_phone.setText(mList.get(i).getcellPhone());
        }
        return convertView;
    }
}
ok,Spinner的使用总结,就到这了,有需要补充的,后续会补充上的。
