iOS UIPickerView的使用
关于UIPickerView的简单使用,包括创建、数据实现、代理代理方法等。
UIPickerView的用法与UITableView用法有些相似,首先要实现数据源和代理,在@interface中添加:
1.创建UIPickerView
UIPickerView * pickerView = [[UIPickerView alloc] initWithFrame:CGRectMake(100, 100, 200, 200)];
pickerView.delegate = self;
pickerView.dataSource = self;
[self.view addSubview:pickerView];
如果不设置Frame,系统会采用默认的Frame来显示。
2.数据源实现方法 - UIPickerView DataSource
// 设置UIPickerView的列数,component就是UIPickerView的列数
-(NSInteger)numberOfComponentsInPickerView:(UIPickerView*)pickerView { return 3; }// 设置UIPickerView每一列的行数。
-(NSInteger)pickerView:(UIPickerView*)pickerView numberOfRowsInComponent:(NSInteger)component { return 5; }3.代理方法 - UIPickerView Delegate
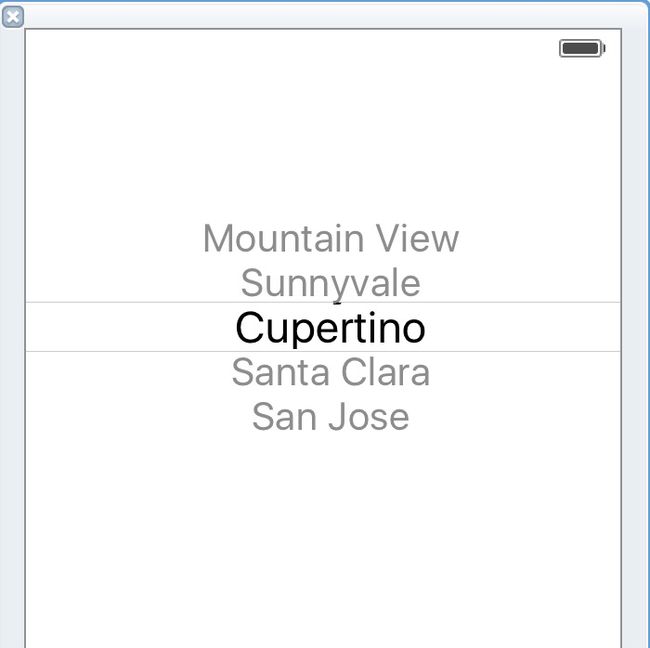
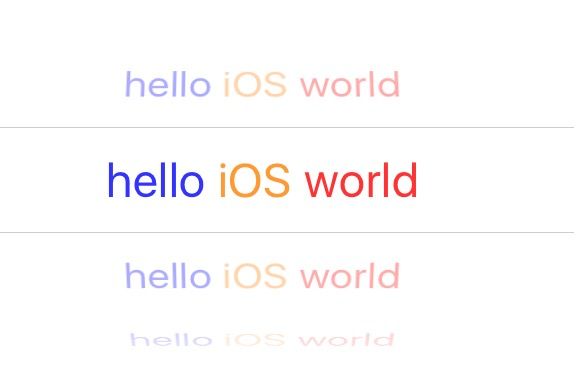
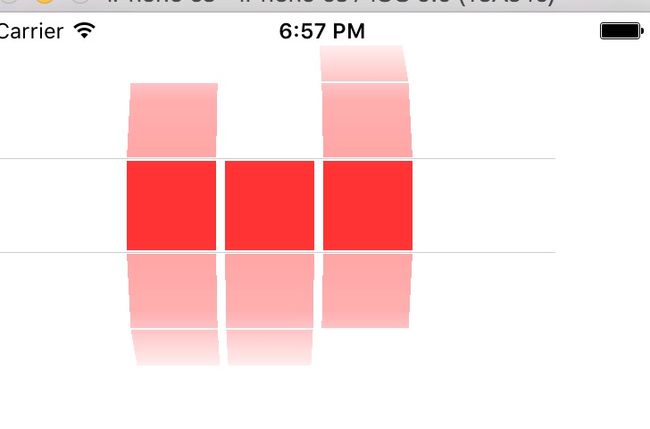
设置要显示的内容有两种方式,一种是返回要显示的NSString内容;另一种是返回一个UIView来显示颜色、图片等内容。
返回NSString:
// 设置第component列的第row行要显示的内容
-(NSString*)pickerView:(UIPickerView*)pickerView titleForRow:(NSInteger)row forComponent:(NSInteger)component {
    return @"每一行要显示的内容";
}
// 还可以设置NSAttributedString类型的文字内容
-(NSAttributedString*)pickerView:(UIPickerView*)pickerView attributedTitleForRow:(NSInteger)row forComponent:(NSInteger)component { }返回UIView:
// 该方法中传入的view与UITableView中Cell的重用机制类似,在此应该做判断,如果有可以重复使用的View(即view!=nil)就使用,没有时再创建新的view。(经测试iOS7和iOS9中这个传入的View一直都是空,无法重用,这种情况属于iOS系统的Bug,我们写代码时还是要遵循重用原则,即使它没有重用)。
-(UIView*)pickerView:(UIPickerView*)pickerView viewForRow:(NSInteger)row forComponent:(NSInteger)component reusingView:(UIView*)view {
    UIView *cellView = view;
    if (!cellView) {
        cellView = [[UIView alloc] init];
    }
    cellView.backgroundColor = [UIColor redColor];
    return cellView;
}
// 每次手动滑动UIPickerView时触发,滑动到了第component列的第row行。可在此方法中取到滑动UIPickerView后的内容。(此方法只有通过手动滑动时才会调用,用代码控制UIPickerView造成的滑动不会调用此方法)。
-(void)pickerView:(UIPickerView *)pickerView didSelectRow:(NSInteger)row inComponent:(NSInteger)component { }// 如果想通过代码的方式造成UIPickerView的滑动,可使用这个方法。component是要滑动的列,row是要滑动到的行号。此方法为
-(void)selectRow:(NSInteger)row inComponent:(NSInteger)component animated:(BOOL)animated;例如:
[self.pickerView selectRow:3 inComponent:4 animated:YES];意思是将self.pickerView中列号为4的滑动到行号为3的位置。
// 想读取UIPickerView中某一列当前选中的行号,可使用这个方法。
-(NSInteger)selectedRowInComponent:(NSInteger)component;例如:
int i = [self.pickerView selectedRowInComponent:3];意思是获取列号为3的列当前选中的行号。
// 自定义UIPickerVIew的列宽和行高
// 自定义行高
-(CGFloat)pickerView:(UIPickerView*)pickerView rowHeightForComponent:(NSInteger)component { return 50; }// 自定义列宽
-(CGFloat)pickerView:(UIPickerView*)pickerView widthForComponent:(NSInteger)component { return 50; }// 刷新数据
// 刷新所有列的数据
-(void)reloadAllComponents;// 刷新某一列的数据
-(void)reloadComponent:(NSInteger)component;


