How to build samba PDC and add client
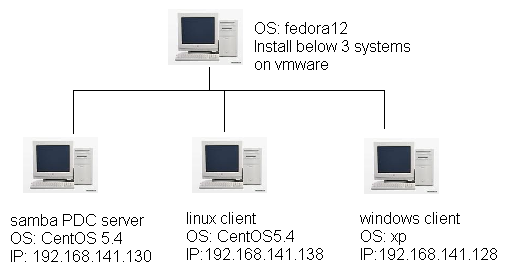
Attention: below test environment all disabled selinux and stop iptables. You need change the PDC ip to your PDC ip and domain name to your domain name, here I use ip: 192.168.141.130 , domain name: esa.com
1. Setup samba PDC server
System: CentOS5.4
IP: 192.168.141.130
#cp /etc/samba/smb.conf /etc/samba/smb.conf.bak
#vim /etc/samba/smb.conf //below only list the modify line
# This is the main Samba configuration file. You should read the
……
#======================= Global Settings======================
workgroup = esa.com //here is the domain name you want use
server string = sambapdc
netbios name = sambapdc //netbios name can’t be the same as others
; interfaces = lo eth0 192.168.12.2/24 192.168.13.2/24
; hosts allow = 127. 192.168.12. 192.168.13.
# --------------------------- Logging Options -----------------------------
……
# logs split per machine
log file = /var/log/samba/%m.log
# max 50KB per log file, then rotate
max log size = 50
# ----------------------- Standalone Server Options ------------------------
…...
; security = user
; passdb backend = tdbsam
# ----------------------- Domain Members Options ------------------------
……
; security = domain
; passdb backend = tdbsam
; realm = MY_REALM
; password server = <NT-Server-Name>
# ----------------------- Domain Controller Options ------------------------
……
security = user
passdb backend = tdbsam
domain master = yes
domain logons = yes
# the login script name depends on the machine name
; logon script = %m.bat
# the login script name depends on the unix user used
; logon script = %u.bat
; logon path = //%L/Profiles/%u
# disables profiles support by specifing an empty path
logon path =
add user script = /usr/sbin/useradd "%u" -n -g users
add group script = /usr/sbin/groupadd "%g"
add machine script = /usr/sbin/useradd -n -c "Workstation (%u)" -M -d /nohome -s /bin/false "%u"
delete user script = /usr/sbin/userdel "%u"
delete user from group script = /usr/sbin/userdel "%u" "%g"
delete group script = /usr/sbin/groupdel "%g"
……
Add some smb users for test using
#useradd user1
#useradd user2
#useradd user3
#useradd jhuang
#smbpasswd –a root
#smbpasswd –a user1
#smbpasswd –a user2
#smbpasswd –a user3
#smbpasswd –a jhuang
Restart smb service
#service smb restart
You can use below command to check smb information
#smbclient –L //localhost –U root
2. Setup linux client (x-window)
Attention: before change, please open a tty, you can use ctrl+alt+F1 or F2 and login as root, back any file which you will modify, when system failed, you can restore to the original state.
Please follow below picture to configure system, if you don’t have x-window, go to 3
a) Start setup
a) Select “Authentication configuration”, then select “Run Tool”
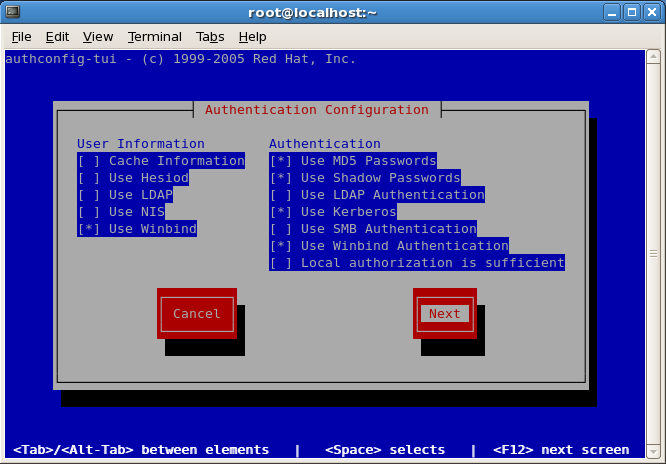
b) In “User Information” select “Use Winbind”, in “Authentication” select “Use Kerberos” and “Use Winbind Authentication”, then select “Next”
c) In “Kerberos Settings”, in put your domain name in option “Realm:” and server ip in option “KDC” , then select “Next”
d) In “Winbind Settings”, “Security Model:” select “domain”, “Domain:” input your domain name, “Domain Controllers:” in put your PDC server IP, “Template Shell” select “/bin/bash”, then select “Join Domain”. (You also can join domain by command, if you want do that, here you can select “OK” and goto step h, then in terminal in put “net join –U root”)
e) When you select “Join Domain”, it will show “Save Settings”, select “Yes”.
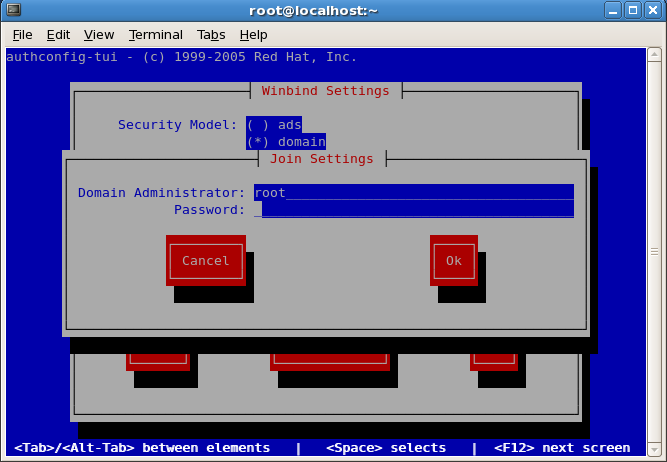
f) In Join Settings, input your PDC server root account and password, then select “OK”
g) Then it will back “Winbind Settings”, select “OK”
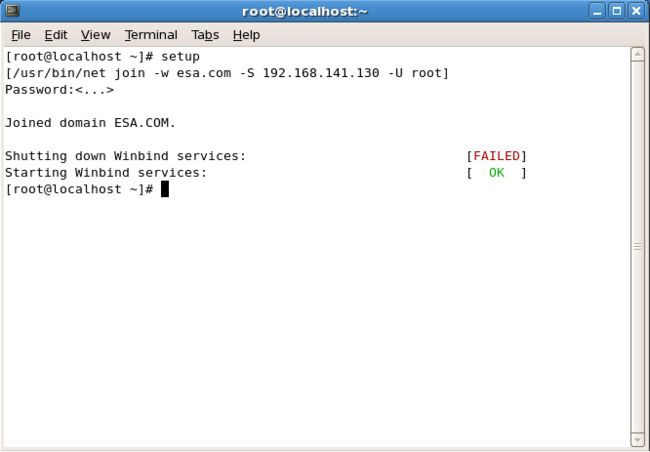
h) Then in terminal, you can see Joined domain yourdomainname , and you can see winbind services start OK
i) Modify /etc/samba/smb.conf, [global] as below
workgroup: your domain name
password server: your PDC server IP
idmap uid: domain user uid range on client system
idmap gid: domain user gid range on client system
template shell: the default shell
template homedir: when domain user login, the default path for user
winbind separator: the separator between domain name and domain user, you can change to other character
j) Restart smb and winbind services
#service smb restart
#service winbind restart
#chkconfig smb on //let smb auto start when system power on
#chkconfig winbind on
k) Modify /etc/pam.d/system-auth
#vim /etc/pam.d/system-auth
//Add below line in the end, it will create home dir for user
session required pam_mkhomedir.so skel=/etc/skel umask=0022
l) Test user
Goto a tty and use PDC server samba account login, you will see information as below picture
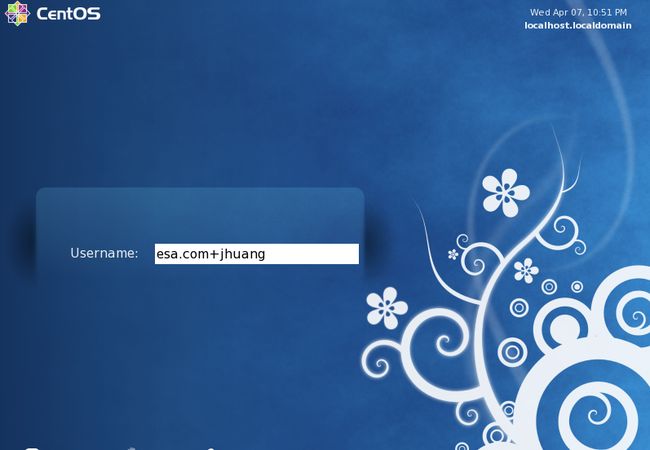
Reboot system and use PDC server samba user login x-window, you can check the default dir
3. Setup linux client (no x-window)
If you don’t have x-window, you can follow below setting to set up config
a) Modify nsswitch.conf
#vim /etc/nsswitch.conf //modify below 3 lines
passwd: files winbind
shadow: files winbind
group: files winbind
b) Modify krb5.conf
#vim /etc/krb5.conf //modify as below
[logging]
default = FILE:/var/log/krb5libs.log
kdc = FILE:/var/log/krb5kdc.log
admin_server = FILE:/var/log/kadmind.log
[libdefaults]
default_realm = ESA.COM
dns_lookup_realm = false
dns_lookup_kdc = false
ticket_lifetime = 24h
forwardable = yes
[realms]
EXAMPLE.COM = {
kdc = kerberos.example.com:88
admin_server = kerberos.example.com:749
default_domain = example.com
}
ESA.COM = {
kdc = 192.168.141.130:88
}
[domain_realm]
.example.com = EXAMPLE.COM
example.com = EXAMPLE.COM
esa.com = ESA.COM
.esa.com = ESA.COM
[appdefaults]
pam = {
debug = false
ticket_lifetime = 36000
renew_lifetime = 36000
forwardable = true
krb4_convert = false
}
c) Modify smb.conf
#vim /etc/samba/smb.conf
workgroup = esa.com
password server = 192.168.140.130
security = domain
idmap uid = 10000-20000
idmap gid = 10000-20000
template shell = /bin/bash
winbind use default domain = true
winbind offline logon = true
template homedir = /home/%D/%U
winbind separator = +
d) Modify pam
#vim /etc/pam.d/system-auth
//add below line after “auth sufficient pam_unix.so …”
auth sufficient pam_winbind.so use_first_pass
//add below line after “account sufficient pam_unix.so
auth sufficient pam_winbind.so use_first_pass
//add below line in the end
auth required pam_mkhomedir.so skel=/etc/skel umask=0022
e) set service
#service smb restart
#service winbind restart
#chkconfig smb on
#chkconfig winbind on
Reboot system and login using PDC samba account
4. Add windows client
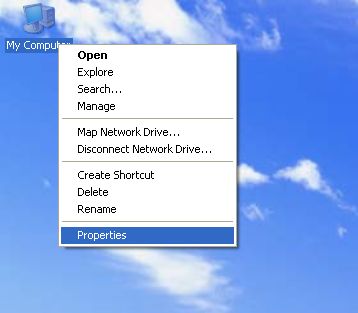
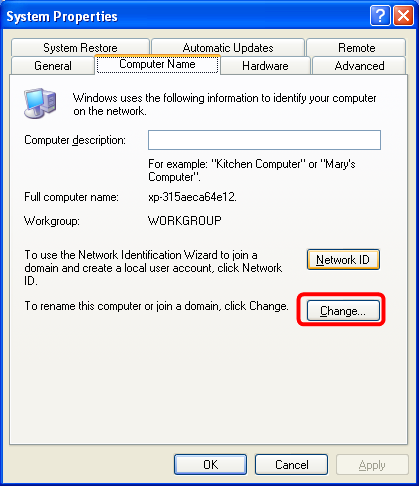
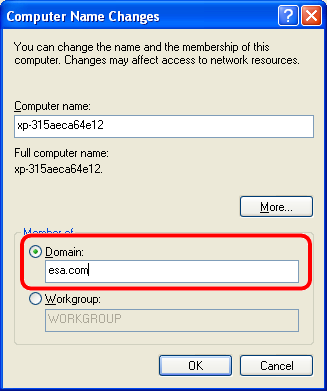
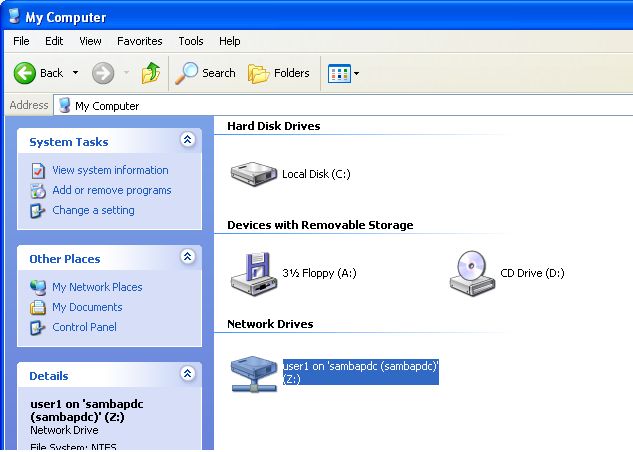
Please follow below picture to join PDC for windows system
After reboot system, select “log on to:” your domain
5. ftp access
The client is joined PDC samba. IP is 192.168.141.138, and vsftp is installed.
Start vsftp service
#service vsftpd start
a) Test on windows system
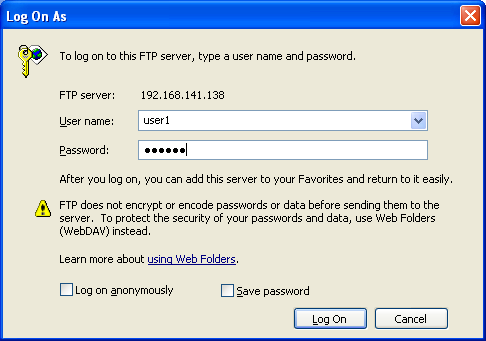
Power on a windows system, open IE and input ftp://192.168.141.138
Then it will show a window to ask you input user name and password. Input PDC samba user account (the user must have logined to the client, so when ftp log on, it will go to the user’s home dir). Just input user name (don’t imput the domain name, e.g. user1, not esa.com/user1 or esa.com+user1)
After logon, you can create a ftp fold in the Desktop fold
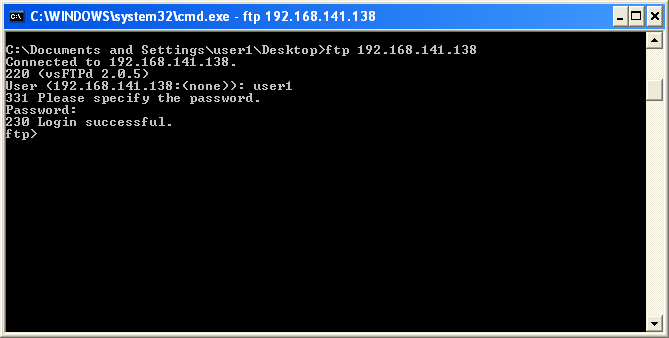
You also can use command to login the vsftp as below.
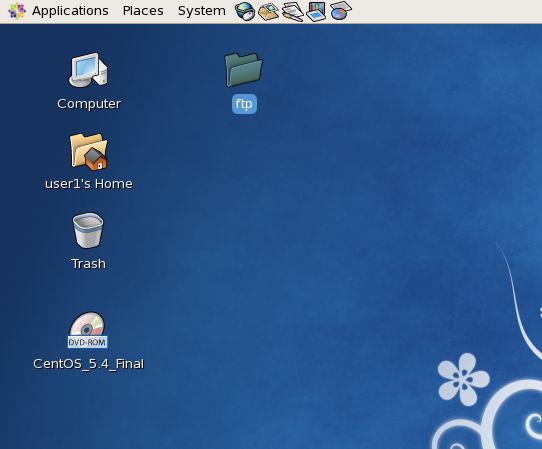
Then go to the client system, you can see the ftp fold is on the desktop
b) Test on linux system
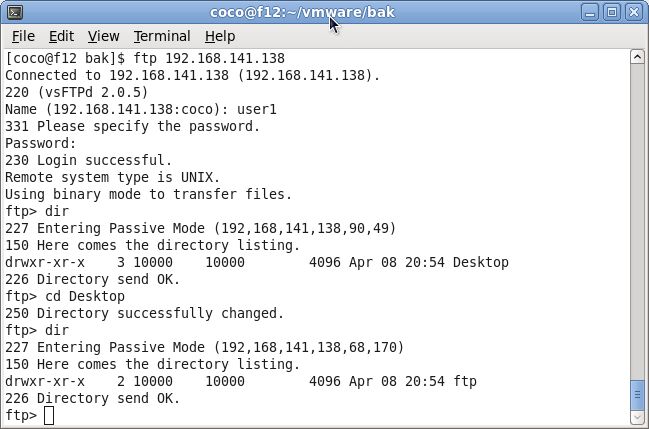
Power on another linux system, this system need install ftp client. In the terminal input ftp 192.168.141.138 , then it will ask you user name, input samba PDC user account (also don’t input the domain name).
Go to Desktop fold and check you can see the ftp fold which create in windows
6. Useful link:
http://linux.vbird.org/linux_server/0370samba.php#other_pdc
http://technet.microsoft.com/zh-tw/magazine/2008.12.linux.aspx
http://rainbird.blog.51cto.com/211214/197509
http://blog.sina.com.cn/s/blog_485acedb01008thw.html
http://baike.baidu.com/view/68889.htm
