如何通过ContentHub把内容从一个地方传到另外一个地方
我们知道在Ubuntu手机中一个应用不能直接访问另外一个应用的空间。我们有时需要这么做。比如我们想把我们自己使用照相机API照下一个照片,并放入到我们自己应用的自己可以访问的空间。但是我们不能直接把我们所照的照片直接放入到Gallery应用所拥有的目录中。如果是这样做,直接就违反系统的平台安全性。更多关于平台安全性,可以阅读文章“Ubuntu OS应用Runtime Enviroment”。我们该如何把自己的照片存入到Gallery应用所拥有的目录并让Gallery应用来显示呢?答案是使用ContentHub API。
在桌面系统上,我们必须安装如下的包:
$ sudo apt-get install content-hub
$ sudo apt-get install qtdeclarative5-ubuntu-content1
下面我们来通过一个例程来完成展示如何完成这个功能。
首先,我们来完成一个Dialog:
import QtQuick 2.0
import Ubuntu.Components 1.1
import Ubuntu.Components.Popups 1.0
import Ubuntu.Content 1.1

PopupBase {
    id: downloadDialog
    anchors.fill: parent
    property var activeTransfer
    property var downloadId
    property alias contentType: peerPicker.contentType

    Rectangle {
        anchors.fill: parent
        ContentPeerPicker {
            id: peerPicker
            handler: ContentHandler.Destination
            visible: parent.visible

            onPeerSelected: {
                activeTransfer = peer.request()
                activeTransfer.downloadId = downloadDialog.downloadId
                activeTransfer.state = ContentTransfer.Downloading
                PopupUtils.close(downloadDialog)
            }

            onCancelPressed: {
                PopupUtils.close(downloadDialog)
            }
        }
    }
}
这个是用来显示一个Dialog。它是让我们选择我们想要放到什么地方去。这里的contentType是让我们选择我们所需要的内容的类型。
import QtQuick 2.0
import Ubuntu.Components 1.1
import Ubuntu.Components.Popups 1.0
import Ubuntu.DownloadManager 0.1
import Ubuntu.Content 1.1

/*!
    \brief MainView with a Label and Button elements.
*/

MainView {
    // objectName for functional testing purposes (autopilot-qt5)
    objectName: "mainView"

    // Note! applicationName needs to match the "name" field of the click manifest
    applicationName: "contenthub-savefile.liu-xiao-guo"

    /*
     This property enables the application to change orientation
     when the device is rotated. The default is false.
    */
    //automaticOrientation: true

    // Removes the old toolbar and enables new features of the new header.
    useDeprecatedToolbar: false

    width: units.gu(60)
    height: units.gu(85)

    Page {
        id: page
        title: i18n.tr("contenthub-savefile")

        Component {
            id: downloadDialog
            ContentSaveDialog { }
        }

        SingleDownload {
            id: downloader
            autoStart: false
            onDownloadIdChanged: {
                PopupUtils.open( downloadDialog, page, {"contentType" : ContentType.Pictures,
                                    "downloadId" : downloadId } )
            }

            onFinished: {
                print("download finished! saved path: " + path);
            }
        }


        Column {
            anchors.centerIn: parent
            spacing: units.gu(1)

            Image {
                id: image
                source: "images/sample.jpg"
                width: page.width/2
                height: page.height/2
            }

            Button {
                anchors.horizontalCenter: parent.horizontalCenter
                text: "Save"
                onClicked: {
                    console.log("image source: " + image.source);
                    downloader.download(image.source)
                }
            }
        }
    }
}
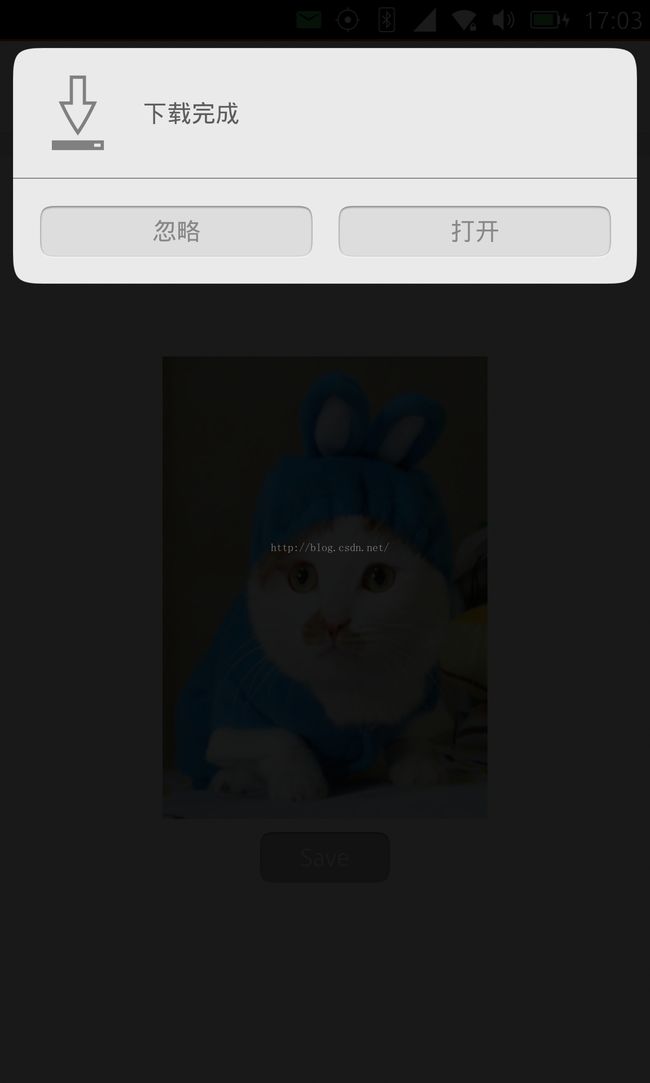
在这里,我们使用了DownloadManger里的SingleDownload来把我们所想要存的照片image存到我们想要存的地方。这个地方有上面的Dialog所提供。
为了使得这个应用能够正常运行,我们必须添加content_exchange及content_exchange_source到apparmor文件中去。否则我们将收到security的一些错误信息。
contenthub-savefile.apparmor
{
    "policy_groups": [
        "networking",
        "webview",
        "content_exchange",
        "content_exchange_source"
    ],
    "policy_version": 1.3
}
我们从上面可以看出,我们把我们自己images目录下的sample.jpg传到我们的Gallery应用拥有的目录里了。
qml: download finished! saved path: /home/phablet/.cache/com.ubuntu.gallery/HubIncoming/12/sample.jpg

