【Git+Source Tree使用教程之三】Git Workflow
The general idea is that we use the following branches in our repository:
- Development branch ('develop') This is our main development branch where all the changes destined for the next release are placed, either by committing directly for small changes, or by merging other branches (e.g. feature branches)
- Production branch ('master') This branch represents the latest released / deployed codebase. Only updated by merging other branches into it.
- Feature branches ('feature/') When we start work on anything non-trivial, we create a feature branch. Later on, we'll merge this back into the development branch to queue it for the next release.
- Release branches ('release/') When we're about to package a new release, we create a release branch from the development branch. We can make more commits to it during our preparation for release, and when it's ready to be deployed we merge it back into both the development branch, and the master branch (to indicate it's deployed).
- Hotfix branches ('hotfix/') If we need to patch the latest release without picking up new features from the development branch, we can create a hotfix branch from the latest master branch (which is the latest deployed code). Once we've made our changes, the hotfix branch is then merged back into both the master branch (to update the released version) and the development branch (to make sure the fixes go into the next release too)
In this chapter, we'll build our repo following the "Git Flow" suggestions from "Git Flow" top menu in SourceTree:

Let's clone our new repo, SourceTree2 which has nothing but "README.md":
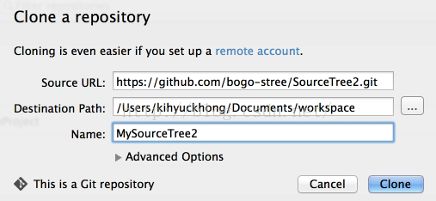
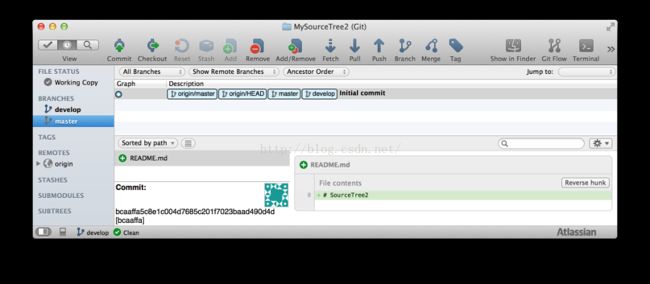
To create standard branches of Git Work Flow, we need click "Git Flow" on the top menu. The we get the following:
We get the git that looks like this:
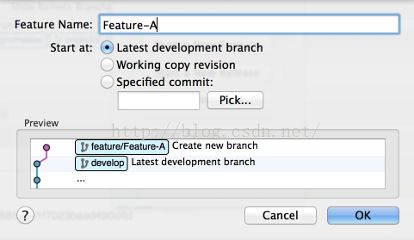
Press "Git Flow" again:
Select "Start a New Feature", and type in the name of the feature:
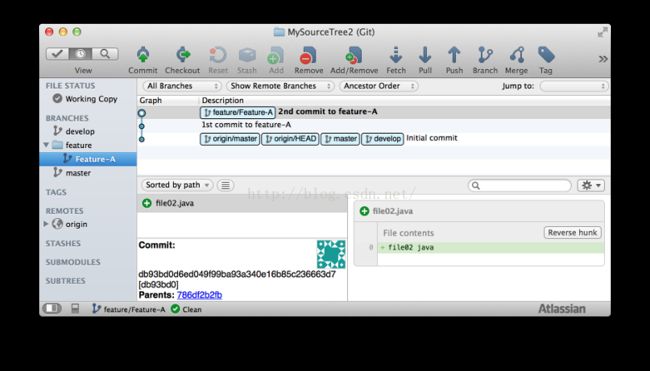
After two commits to feature-A:
Press "Git Flow" again:
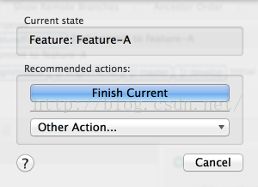
Now the feature-A branch has been merged into develop branch:
Git work flow II - Release Branch
Select "New Release" after pressing "Git Flow":
It gives us the following:
If we finish the release:
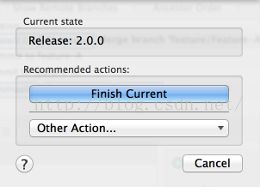
Select "Start a new Hotfix" after pressing "Git Flow":
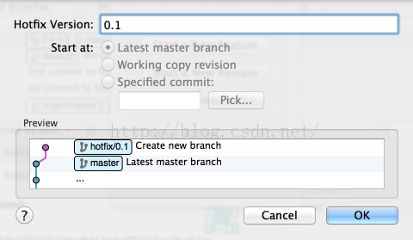
After making two Hotfixes:
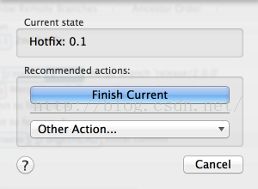
From Git Flow, select "Finish":
原文链接:http://www.bogotobogo.com/cplusplus/Git/Git_GitHub_Source_Tree_3_Git_WorkFlow.php