yii框架图片上传
1.在数据库中建立一张表(upload)
2.运用gii生成model层,底下呢是我自己运用gii根据数据库中的表进行建立model层的,upload.php如下:
<?php
namespace app\models;
use yii\web\UploadedFile;
use Yii;
/**
 * This is the model class for table "upload".
 *
 * @property integer $u_id
 * @property string $u_name
 * @property string $u_pwd
 * @property string $u_img
 */
class Upload extends \yii\db\ActiveRecord
{
    /**
     * @inheritdoc
     */
    public static function tableName()
    {
        return 'upload';
    }
    /**
     * @inheritdoc
     */
    public function rules()
    {
        return [
            [['u_name', 'u_pwd', 'u_img'], 'string', 'max' => 255]
        ];
    }
    /**
     * @inheritdoc
     */
    public function attributeLabels()
    {
        return [
            'u_id' => 'U ID',
            'u_name' => 'U Name',
            'u_pwd' => 'U Pwd',
            'u_img' => 'U Img',
        ];
    }
     public function upload(){
        return $this->u_img->saveAs('upload/' . $this->u_img->baseName . '.' . $this->u_img->extension);
}
}
3.建立uploadControler.php,在没有post的接值的时候,进入views/upload/entry.php进行显示上传页面,点击submit进入跳转,跳转进图adds方法里,进行各种判断。不要着急请往下看。
<?php
namespace app\controllers;

use Yii;
use yii\filters\AccessControl;
use yii\web\Controller;
use yii\filters\VerbFilter;
use app\models\LoginForm;
use app\models\ContactForm;
use yii\web\UploadedFile;
use app\models\Upload;
class UploadController extends Controller
{
	public function actionIndex(){
		$model = new Upload();
        if ($model->load(Yii::$app->request->post()) && $model->validate()) {
            return $this->render('entry-confirm', ['model' => $model]);
        } else {
            return $this->render('entry', ['model' => $model]);
        }
	}
	public function actionAdds()
	{
		$model = new Upload();
		$request = Yii::$app->request;
		$post=$request->post('Upload');
		$u_name = $post['u_name'];
		$u_pwd = $post['u_pwd'];
		//在浏览器输出的值是 yii\web\UploadedFile Object ( [name] => 2.jpg [tempName] => C:\Windows\php3986.tmp
		// [type] => image/jpeg [size] => 216848 [error] => 0 )
		 $arr =  $model->u_img = UploadedFile::getInstance($model,'u_img');
		  if ($model->upload()) {
                $u_img = $arr->name;
                 $connection = \Yii::$app->db;
            $result=$connection->createCommand()->insert('upload', [
                'u_name' => $u_name,
                'u_pwd' => $u_pwd,
                 'u_img' =>$u_img,
            ])->execute();
            if($result)
            {
              echo "添加成功";
            }
            else
            {
            	echo "添加失败";
            }
            }
	}
}
?>
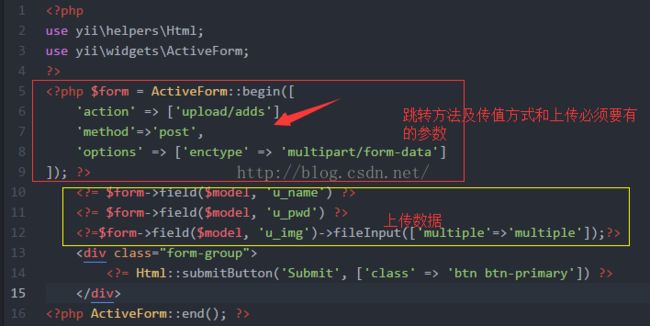
4.进入views/upload/entry.php建立entry.php,代码如下:
<?php
use yii\helpers\Html;
use yii\widgets\ActiveForm;
?>
<?php $form = ActiveForm::begin([
    'action' => ['upload/adds'],
    'method'=>'post',
    'options' => ['enctype' => 'multipart/form-data']
]); ?>
    <?= $form->field($model, 'u_name') ?>
    <?= $form->field($model, 'u_pwd') ?>
    <?=$form->field($model, 'u_img')->fileInput(['multiple'=>'multiple']);?>
    <div class="form-group">
        <?= Html::submitButton('Submit', ['class' => 'btn btn-primary']) ?>
    </div>
<?php ActiveForm::end(); ?>
