Android实战——Zxing实现二维码扫描
Zxing实现二维码扫描
前言:
本篇文章从初学者的角度出发,从一个不知道对二维码扫描怎么下手的工作者,需要一个简单的扫描功能的话,可以阅读该篇文章。作为Google开源框架Zxing,里面的文件很大,这里主要讲的是精简ZXing项目后只保留扫描功能的代码,可以缩小项目的大小,对于只要扫描功能的项目已经够用了。扫描后的结果,只要通过WebView百度一下就出来了。简单的说,可以把Zxing这个二维码扫描功能当做一个第三方服务来使用,本篇文章分为两部分,Zxing的集成和Zxing的使用
事先说明:
由于二维码需要相机权限,为了适配安卓6.0新权限系统,需要我们手动申请权限,可参考博客点击打开链接
欢迎关注个人CSDN博客:Hensen_的博客:http://blog.csdn.net/qq_30379689
第一部分:Zxing的集成
步骤一:下载我们所需要的Zxing精简版,在Github上搜索Zxing,看到这条记录
进入并下载其jar包:
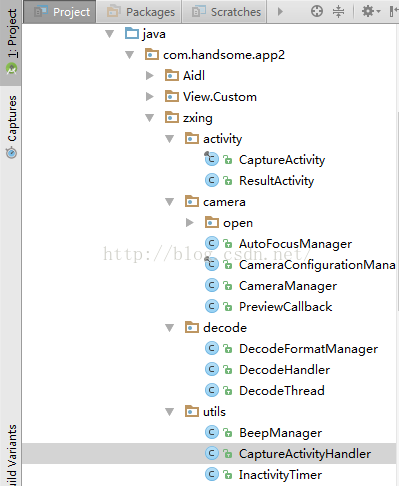
步骤二:复制到项目中,解压下载的包到ZXingProj/src/com/dtr目录下,复制这个zxing文件夹到我们的项目中,这个时候你会看到有几个红线错误:
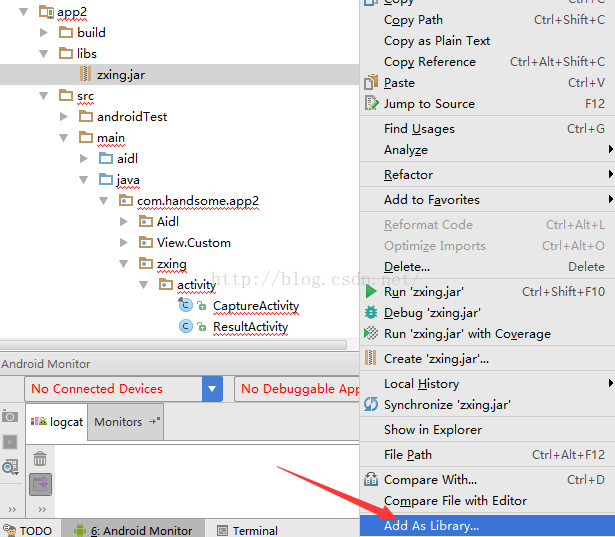
接着我们一个个来修改这些红色错误,主要错误包括:导入的R包不是本项目的,存在R.raw和R.id和R.layout的资源找不到。首先我们把该放进去的资源先放进去,复制我们libs中的zxing.jar包到项目中,记得右键AddAsLibrary
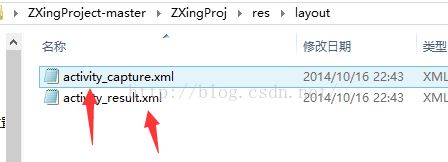
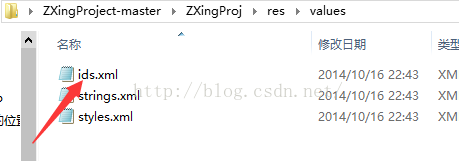
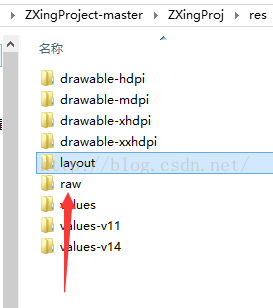
复制下载的res的layout文件、res的values的ids文件、raw文件、res的drawable-xhdpi文件到我们项目的对应位置
接着就进入红线文件一个个导入,记得删除原先的R包,换成自己项目的R包
到这里我的项目所有红线已经没了,不知道你们呢?还有Result要导入的是带有zxing的包
第二部分:Zxing的使用
步骤一:在manifests中声明权限和Activity
    <uses-permission android:name="android.permission.CAMERA" />
    <uses-permission android:name="android.permission.FLASHLIGHT" />

    <uses-feature android:name="android.hardware.camera" />
    <uses-feature android:name="android.hardware.camera.autofocus" />

    <uses-permission android:name="android.permission.VIBRATE" />
    <uses-permission android:name="android.permission.WAKE_LOCK" />
        <activity
            android:name=".zxing.activity.CaptureActivity"
            android:screenOrientation="portrait"
            android:theme="@android:style/Theme.Black.NoTitleBar" />
        <activity
            android:name=".zxing.activity.ResultActivity"
            android:screenOrientation="portrait"
            android:theme="@android:style/Theme.Black.NoTitleBar" />
步骤二:在代码中启动我们的二维码扫描页面
        Button button = (Button) findViewById(R.id.button);
        button.setOnClickListener(new View.OnClickListener() {
            @Override
            public void onClick(View v) {
                startActivity(new Intent(OpenZxingActivity.this, CaptureActivity.class));
            }
        });
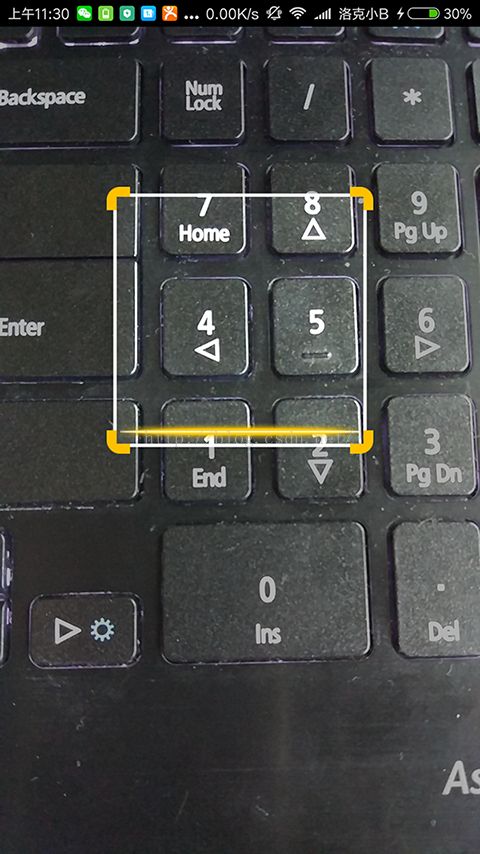
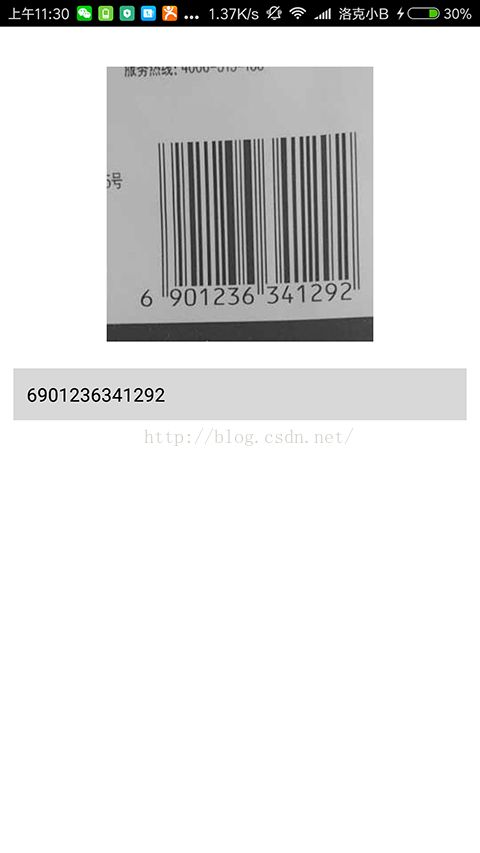
步骤三:真机效果图
CaptureActivity:
ResultActivity:
步骤四:如果你想对Capture页面的界面进行修改可以制作一张图片替换drawable里面图片,这里我们只介绍对读取结果的介绍,我们打开ResultActivity文件:
public class ResultActivity extends Activity {

	private ImageView mResultImage;
	private TextView mResultText;

	@Override
	protected void onCreate(Bundle savedInstanceState) {
		super.onCreate(savedInstanceState);
		setContentView(R.layout.activity_result);

		Bundle extras = getIntent().getExtras();

		mResultImage = (ImageView) findViewById(R.id.result_image);
		mResultText = (TextView) findViewById(R.id.result_text);

		if (null != extras) {
			int width = extras.getInt("width");
			int height = extras.getInt("height");

			LayoutParams lps = new LayoutParams(width, height);
			lps.topMargin = (int) TypedValue.applyDimension(TypedValue.COMPLEX_UNIT_DIP, 30, getResources().getDisplayMetrics());
			lps.leftMargin = (int) TypedValue.applyDimension(TypedValue.COMPLEX_UNIT_DIP, 20, getResources().getDisplayMetrics());
			lps.rightMargin = (int) TypedValue.applyDimension(TypedValue.COMPLEX_UNIT_DIP, 20, getResources().getDisplayMetrics());

			mResultImage.setLayoutParams(lps);

			String result = extras.getString("result");
			mResultText.setText(result);

			Bitmap barcode = null;
			byte[] compressedBitmap = extras.getByteArray(DecodeThread.BARCODE_BITMAP);
			if (compressedBitmap != null) {
				barcode = BitmapFactory.decodeByteArray(compressedBitmap, 0, compressedBitmap.length, null);
				// Mutable copy:
				barcode = barcode.copy(Bitmap.Config.RGB_565, true);
			}

			mResultImage.setImageBitmap(barcode);
		}
	}
}
String result = extras.getString("result");
mResultText.setText(result);

