Step 0:Create the app base code
Step 1:Diagram the layout
Step 2:Implement the title row
Widget titleSection = Container(
  padding: const EdgeInsets.all(32),
  child: Row(
    children: [
      Expanded(
        /*1*/
        child: Column(
          crossAxisAlignment: CrossAxisAlignment.start,
          children: [
            /*2*/
            Container(
              padding: const EdgeInsets.only(bottom: 8),
              child: Text(
                'Oeschinen Lake Campground',
                style: TextStyle(
                  fontWeight: FontWeight.bold,
                ),
              ),
            ),
            Text(
              'Kandersteg, Switzerland',
              style: TextStyle(
                color: Colors.grey[500],
              ),
            ),
          ],
        ),
      ),
      /*3*/
      Icon(
        Icons.star,
        color: Colors.red[500],
      ),
      Text('41'),
    ],
  ),
);
/*1*/ Putting a Column inside an Expanded widget stretches the column to use all remaining free space in the row. Setting the crossAxisAlignment property to CrossAxisAlignment.start positions the column at the start of the row.
/*2*/ Putting the first row of text inside a Container enables you to add padding. The second child in the Column, also text, displays as grey.
/*3*/ The last two items in the title row are a star icon, painted red, and the text “41”. The entire row is in a Container and padded along each edge by 32 pixels.
Step 3:Implement the button row
class MyApp extends StatelessWidget {
  @override
  Widget build(BuildContext context) {
    // ···
  }

  Column _buildButtonColumn(Color color, IconData icon, String label) {
    return Column(
      mainAxisSize: MainAxisSize.min,
      mainAxisAlignment: MainAxisAlignment.center,
      children: [
        Icon(icon, color: color),
        Container(
          margin: const EdgeInsets.only(top: 8),
          child: Text(
            label,
            style: TextStyle(
              fontSize: 12,
              fontWeight: FontWeight.w400,
              color: color,
            ),
          ),
        ),
      ],
    );
  }
}


Color color = Theme.of(context).primaryColor;

Widget buttonSection = Container(
  child: Row(
    mainAxisAlignment: MainAxisAlignment.spaceEvenly,
    children: [
      _buildButtonColumn(color, Icons.call, 'CALL'),
      _buildButtonColumn(color, Icons.near_me, 'ROUTE'),
      _buildButtonColumn(color, Icons.share, 'SHARE'),
    ],
  ),
);
Step 4:Implement the text section
Widget textSection = Container(
  padding: const EdgeInsets.all(32),
  child: Text(
    'Lake Oeschinen lies at the foot of the Blüemlisalp in the Bernese '
        'Alps. Situated 1,578 meters above sea level, it is one of the '
        'larger Alpine Lakes. A gondola ride from Kandersteg, followed by a '
        'half-hour walk through pastures and pine forest, leads you to the '
        'lake, which warms to 20 degrees Celsius in the summer. Activities '
        'enjoyed here include rowing, and riding the summer toboggan run.',
    softWrap: true,
  ),
);
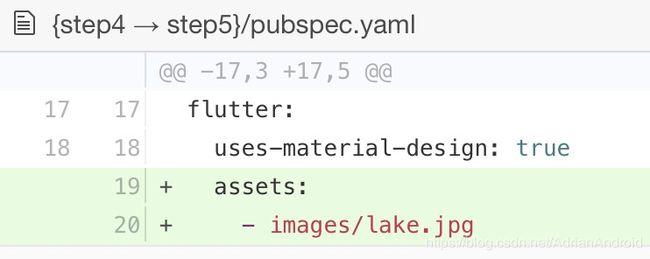
Step 5:Implement the image section

Step 6:Final touch
