Android高手进阶教程(十)之----Android PopupWindow的使用!!!
大家好,我们这一节讲的是Android PopupWindow的使用! 在我理解其实PopupWindow其实类似于一个不能动的Widget(仅从显示效果来说!)
它是浮在别的窗口之上的.
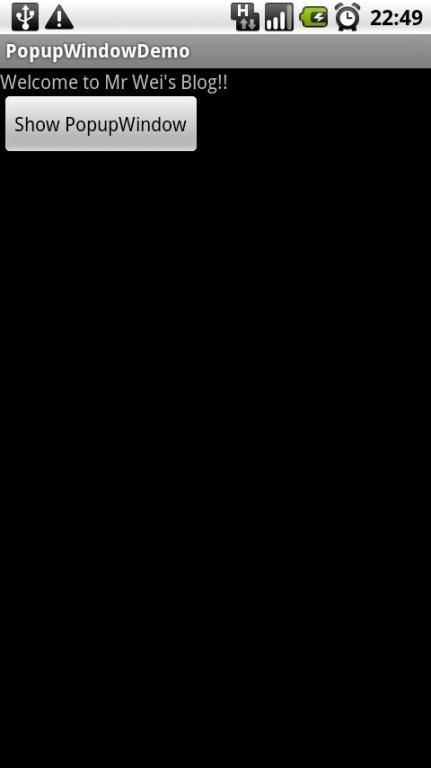
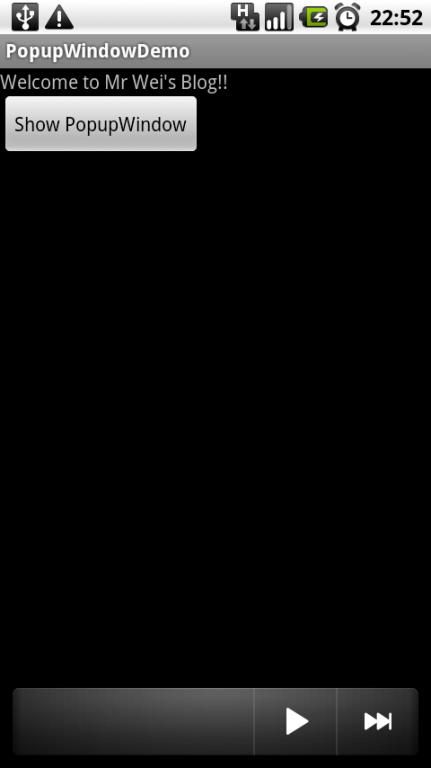
下面我将给大家做一个简单的Demo,类似于音乐播放器的Widget的效果,点击Button的时候出来PopupWindow,首先我们看一下效果图:
下面是核心代码:
package com.android.tutor; import android.app.Activity; import android.content.Context; import android.os.Bundle; import android.view.Gravity; import android.view.LayoutInflater; import android.view.View; import android.view.View.OnClickListener; import android.view.ViewGroup.LayoutParams; import android.widget.Button; import android.widget.PopupWindow; public class PopupWindowDemo extends Activity implements OnClickListener{ private Button btn; public void onCreate(Bundle savedInstanceState) { super.onCreate(savedInstanceState); setContentView(R.layout.main); btn = (Button)findViewById(R.id.btn); btn.setOnClickListener(this); } @Override public void onClick(View v) { Context mContext = PopupWindowDemo.this; if (v.getId() == R.id.btn) { LayoutInflater mLayoutInflater = (LayoutInflater) mContext .getSystemService(LAYOUT_INFLATER_SERVICE); View music_popunwindwow = mLayoutInflater.inflate( R.layout.music_popwindow, null); PopupWindow mPopupWindow = new PopupWindow(music_popunwindwow, LayoutParams.FILL_PARENT, LayoutParams.WRAP_CONTENT); mPopupWindow.showAtLocation(findViewById(R.id.main), Gravity.RIGHT|Gravity.BOTTOM, 0, 0); } } }
需要强调的是这里PopupWindow必须有某个事件触发才会显示出来,不然总会抱错,不信大家可以试试!
随着这个问题的出现,就会同学问了,那么我想初始化让PopupWindow显示出来,那怎么办了,不去寄托于其他点击事件,
在这里我用了定时器Timer来实现这样的效果,当然这里就要用到Handler了,如果大家不理解的可以返回
Android 高手进阶教程(九)之----Android Handler的使用!! 看一看,加深了解:
下面是核心代码:
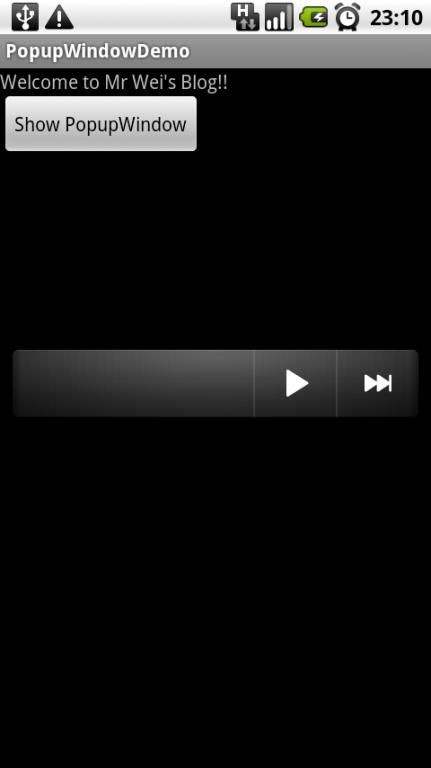
package com.android.tutor; import java.util.Timer; import java.util.TimerTask; import android.app.Activity; import android.content.Context; import android.os.Bundle; import android.os.Handler; import android.os.Message; import android.view.Gravity; import android.view.LayoutInflater; import android.view.View; import android.view.ViewGroup.LayoutParams; import android.widget.PopupWindow; public class PopupWindowDemo extends Activity{ private Handler mHandler = new Handler(){ public void handleMessage(Message msg) { switch (msg.what) { case 1: showPopupWindow(); break; } }; }; public void onCreate(Bundle savedInstanceState) { super.onCreate(savedInstanceState); setContentView(R.layout.main); //create the timer Timer timer = new Timer(); timer.schedule(new initPopupWindow(), 100); } private class initPopupWindow extends TimerTask{ @Override public void run() { Message message = new Message(); message.what = 1; mHandler.sendMessage(message); } } public void showPopupWindow() { Context mContext = PopupWindowDemo.this; LayoutInflater mLayoutInflater = (LayoutInflater) mContext .getSystemService(LAYOUT_INFLATER_SERVICE); View music_popunwindwow = mLayoutInflater.inflate( R.layout.music_popwindow, null); PopupWindow mPopupWindow = new PopupWindow(music_popunwindwow, LayoutParams.FILL_PARENT, LayoutParams.WRAP_CONTENT); mPopupWindow.showAtLocation(findViewById(R.id.main), Gravity.CENTER, 0, 0); } }
效果如下图:
这样就可以初始化PopupWindow了,呵呵,这一节的布局文件有点多,如果大家想要源码的话,留下你们的Email,我会尽快发送给大家的
,今天就到这里,大家有什么不明白的欢迎留言!!!谢谢~
要源码的太多,我快崩溃了,所以上传了。下载地址: http://d.download.csdn.net/down/2871531/Android_Tutor


