iOS中的Quartz 2D
Quartz 2D 是 iOS 中的绘图框架,其 API 是 C 语言来自 Core Graphics 框架,主要作用是绘图,可以绘制三角形、四边形、图片和文字。通过学习可以绘制图案,最重要的是可以自定义UI控件。
首先,在storyboard里面加入一个View,设置它的背景和frame,之后我们所做的操作均在此View上进行.
绘制线条,四边形,三角形
在写代码之前,先新建一个UIView类,这里我叫DrawLine,然后在storyboard里让之前加入的View关联上这个类,接下来就可以上代码了.
#import "DrawLine.h"

@implementation DrawLine


// 系统自动调用drawline方法,视图显示在屏幕上的时候调用且调用一次
- (void)drawRect:(CGRect)rect {
    // Drawing code

    // 下面几个方法,我们需要进行什么操作就打开什么方法
    drawline(); // 绘制线条

//    drawR(); // 绘制四边形

//    drawTriangle(); // 绘制三角形

}
// 画线
void drawline(){

    // 1.获得图形上下文
    CGContextRef context = UIGraphicsGetCurrentContext();
    // 将上下文复制一份到栈中
    CGContextSaveGState(context);


    // 2.绘制图形
    // 设置线段宽度
    CGContextSetLineWidth(context, 20);
    // 第一条线
    // 设置线条头尾部的样式
    CGContextSetLineCap(context, kCGLineCapRound);
    // 设置颜色(fill是实心,stroke是空心)
    CGContextSetRGBStrokeColor(context, 0, 1, 0, 1);
    // 设置起点
    CGContextMoveToPoint(context, 10, 10);
    // 画线
    CGContextAddLineToPoint(context, 100, 100);
    // 显示到view
    CGContextStrokePath(context); // 空心的方式画出,还有几种方式可以点进去看
    // 将图形上下文出栈,替换当前的上下文
    CGContextRestoreGState(context); // 这样之后的图形就会启用系统默认的样式


    // 3.画折线
    [[UIColor blueColor] set];

    // 设置线段转折点的样式
    CGContextSetLineJoin(context, kCGLineJoinRound);
    // 画线
    CGContextMoveToPoint(context, 100, 120);

    CGContextAddLineToPoint(context, 150, 120);
    CGContextAddLineToPoint(context, 150, 180);
    // 显示到view上
    CGContextStrokePath(context);

}

// 绘制四边形
void drawR(){

    // 1.获得图形上下文
    CGContextRef context = UIGraphicsGetCurrentContext();
    // 2.绘制四边形
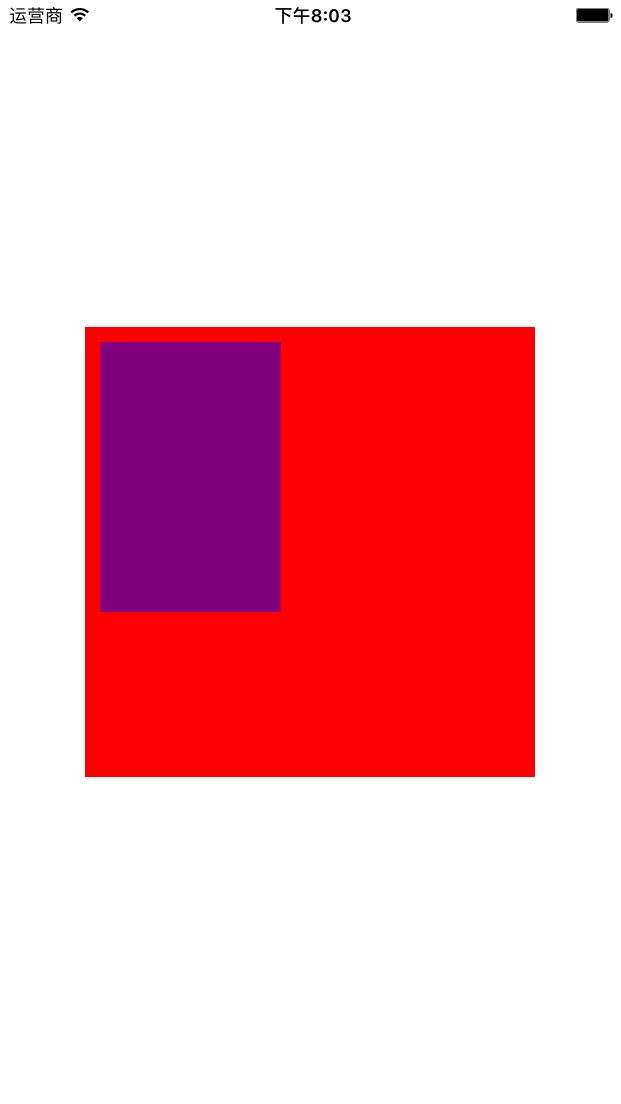
    CGContextAddRect(context, CGRectMake(10, 10, 120, 180));
    // 设置颜色
    [[UIColor purpleColor] setFill]; // 实心颜色
    // 3.显示在view上
    CGContextFillPath(context); // 以实心显示
}

// 绘制三角形
void drawTriangle(){

    // 1.获得图形上下文
    CGContextRef context = UIGraphicsGetCurrentContext();
    // 2.绘制三角形
    CGContextMoveToPoint(context, 0, 0);
    CGContextAddLineToPoint(context, 100, 100);
    CGContextAddLineToPoint(context, 150, 100);
    // 关闭路径(连接起点和最后一个点)
    CGContextClosePath(context);
    [[UIColor whiteColor] set];
    // 显示在view上
    CGContextStrokePath(context); //以空心显示
}

@end
画圆,画圆弧,绘制文字,绘制图片,贝塞尔曲线
首先,我们再新建一个UIView类,取名DrawCircle,将storyboard中的View的关联改成我们新建的DrawCircle.
现在就可以在新建的DrawCircle类里写代码了,代码如下
#import "DrawCircle.h"

// 求弧度的函数
CGFloat arc(CGFloat angle){

    return angle * (M_PI / 180);
}

@implementation DrawCircle


// 每一个UIView自带这个方法,在你创建的时候就存在,只需要打开注释就可以了
- (void)drawRect:(CGRect)rect {
    // Drawing code

    // 需要用到哪个就打开哪个
//    drawCircle(); // 画圆

//    drawArc(); // 画圆弧

//    drawText(); // 绘制文字

//    drawImage(); // 绘制图片

    drawBezier(); // 贝塞尔曲线
}

// 画图
void drawCircle(){

    // 1.获取图形上下文
    CGContextRef context = UIGraphicsGetCurrentContext();
    // 2.绘制图形
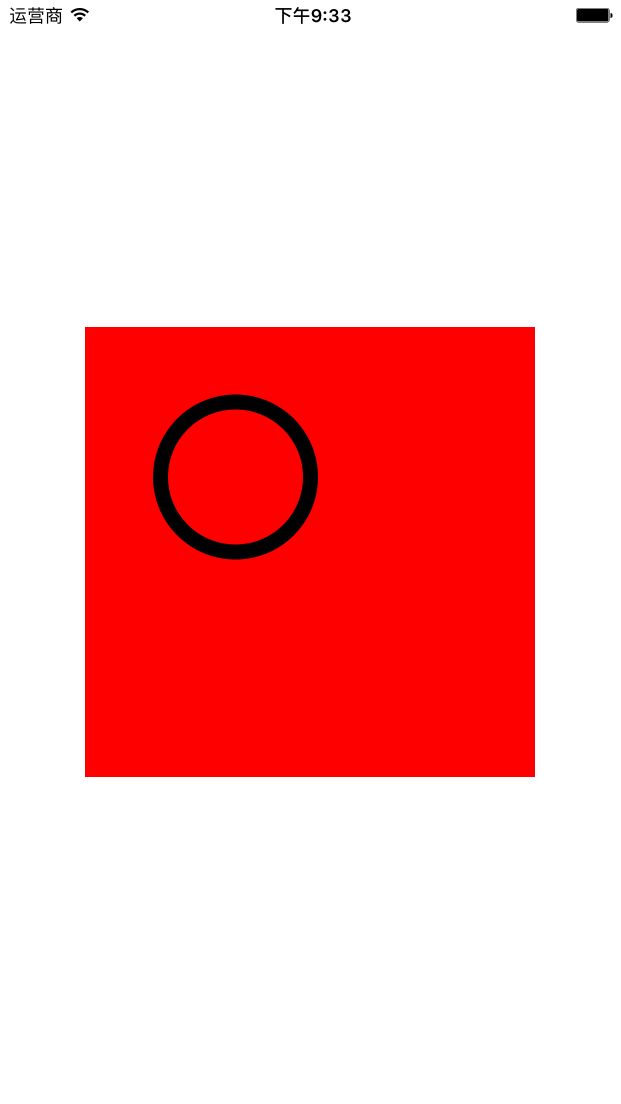
    CGContextAddEllipseInRect(context, CGRectMake(50, 50, 100, 100)); //这里尺寸一样就是画圆,不一样就是椭圆
    CGContextSetLineWidth(context, 10); // 圆环的宽度
    // 3.显示在view上
    CGContextStrokePath(context);

}


// 画圆弧
void drawArc(){

    // 1.获取图形上下文
    CGContextRef context = UIGraphicsGetCurrentContext();

    /*
     在绘制圆弧的方法中,各种参数如下
     x\y:圆心
     radius:半径
     startAngle:开始角度
     endAngle:开始角度
     clockwise:圆弧的伸展方向(0:顺时针, 1:逆时针)
     */
    // 2.绘制图形
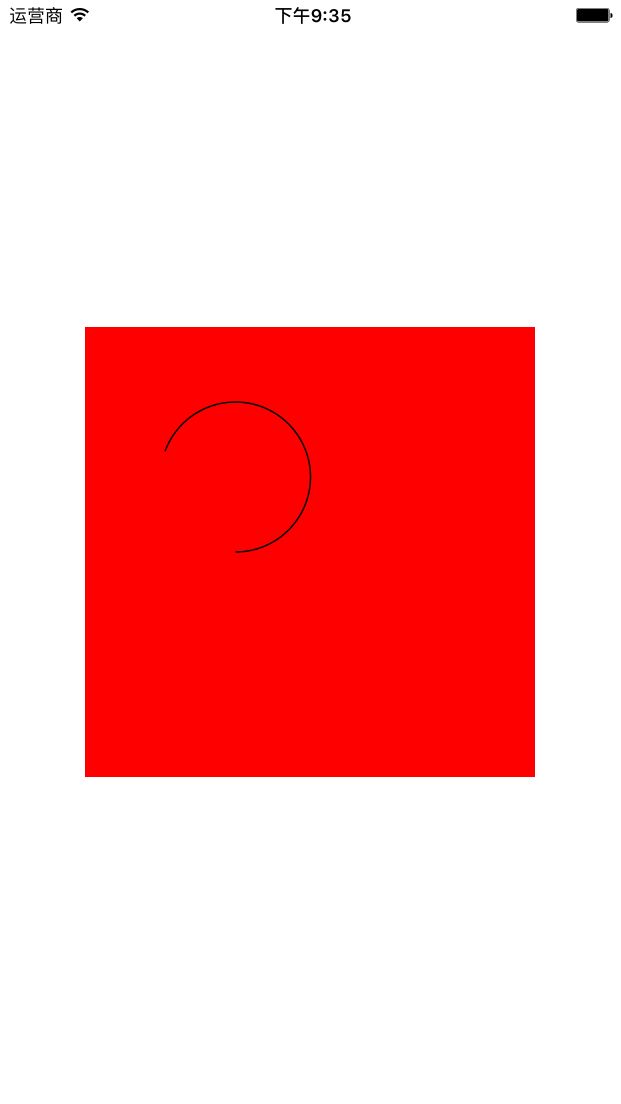
    CGContextAddArc(context, 100, 100, 50, arc(90), arc(200), 1); // 只能用弧度表示,最后的参数1代表逆时针,这里我们用一个方法将角度转化为弧度
    // 3.显示在view上
    CGContextStrokePath(context);
}

// 绘制文字
void drawText(){

    NSString *str = @"Devin";
    NSMutableDictionary *attributes = [NSMutableDictionary dictionary];
    // 设置文字大小
    attributes[NSFontAttributeName] = [UIFont systemFontOfSize:20];
    // 设置文字颜色
    attributes[NSForegroundColorAttributeName] = [UIColor yellowColor];

    [str drawInRect:(CGRectMake(100, 100, 100, 30)) withAttributes:attributes];
}

// 绘制图片
void drawImage(){

    // 1.取得图片
    UIImage *image = [UIImage imageNamed:@"myPicture1"];
    // 2.画图
    [image drawAtPoint:(CGPointMake(50, 50))];
    [image drawAsPatternInRect:(CGRectMake(0, 0, 300, 300))];
        // 还可以在图片上方加上文字
    NSString *str = @"Devin";
    [str drawInRect:(CGRectMake(0, 0, 100, 30)) withAttributes:nil];
}

// 贝塞尔曲线
void drawBezier(){

    // 1.取得图形上下文
    CGContextRef context = UIGraphicsGetCurrentContext();
    // 2.起点
    CGContextMoveToPoint(context, 10, 10);
    // 3.两个控制点
//    CGContextAddCurveToPoint(context, 120, 100, 180, 50, 190, 190);
    // 4.一个控制点
    CGContextAddQuadCurveToPoint(context, 150, 200, 200, 100);

    CGContextStrokePath(context);
}


@end


