Linux学习笔记—虚拟化之KVM
本文分享的是虚拟化技术,主要从两个方面入手:
• 安装 linux 下的虚拟化 kvm
• 管理虚拟机
一、虚拟机的安装
环境部署:
终端执行以下命令,找到flags部分,如果其中输出有VMX或SVM,即表明支持虚拟化技术。
grep --color -E "vmx|svm" /proc/cpuinfo
安装虚拟化工具:
yum install qemu-kvm qemu-img
yum install virt-manager libvirt libvirt-python python-virtinst libvirt-client
1、虚拟机图形界面安装
<1>真机shell中切换到超级用户,键入命令:
virt-manager ##启动libvirt图形界面

<2>图形界面打开
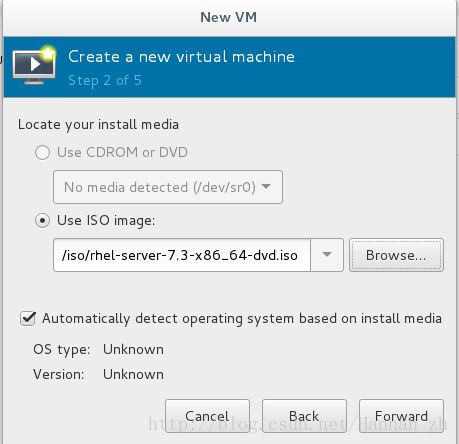
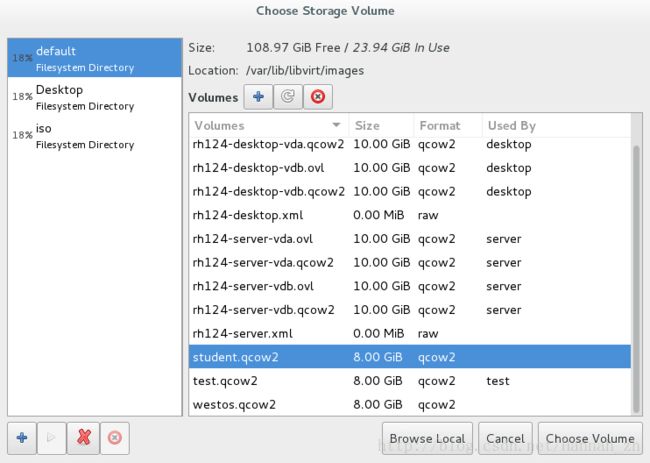
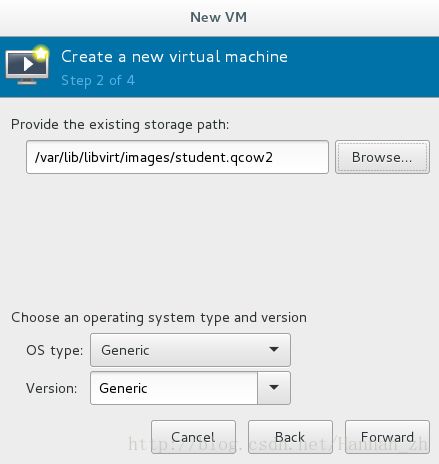
<3>本地镜像安装

<4>选择本地镜像
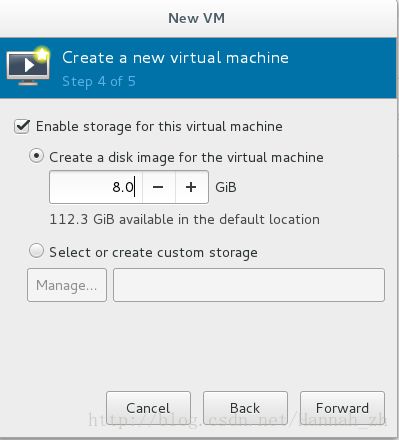
<5>硬盘8G
<6>虚拟机名称

<7>磁盘选择Virtio

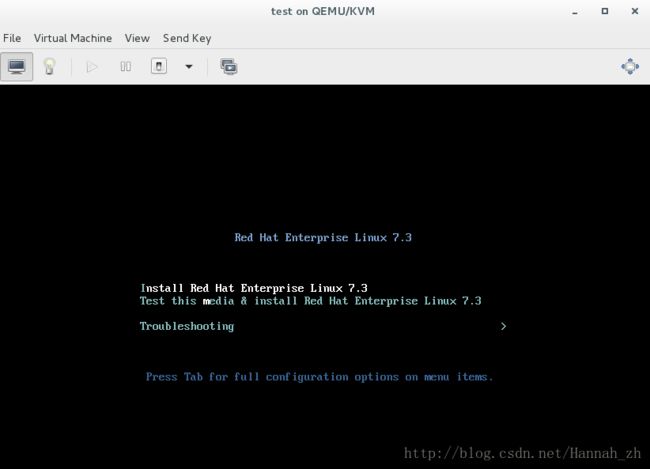
<8>进入安装页面
<9>语言:英文


<10>地区

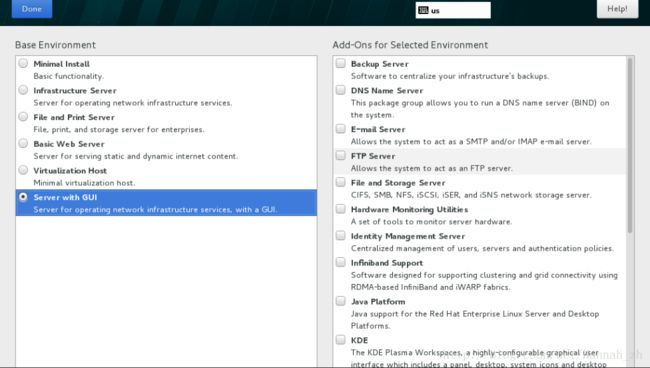
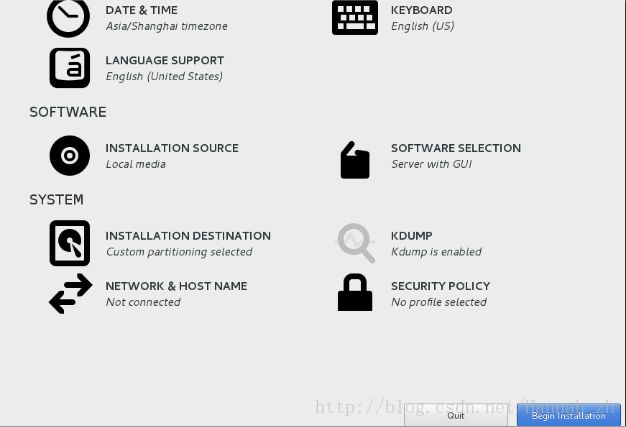
<11>安装图形虚拟机
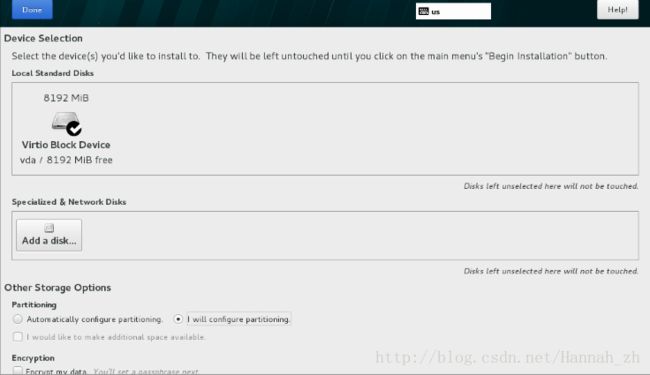
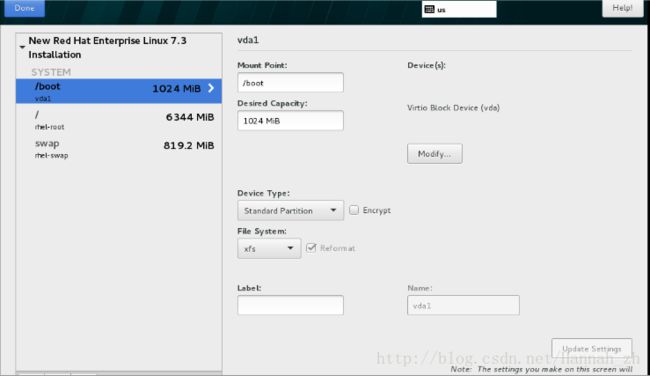
<12>磁盘自动分区

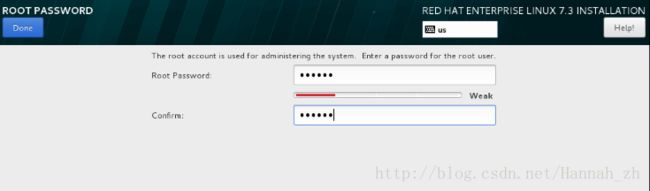
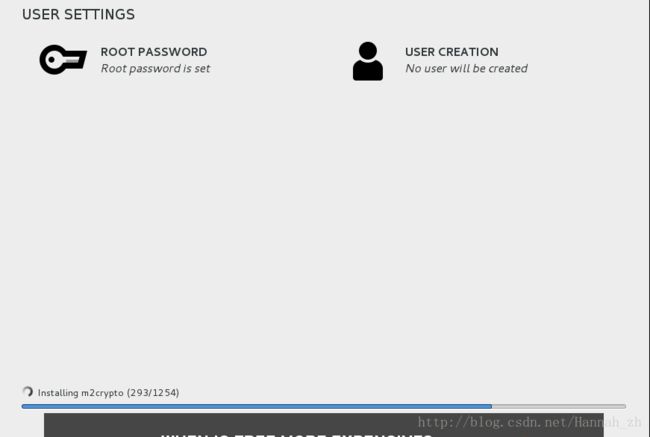
<13>密码
<14>时区 上海

<15>虚拟机安装成功

2、 虚拟机安装脚本
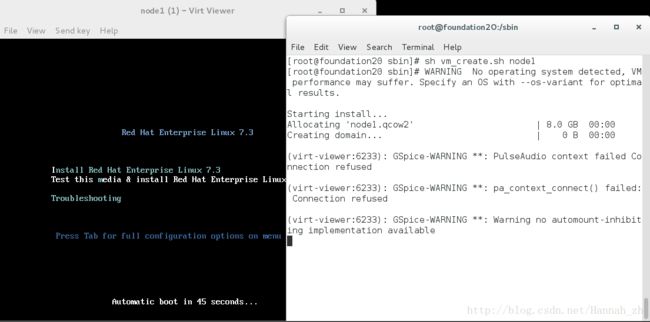
/sbin/vm_create.sh             ##建立脚本在/sbin,方便以后直接用名字调用
#!/bin/bash                   ##幻数,脚本中命令的解释器指定
virt-install \                 ##虚拟机安装命令
--cdrom /****/****/******.iso \            ##安装镜像
--ram 1000 \                   ##内存
--vcpus 1 \                    ##cpu
--file-size 8 \                ##硬盘大小
--file /var/lib/libvirt/images/$1.qcow2,bus=virtio \     ##硬盘
--network source=br0,model=virtio \                    ##网卡
--name $1 &                    ##指定名字,$1脚本后所加的第一串字符
实例:
[kiosk@foundation16 Desktop]$ su - root
Password:
westos
[root@foundation16 ~]# vim /sbin/vm_create.sh
[root@foundation16 ~]# chmod +x /sbin/vm_create.sh
[root@foundation16 ~]# sh vm_creat.sh westos
/sbin/vm_create.sh 文件内容:

sh /sbin/vm_create.sh 虚拟机名称 ##虚拟机安装脚本
二、管理虚拟机
1、虚拟机的管理命令
virt-viewer 虚拟机名称 ##显示虚拟机
virsh start 虚拟机名称 ##开启指定虚拟机
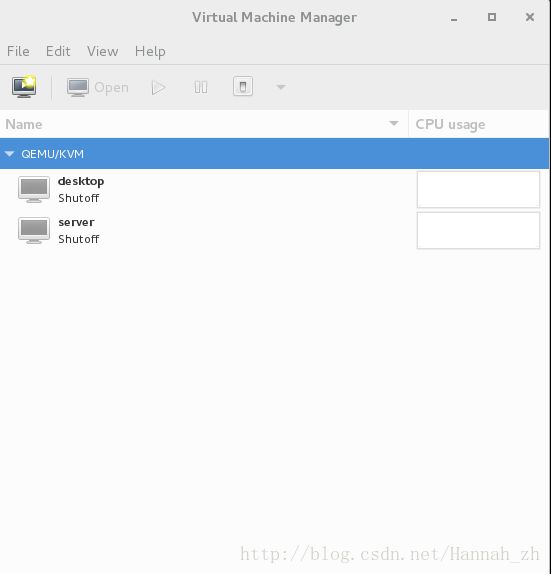
virsh list ##显示正在运行的虚拟机
virsh list --all ##显示所有虚拟机
virsh shutdown 虚拟机名称 ##正常关闭指定虚拟机
virsh destroy 虚拟机名称 ##强制关闭指定虚拟机
virsh define 虚拟机 ##恢复虚拟机
virsh undefine 虚拟机 ##删除虚拟机的配置(硬件信息文件)
virsh create 虚拟机.xml ##利用虚拟机硬件信息文件打开虚拟机,只是一次性的
2、虚拟机拷贝
虚拟机是由两部分组成:硬件信息文件和硬盘文件
/etc/libvirt/qemu/虚拟机.xml           ##虚拟机硬件信息文件
/var/lib/libvirt/images/虚拟机.qcow2   ##虚拟机硬盘文件
实例:将虚拟机westos从一台虚拟机拷贝到另一台虚拟机,其中/mnt充当U盘
[root@foundation16 ~]# cd /etc/libvirt/qemu/
[root@foundation16 qemu]# ls
desktop.xml  networks  server.xml  westos.xml     ##此处存在westos.xml文件,虚拟机westos的前端文件
[root@foundation16 qemu]# cp westos.xml /mnt/     ##将westos.xml硬件信息文件拷贝到/mnt/
[root@foundation16 qemu]# cd /var/lib/libvirt/images/
[root@foundation16 images]# ls
generic-1.qcow2          rh124-desktop-vdb.qcow2  rh124-server-vdb.qcow2
generic.qcow2            rh124-desktop.xml        rh124-server.xml
rh124-desktop-vda.ovl    rh124-server-vda.ovl     westos.qcow2     ##找到虚拟机硬盘westos.qcow2
rh124-desktop-vda.qcow2  rh124-server-vda.qcow2
rh124-desktop-vdb.ovl    rh124-server-vdb.ovl
[root@foundation16 images]# mv westos.qcow2 /mnt/            ##将硬盘westos.qcow2 拷贝到/mnt/中
[root@foundation16 images]# cd /mnt/                         ## 模拟虚拟机拷贝
[root@foundation16 mnt]# ls
westos.qcow2  westos.xml                   ##此时/mnt/文件中存在已拷贝的westos.xml和westos.qcow2
[root@foundation16 mnt]# virsh create westos.xml    ##执行此命令前,先删除虚拟机,方便模拟虚拟机拷贝
error: Failed to create domain from westos.xml
error: Cannot access storage file '/var/lib/libvirt/images/westos.qcow2' (as uid:107, gid:107): No such file or directory

[root@foundation16 mnt]# mv /mnt/westos.qcow2 /var/lib/libvirt/images/
                                                                         #不存在 '/var/lib/libvirt/images/westos.qcow2',将文件添加到路径中
[root@foundation16 mnt]# virsh create westos.xml                           ##将虚拟机删除,重新创建
Domain westos created from westos.xml

[root@foundation16 mnt]# virsh define westos.xml                           ##永久创建
Domain westos defined from westos.xml
3、虚拟机快照
虚拟机的快照只是一个存储更改信息的文件,在虚拟机被读取时还是读取母盘中的内容。
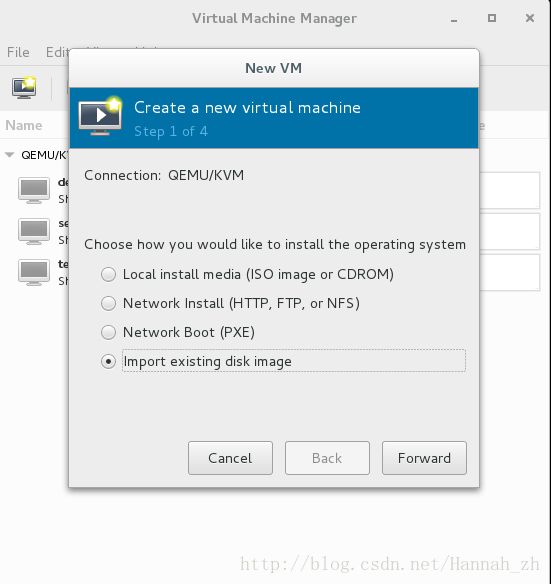
在虚拟机管理工具中,把"快照.qcow.2"import导入到新的虚拟机中即可使用。
1> 虚拟机快照命令
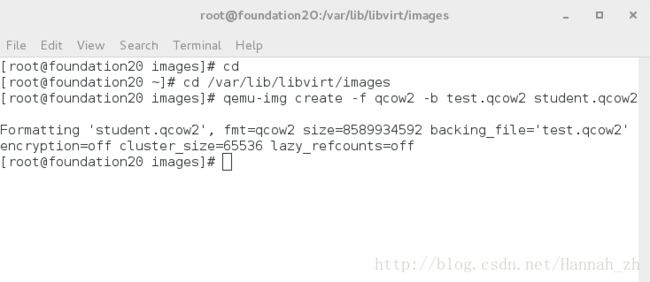
qemu-img create -f qcow2 -b 母盘.qcow2 快照.qcow2
实例:快照虚拟机建立步骤


2> 虚拟机快照脚本
vim /sbin/vm_kuaizhao.sh
#!/bin/bash
##create snapshot disk##
qemu-img create -f qcow2 -b \
/var/lib/libvirt/images/test.qcow2 \
/var/lib/libvirt/images/$1.qcow2


##create vm from snapshot disk##
virt-install \
--ram 1024 \
--vcpus 1 \
--file-size 8 \
--file /var/lib/libvirt/images/$1.qcow2,bus=virtio \
--network source=br0,model=virtio \
--name $1 \
--import &

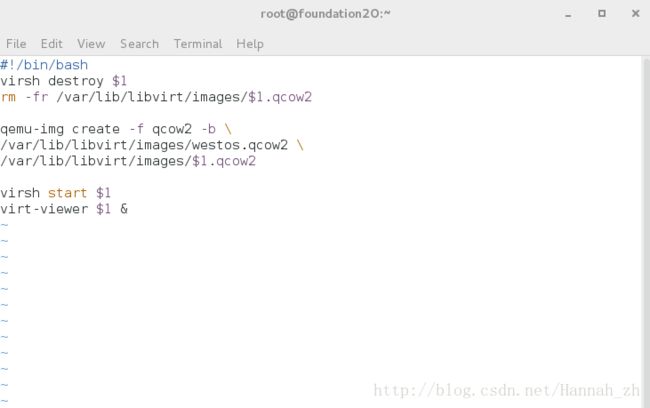
3>虚拟机重置
#!/bin/bash
virsh destroy $1                         ##强制关闭虚拟机,不删除硬件信息
rm -fr /var/lib/libvirt/images/$1.qcow2  ##删除坏的.qcow2文件

qemu-img create -f qcow2 -b \
/var/lib/libvirt/images/westos.qcow2 \
/var/lib/libvirt/images/$1.qcow2  \      ##重新创建新的快照

virsh start $1                           ##重启新的快照
virt-viewer $1 &                         ##打开新的快照虚拟机
[root@foundation20 sbin]# sh vm_reset.sh student