opencv: 颜色空间转换(cv2.cvtColor) 探究(图示+源码)
API Definition
我们从 OpenCV官网 的Miscellaneous Image Transformations 上,可查到 cv2.cvtColor 这个api的定义如下:
cvtColor
Converts an image from one color space to another.
C++: void cvtColor(InputArray src, OutputArray dst, int code, int dstCn=0 )
Python: cv2.cvtColor(src, code[, dst[, dstCn]]) → dst
C: void cvCvtColor(const CvArr* src, CvArr* dst, int code)
Python: cv.CvtColor(src, dst, code) → NoneParameters:
src – input image: 8-bit unsigned, 16-bit unsigned ( CV_16UC… ), or single-precision floating-point.
dst – output image of the same size and depth as src.
code – color space conversion code (see the description below).
dstCn – number of channels in the destination image; if the parameter is 0, the number of the channels is derived automatically from src and code.The function converts an input image from one color space to another. In case of a transformation to-from RGB color space, the order of the channels should be specified explicitly (RGB or BGR). Note that the default color format in OpenCV is often referred to as RGB but it is actually BGR (the bytes are reversed). So the first byte in a standard (24-bit) color image will be an 8-bit Blue component, the second byte will be Green, and the third byte will be Red. The fourth, fifth, and sixth bytes would then be the second pixel (Blue, then Green, then Red), and so on.
参数探究
在探究的过程中,我发现 code 参数的 输入类型 是 int 型,于是写代码进行验证:
import cv2
color_types = [cv2.COLOR_BGR2RGB, cv2.COLOR_BGR2GRAY]
for color_type in color_types:
    print ('{}    {}'.format(color_type, type(color_type)))
结果证明了,原来 code 参数的 输入 不管是cv2.COLOR_BGR2RGB、cv2.COLOR_BGR2GRAY,或是其他 颜色转换空间(color space conversion),均是 int 型的:
4    <type 'int'>
6    <type 'int'>
颜色空间转换探究
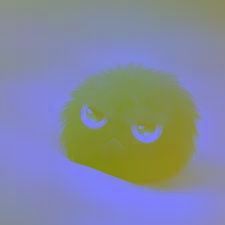
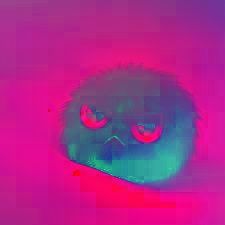
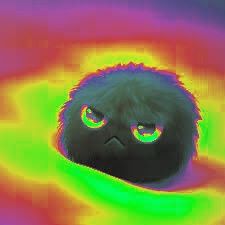
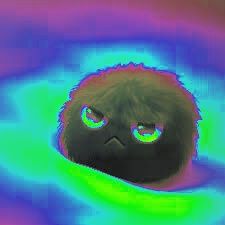
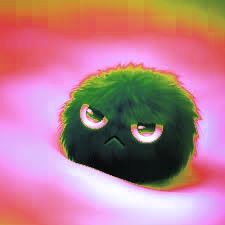
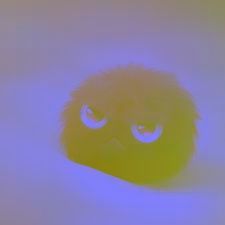
于是我另外编写了一小段代码,探究哪些整数可以作为 cv2.cvtColor 中 code 参数的 替代输入值 ,并看看在 转换了颜色空间 后,会生成什么样的图像。
(自己写的实验源码附在文章末尾)
验证得知,以下整数可以作为 cv2.cvtColor 中 code 参数的 替代输入值:
Valid index in cv2.cvtColor:
[0, 1, 2, 3, 4, 5, 6, 7, 10, 11, 32, 33, 34, 35, 36, 37, 38, 39, 40, 41, 44, 45, 50, 51, 52, 53, 54, 55, 56, 57, 58, 59, 60, 61, 66, 67, 68, 69, 70, 71, 72, 73, 74, 75, 76, 77, 78, 79, 80, 81, 82, 83, 84, 85, 127, 128, 129, 130, 131, 132, 133, 134]
效果图
原图像
在进行 转换颜色空间 之前的原图(./pic/origin_pic.jpg):

生成的图像
Code
附上自己写的实验代码:
# coding=utf-8

origin_pic = './pic/origin_pic.jpg'
save_folder = './generated_pics'

import os
try:
    os.makedirs(save_folder)
except OSError:
    pass

import cv2
img = cv2.imread(origin_pic)
valid_index = []
for color_type in range(-300, 1000, 1):
    try:
        img_new = cv2.cvtColor(img, color_type)
        cv2.imwrite(os.path.join(save_folder, str(color_type)+'.jpg'), img_new)
        valid_index.append(color_type)
    except:
        pass
print ('Valid index in cv2.cvtColor:\n{}'.format(valid_index))


