见缝插针案例制作
Demo介绍了见缝插针的核心玩法,还有很大的扩展性,比如:特效、声音、基于UGUI良好的UI界面。。。
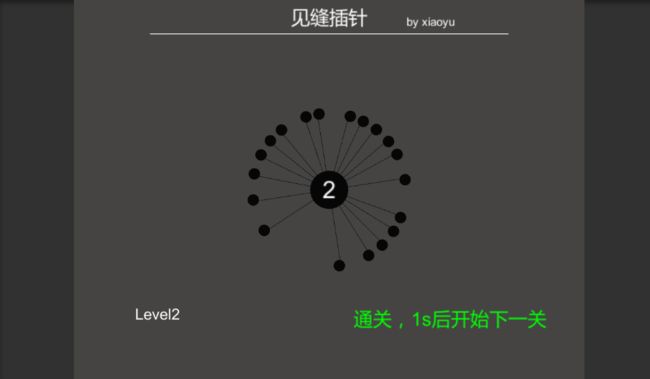
案例玩法介绍:如下图所示,游戏开始后小球围绕大球旋转,点击鼠标发射小球,当所有小球发射完毕后进入下一关,如果在发射小球后发生碰撞,游戏失败。效果图如下图1所示。
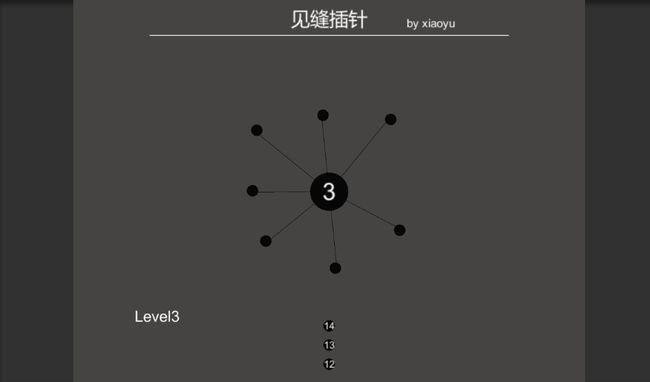
图1:
准备工具:Unity 5.4.0
进入正题:
一、界面UI的布局
摄像机采用正交投影,用cube,sphere,和3D Text搭建简单场景如下图2所示:

图2
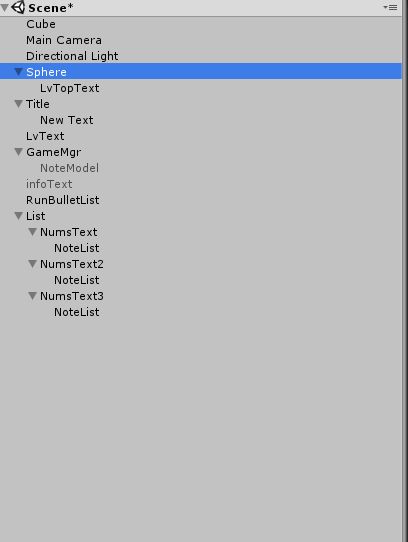
图3
二、旋转类脚本的设计
两个小球围绕大球进行旋转,效果如下图4所示:
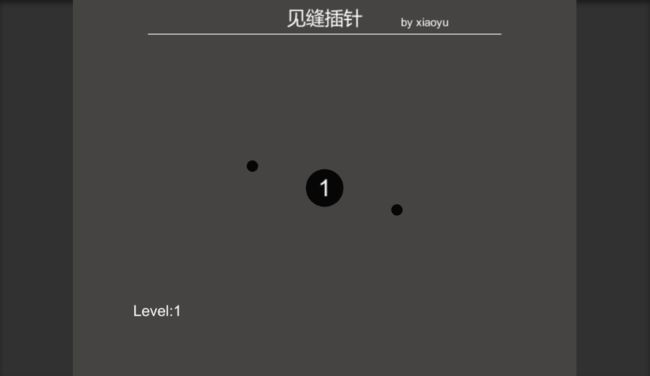
图4
编写旋转代码,绑定到小球上。
完整代码如下:
using UnityEngine;
using System.Collections;
public class pAutoRotation : MonoBehaviour
{
public enum DIRECTION
{
/// 三、绘制针连线
实现小球在围绕大球转动的同时绘制连线。
效果图5如下所示:
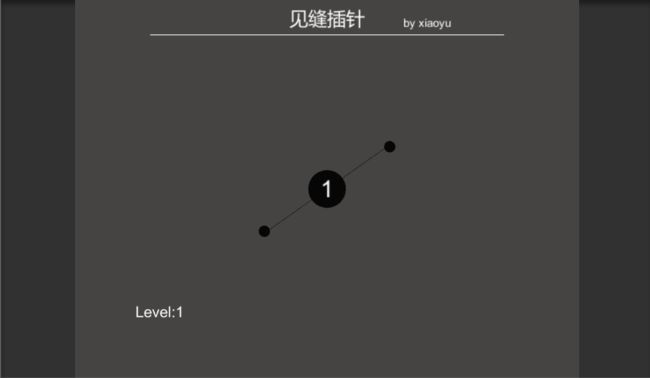
图5
为note绑定Line Renderer组件。
在Scripts中添加Note.cs
using UnityEngine;
using System.Collections;
public class Note : MonoBehaviour {
    LineRenderer mLineRenderer;
       // Use this for initialization
       void Start () {
        mLineRenderer = GetComponent();
       }
       // Update is called once per frame
       void Update () {
        mLineRenderer.SetPosition(0, this.transform.position);
       }
}
四、按下鼠标实例化针头
创建一个新物体并名为GameMgr,复制一个Note 作为其子物体。调整Note的位置如下图6所示:
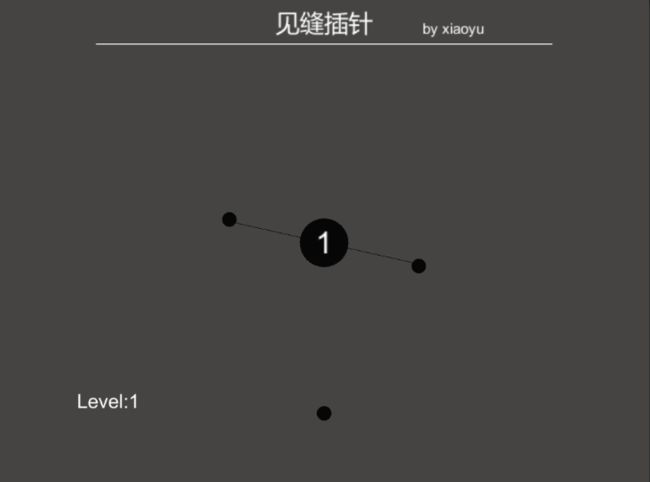
图6
创建一个GameMgr.cs脚本。
脚本说明:首先创建一个单例,供外部脚本调用。在鼠标点击后,实例化一个model(就是note小球),并将其显示出来。
代码如下所示:
sing UnityEngine;
using System.Collections;
public class GameMgr : MonoBehaviour {
    public static GameMgr intance;
    public GameObject model;
    void Awake()
    {
        intance = this;
    }
       // Use this for initialization
       void Start () {

       }

       // Update is called once per frame
       void Update () {
        if (Input.GetMouseButtonDown(0))
        {
            Debug.Log("Mouse Down");
            GameObject item = (GameObject)Instantiate(model);
            item.SetActive(true);
        }
       }
}
五、发射针头到靶心上
效果图如下所示:
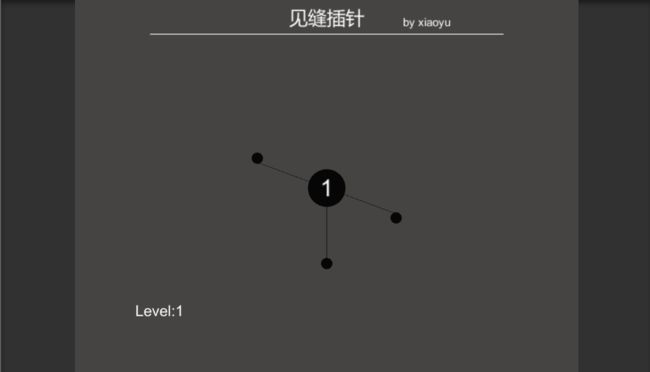
图7
修改Note脚本,添加2个bool类型的变量,isMove让球到达指定位置后,isInit在对其初始化绘制连线。添加Move()函数
修改后Note脚本代码如下:
using UnityEngine;
using System.Collections;
public class Note : MonoBehaviour {
   private  LineRenderer mLineRenderer;
    public bool isInit = false;
    public bool isMove = false;
       // Use this for initialization
       void Start () {
        mLineRenderer = GetComponent();
       }

       // Update is called once per frame
       void Update () {
        if (isInit)
        {
            mLineRenderer.SetPosition(0, this.transform.position);
        }
        Move();
    }
    void Move()
    {
        if (isMove)
        {
            transform.position += new Vector3(0, 0.2f, 0);
            if (transform.position.y >= -2.0f)
            {
                transform.position = new Vector3(0, -2.0f, 0);
                isInit = true;
                isMove = false;
            }
        }
    }
}
六、新发射的针跟着靶子旋转
在GameMgr中新定义
public pAutoRotation pautoRotation;
把Notes拖到pauto Rotation中,如下图所8示:

图8
在note.cs中编写设置父物体的函数,并放在Move()中。
void InitDone()
    {
        this.transform.parent = GameMgr.instance.pautoRotation.transform;
        isInit = true;
    }
七、当发射的针头碰到其他针时触发事件
对NoteModel添加刚体组件,勾选Is Trigger使其具有触发作用。
在note.cs中编写OnTriggerEnter函数。
void OnTriggerEnter(Collider other)
    {
        Debug.Log(other.gameObject.name);
    }
因为触发2次,应删除1次
在note.cs中改写InitDone函数。
public void InitDone()
    {
        this.transform.parent = GameMgr.instance.pautoRotation.transform;
        //发射到靶子上,取消触发器和刚体
        Collider collider = gameObject.GetComponent();
        collider.isTrigger = false;
        Rigidbody rigidbody = gameObject.GetComponent();
        if (rigidbody != null)
        {
            Destroy(rigidbody);//删除刚体组件
        }
        isInit = true;
    }
八、关卡读取配置以及关卡重置
首先是当小球碰撞后,停止其旋转,显示游戏失败的Text。
在Hierarchy中添加一个3Dtext并命名为infoText,
public TextMesh infoTextMesh;进行绑定。
在GameMgr.cs中添加GameOver()函数:
public void GameOver()
    {
        pautoRotation.OnStop();
        infoTextMesh.gameObject.SetActive(true);
        infoTextMesh.color = Color.red;
        infoTextMesh.text = "失败了,1s后重新开始";
    }
在note.cs的触发事件中进行调用:
void OnTriggerEnter(Collider other)
    {
        Debug.Log(other.gameObject.name);
         isMove = false;//作用是当其发生触发时,停止其移动
        GameMgr.instance.GameOver();
    }
IEnumerator GameContinue()
    {
        yield return new WaitForSeconds(1.0f);//等待1s
        Destroy(pautoRotation.gameObject);//删除当前的关卡地图
        GameStart();
    }
/// 游戏是否运行
在GameMgr.cs添加public bool gameIsStart = false;
建立一个Level文件夹表示关卡,把note添加进去并改名为level1
添加一个LevelInfo.cs用来表示每关能发射的针数,并绑定到Level1中。
public class LevelInfo : MonoBehaviour {
/// 在GameMgr.cs中添加
public List levelList = new List();,把level1添加到list中。
/// 之后在GameMgr.cs中修改GameStart()函数
public void GameStart()
    {
        infoTextMesh.gameObject.SetActive(false);
        LevelInfo info = levelList[nowLevelIndex];
        if (infoTextMesh == null)
        {
            Debug.LogError("关卡不存在");
        }
        else
        {
            GameObject level = (GameObject)Instantiate(levelList[nowLevelIndex].gameObject);
            pautoRotation = level.gameObject.GetComponent();
            gameIsStart = true;
        }
    }
把GameStart()放到Start()中,把GameContinue()放到GameOver()中,实现关卡的重新读取。
出现如下图所示bug, 由于小球发生碰撞时还为停止运动(即还未添加到note中),出现如下图10所示不能消除的现象。
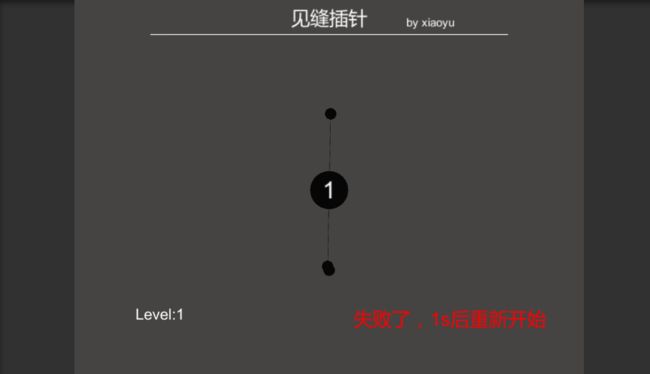
图10
解决办法:把小球统一加载到RunBulletList中,统一进行删除。
1、在Hierarchy中创建一个RunBulletList,
2、在GameMgr.cs 添加
/// 发射中的子弹的父物体
public Transform RunBulletList;,并进行绑定。
3、在Update中为小球设置父物体
item.transform.parent = RunBulletList;
4.在IEnumerator GameContinue()添加:
Note[] bulletRunList = RunBulletList.GetComponentsInChildren();
        for (int i = 0; i < bulletRunList.Length; i++)
        {
            Destroy(bulletRunList[i].gameObject);
        }
九、针队列列表逻辑
1、创建三个小球,位置如下如下图11所示:
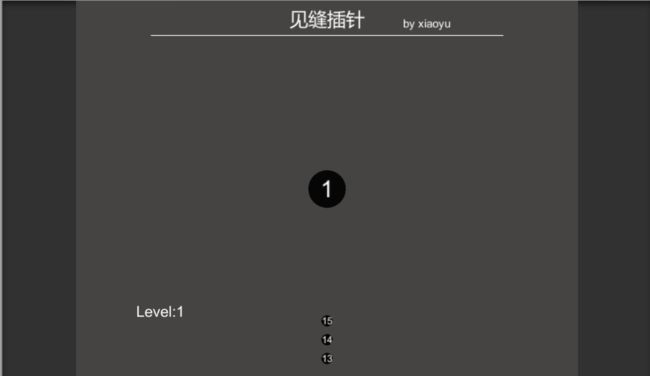 图11
图11
在GameMgr.cs里创建一个list集合,并把3个小球添加到集合里。
/// bulletNumsList = new List();
在GameMgr.cs里新定义一个剩余可发射的针数,在GameStart()函数中对其初始化。
/// 在Update ()中每点击一次鼠标自动减一,更新小球显示列表
if (--mNowBulletNums <= 0)
{
gameIsStart = false;
}
SetFireBulletShow();
/// 十、游戏下一关和通关代码
首先在场景中先完成对关卡的编辑,并保存为预设。
更改Text的值:
levelTopTextMesh.text = (nowLevelIndex + 1).ToString();
        levelTextMesh.text = "Level" + levelTopTextMesh.text;
在GameMgr.cs中添加通关IsPass()函数,在note.cs中的
InitDone()函数中进行调用。
/// 
