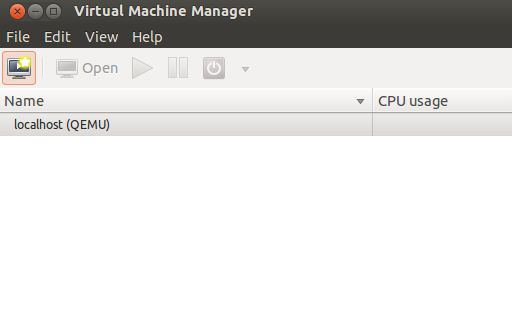
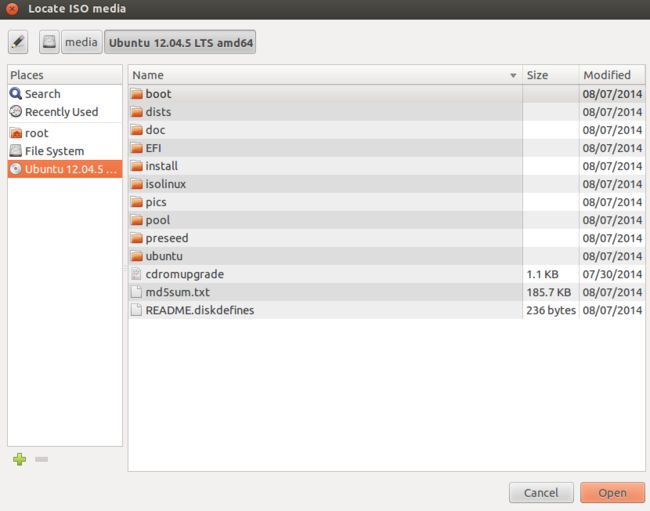
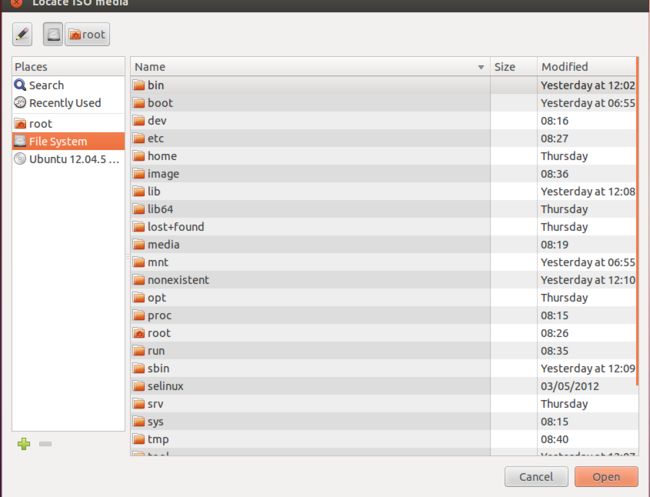
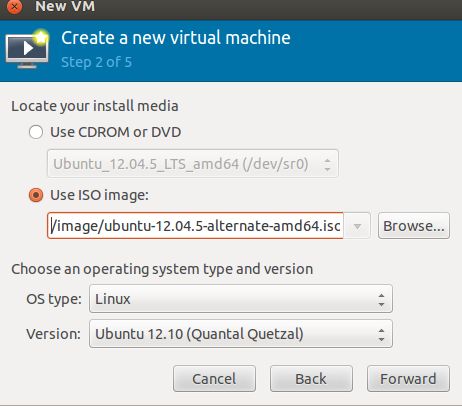
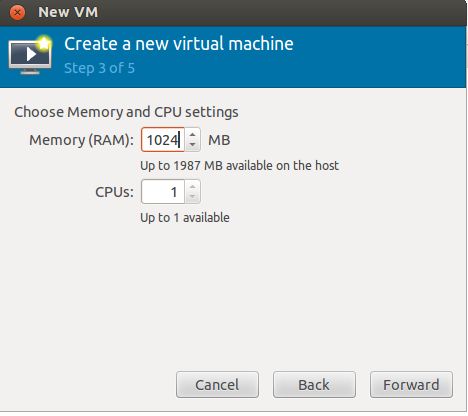
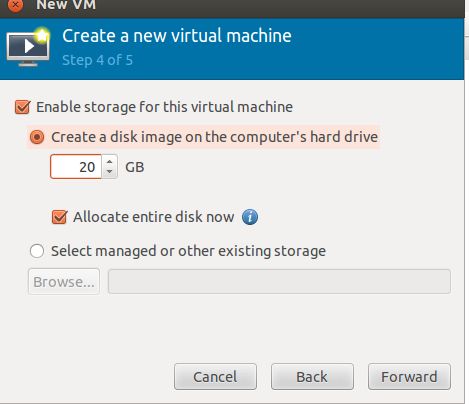
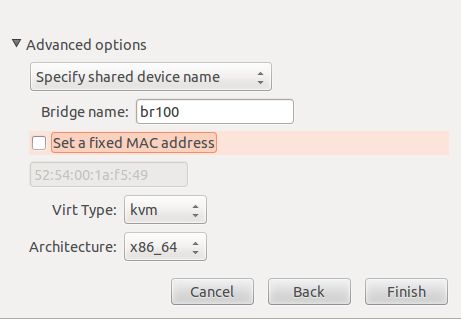
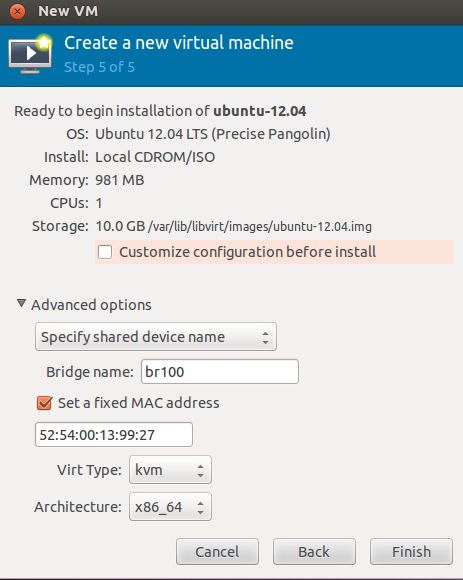
第一次用virt-manager创建带有OS的p_w_picpath时,在最后一步总会遇到下面这个错误。后来发现应该是libvirt的问题,选择重新编译安装另一个版本。这里重新选择的时libvirt-1.1.4
Unable to complete install: 'Failed to connect socket to '/var/run/libvirt/virtlogd-sock': No such file or directory'
libvirtError: Failed to connect socket to '/var/run/libvirt/virtlogd-sock': No such file or directory
在用virt-manager创建带有OS的p_w_picpath时,许kvm和libvirt安装且正常运行,有如下输出便可:
root@u-node4:/home/zxl# kvm-ok
INFO: /dev/kvm exists
KVM acceleration can be used
root@u-node4:/tool/libvirt-1.3.4# virsh list
Id Name State
----------------------------------------------------
然后安装qemu 和virt-manager
root@u-node4:/tool/libvirt-1.3.4# apt-get install qemu virt-manager
root@u-node4:~# virt-manager (如果出现DBUS问题,那么在切换用户时注意用su - 代替su)
报错,找不到br100网卡
并且本实验要创建的p_w_picpath中的虚拟机是要将虚拟网卡建立在网桥上的,即创建基于虚拟局域网的虚拟网卡。此虚拟局域网可以让位于同一台物理服务器上的虚拟机再次组成一个局域网
root@u-node4~# vim /etc/network/interfaces
auto lo
iface lo inet loopback
auto eth0
iface eth0 inet static
address 192.168.139.8
netmask 255.255.255.0
gateway 192.168.139.1
auto br100
iface br100 inet static
bridge_ports eth0
bridge_maxwait 0
bridge_stp off
bridge_fd 0
address 192.169.139.8
netmask 255.255.255.0
gateway 192.168.139.1
broadcast 192.168.139.255
root@u-node4:~#/etc/init.d/networking restart
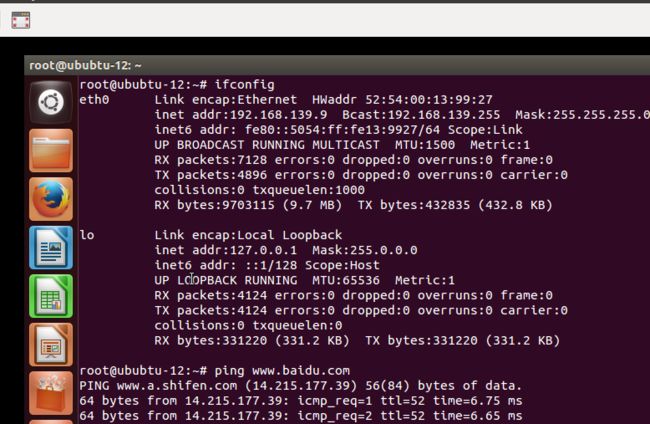
root@u-node6:~# ifconfig
br100 Link encap:Ethernet HWaddr 00:0c:29:60:fa:7d
inet addr:192.169.139.8 Bcast:192.168.139.255 Mask:255.255.255.0
inet6 addr: fe80::20c:29ff:fe60:fa7d/64 Scope:Link
UP BROADCAST RUNNING MULTICAST MTU:1500 Metric:1
RX packets:2146 errors:0 dropped:0 overruns:0 frame:0
TX packets:67 errors:0 dropped:0 overruns:0 carrier:0
collisions:0 txqueuelen:0
RX bytes:140919 (140.9 KB) TX bytes:10782 (10.7 KB)
eth0 Link encap:Ethernet HWaddr 00:0c:29:60:fa:7d
UP BROADCAST RUNNING MULTICAST MTU:1500 Metric:1
RX packets:749892 errors:0 dropped:0 overruns:0 frame:0
TX packets:253662 errors:0 dropped:0 overruns:0 carrier:0
collisions:0 txqueuelen:1000
RX bytes:1077881402 (1.0 GB) TX bytes:21269261 (21.2 MB)
Interrupt:19 Base address:0x2000
lo Link encap:Local Loopback
inet addr:127.0.0.1 Mask:255.0.0.0
inet6 addr: ::1/128 Scope:Host
UP LOOPBACK RUNNING MTU:16436 Metric:1
RX packets:175799 errors:0 dropped:0 overruns:0 frame:0
TX packets:175799 errors:0 dropped:0 overruns:0 carrier:0
collisions:0 txqueuelen:0
RX bytes:30344562 (30.3 MB) TX bytes:30344562 (30.3 MB)
virbr0 Link encap:Ethernet HWaddr 72:e7:c7:39:ff:28
inet addr:192.168.122.1 Bcast:192.168.122.255 Mask:255.255.255.0
UP BROADCAST MULTICAST MTU:1500 Metric:1
RX packets:0 errors:0 dropped:0 overruns:0 frame:0
TX packets:0 errors:0 dropped:0 overruns:0 carrier:0
collisions:0 txqueuelen:0
RX bytes:0 (0.0 B) TX bytes:0 (0.0 B)
vnet0 Link encap:Ethernet HWaddr fe:54:00:13:99:27
inet6 addr: fe80::fc54:ff:fe13:9927/64 Scope:Link
UP BROADCAST RUNNING MULTICAST MTU:1500 Metric:1
RX packets:1898 errors:0 dropped:0 overruns:0 frame:0
TX packets:296 errors:0 dropped:0 overruns:0 carrier:0
collisions:0 txqueuelen:500
RX bytes:90591 (90.5 KB) TX bytes:89508 (89.5 KB)
点击finish安装虚拟机
当装完操作系统,且安装了虚拟机中需要使用的软件后,就可以将虚拟机关闭
在宿主机执行virsh destroy ubuntu-12.04便可关闭虚拟机
root@u-node4:~# virsh destroy ubuntu-12.04
Domain ubuntu-12.04 destroyed
root@u-node4:~# virsh list --all
Id Name State
----------------------------------------------------
- ubuntu-12.04 shut off
接下来需要保存虚拟机的定义文件和虚拟机p_w_picpath
root@u-node4:~# virsh dumpxml ubuntu-12.04 > ubuntu-12.04.xml
root@u-node4:~# vim ubuntu-12.04.xml
1
2
3
4
5
6
7
8
9
10
11
12
13
14
15
16
17
18
19
20
21
22
23
24
25
26
27
28
29
30
31
32
33
34
35
36
37
38
39
40
41
42
43
44
45
46
47
48
49
50
51
52
53
54
55
56
57
58
59
60
61
62
63
64
65
66
保存好虚拟机的定义文件后,找到第文件中关于虚拟机的硬盘p_w_picpath定义部分
source file指明了虚拟磁盘p_w_picpath的全路径,将此p_w_picpath剪切至保存目录,如p_w_picpath目录,则保存虚拟机p_w_picpath完毕
root@u-node6:~# mv /var/lib/libvirt/p_w_picpaths/ubuntu-12.04.img /p_w_picpath/
root@u-node6:~# mv ubuntu-12.04.xml /p_w_picpath/
由于此虚拟机不在使用,则可以udefine此虚拟机(udefine不是删除,只是取消了此虚拟机的定义)
root@u-node4:~# virsh undefine ubuntu-12.04
Domain ubuntu-12.04 has been undefined
root@u-node4:~# virsh list --all
Id Name State
----------------------------------------------------
总结:
装kvm,libvirt,virt-manager失败许多次的解决方法:
1:配置搜狐源
2:apt-get install qemu-kvm ubuntu-vm-builder bridge-utils
3: apt-get install qemu virt-manager(此时其实会装libvirt-bin,有依赖,但可能运行virt-manager报错,需最后purge掉)
4: apt-get install build-essential python-dev libxml2-dev libxslt-dev tgt lvm2 python-lxml unzip python-mysqldb mysql-client memcached openssl expect iputils-arping python-xattr python-lxml kvm gawk iptables ebtables sqlite3 sudo kvm vlan curl socat python-libxml2 iscsitarget iscsitarget-dkms open-iscsi build-essential libxml2 libxml2-dev make fakeroot dkms openvswitch-switch openvswitch-datapath-dkms libxslt1.1 libxslt1-dev vlan gnutls-bin libgnutls-dev cdbs debhelper libncurses5-dev libreadline-dev libavahi-client-dev libparted0-dev libdevmapper-dev libudev-dev libpciaccess-dev libcap-ng-dev libnl-3-dev libapparmor-dev python-all-dev libxen-dev policykit-1 libyajl-dev libpcap0.8-dev libnuma-dev radvd libxml2-utils libnl-route-3-200 libnl-route-3-dev libnuma1 numactl libnuma-dbg libnuma-dev dh-buildinfo expect ebtables iptables iputils-ping iputils-arping sudo dnsmasq-base dnsmasq-utils
5: tar -xf libvirt-1.1.4.tar.gz
6:/configure --prefix=/usr --sysconfdir=/etc
7:make && make install
8:virt-manage 安装虚拟机
此时如果报APP的错误,则执行apt-get purge libvirt-bin,然后进入到执行./configure的目录执行make clean,在重新执行6和7步,便可.
