Django学习笔记(三)Django使用admin管理界面来操作mysql数据库
1.配置setting文件:
加入本地mysql数据库的连接信息:
DATABASES = {
    'default': {
        'ENGINE': 'django.db.backends.mysql', # Add 'postgresql_psycopg2', 'mysql', 'sqlite3' or 'oracle'.
        'NAME': 'sidland',                      # Or path to database file if using sqlite3.
        # The following settings are not used with sqlite3:
        'USER': 'root',
        'PASSWORD': 'root',
        'HOST': 'localhost',                      # Empty for localhost through domain sockets or '127.0.0.1' for localhost through TCP.
        'PORT': '3306',                      # Set to empty string for default.
    }
}INSTALLED_APPS = (
'django.contrib.auth',
'django.contrib.contenttypes',
'django.contrib.sessions',
'django.contrib.sites',
'django.contrib.messages',
'django.contrib.staticfiles',
'reading',
# Uncomment the next line to enable the admin:
'django.contrib.admin',
# Uncomment the next line to enable admin documentation:
'django.contrib.admindocs',
)2.开启urls.py文件中的有关admin的内容:
from django.conf.urls import patterns, include, url

# Uncomment the next two lines to enable the admin:
from django.contrib import admin
admin.autodiscover()

urlpatterns = patterns('',
    # Examples:
    # url(r'^$', 'sidland.views.home', name='home'),
    # url(r'^sidland/', include('sidland.foo.urls')),

    # Uncomment the admin/doc line below to enable admin documentation:
    # url(r'^admin/doc/', include('django.contrib.admindocs.urls')),

    # Uncomment the next line to enable the admin:
    url(r'^admin/', include(admin.site.urls)),

    #url(r'^reading/index', 'reading.views.index'),
)
3.修改models.py文件:
from django.db import models

# Create your models here.

class Users(models.Model):
	sex_choices=(
		("f","famale"),
		("m","male"),
	)
	name = models.CharField(max_length=30)
	sex = models.CharField(max_length=1,choices=sex_choices)

	def __unicode__(self):
		return self.name
python manage.py syncdb请确保安装了:MySQL-python Python2.7
若未安装可以到这里下载:
32位windows
64位windows
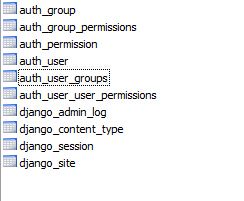
执行同步命令之后,可以看到数据库结构如下:
然后启动:
python manger.py runserver
访问:
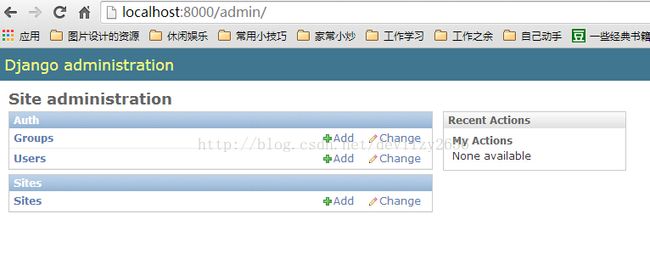
http://localhost:8000/admin
输入刚刚创建的用户和密码:
但是这里并没有看到我们刚刚在reading模块下载的model;
这里需要在reading模块的目录下创建一个名为admin.py的文件,内容如下:
from django.contrib import admin
from reading.models import Users

admin.site.register(Users)
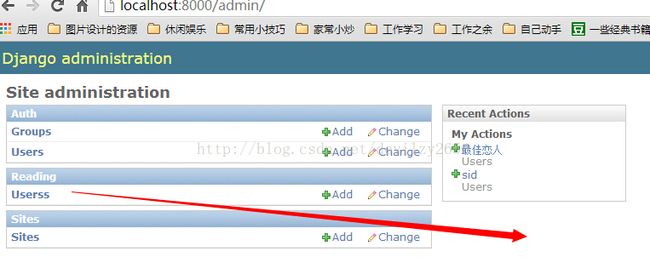
然后重启服务;重新访问:http://localhost:8000/admin,便可以看到我们自己创建的表,并可以进行界面化的增删改查:
ps:django默认生成的表,用于管理使用:并可以针对数据库的表和用户,来进行权限的分配


