企业级镜像仓库Harbor
Harbor概述
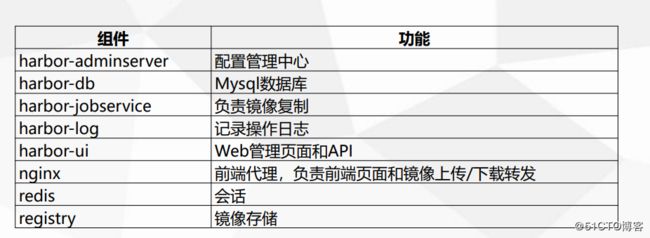
Habor是由VMWare公司开源的容器镜像仓库。事实上,Habor是在Docker Registry上进行了相应的
企业级扩展,从而获得了更加广泛的应用,这些新的企业级特性包括:管理用户界面,基于角色的访
问控制 ,AD/LDAP集成以及审计日志等,足以满足基本企业需求。
官方地址:https://vmware.github.io/harbor/cn/
安装
1、解压
[root@docker tools]# tar xf harbor-offline-installer-v1.6.1.tgz
2、修改配置文件(2个地方)
[root@docker harbor]# vi harbor.cfg
(1)hostname
hostname = 192.168.1.13
(2)密码
harbor_admin_password = 123456
docker-compose:单机编排,批量管理多个容器
[root@docker tools]# mv docker-compose-Linux-x86_64 /usr/bin/docker-compose
[root@docker tools]# chmod +x /usr/bin/docker-compose
执行:
[root@docker harbor]# ./prepare
Generated and saved secret to file: /data/secretkey
Generated configuration file: ./common/config/nginx/nginx.conf
Generated configuration file: ./common/config/adminserver/env
Generated configuration file: ./common/config/ui/env
Generated configuration file: ./common/config/registry/config.yml
Generated configuration file: ./common/config/db/env
Generated configuration file: ./common/config/jobservice/env
Generated configuration file: ./common/config/jobservice/config.yml
Generated configuration file: ./common/config/log/logrotate.conf
Generated configuration file: ./common/config/registryctl/env
Generated configuration file: ./common/config/ui/app.conf
Generated certificate, key file: ./common/config/ui/private_key.pem, cert file: ./common/config/registry/root.crt
The configuration files are ready, please use docker-compose to start the service.
安装:
[root@docker harbor]# ./install.sh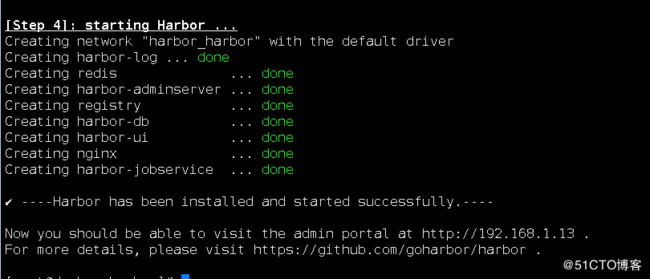
启动:
[root@docker harbor]# docker-compose up -d
访问:
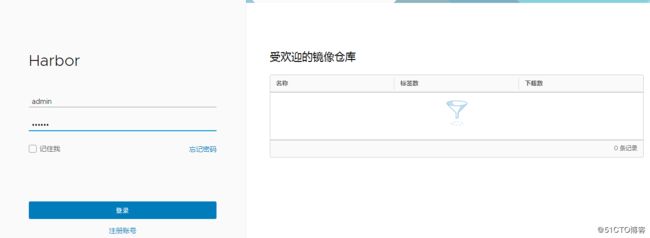
http://192.168.1.13/harbor/sign-in
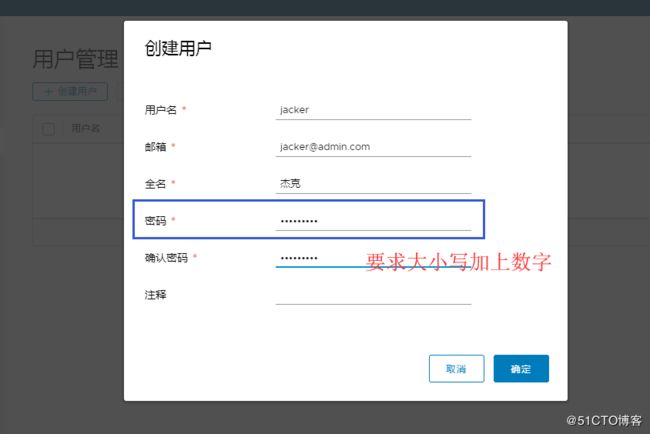
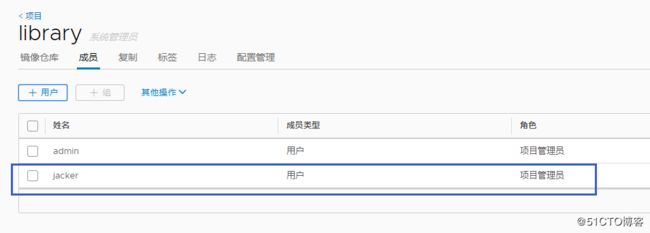
讲用户赋予哪个项目权限
以下是公开的项目,任意下载,但是上传需要用户登录
将构建的镜像都上传到这个项目中:
[root@docker harbor]# docker tag tomcat:v8.5.32 192.168.1.13/library/tomcat:v8.5.32
需要添加可信任,因为是http访问
[root@docker harbor]# vi /etc/docker/daemon.json
{"registry-mirrors": ["http://f1361db2.m.daocloud.io"],
"insecure-registries":["192.168.1.13"]
}
重启docker才生效
[root@docker harbor]# systemctl restart docker
[root@docker harbor]# docker-compose up -d
如果将192.168.1.13的镜像推送到192.168.1.25的镜像仓库中
1、需要在192.168.1.13上设置:
vi /etc/docker/daemon.json
{"registry-mirrors": ["http://f1361db2.m.daocloud.io"],
"insecure-registries":["192.168.1.25"]
}
2、重启docker
3、[root@docker tools]# docker login 192.168.1.25
Username: admin
[root@docker tools]# docker tag tomcat:v8.5.32 192.168.1.25/java/tomcat:v8.5.32
[root@docker tools]# docker push 192.168.1.25/java/tomcat:v8.5.32
需要登录才能把镜像推入到仓库
[root@docker harbor]# docker login 192.168.1.13
Username: jacker
Password:
WARNING! Your password will be stored unencrypted in /root/.docker/config.json.
Configure a credential helper to remove this warning. See
https://docs.docker.com/engine/reference/commandline/login/#credentials-store
Login Succeeded
把镜像推送到仓库
[root@docker harbor]# docker push 192.168.1.13/library/tomcat:v8.5.32
推入nginx:
[root@docker harbor]# docker tag nginx:v1.15 192.168.1.13/library/nginx:v1.15
[root@docker harbor]# docker push 192.168.1.13/library/nginx:v1.15
推入php:
[root@docker harbor]# docker tag php:v5.6.32 192.168.1.13/library/php:v5.6.32
[root@docker harbor]# docker push 192.168.1.13/library/php:v5.6.32
总结:
1、配置http镜像仓库可信任
vi /etc/docker/daemon.json
{"insecure-registries":["reg.ctnrs.com"]}
systemctl restart docker
2、打标签
docker tag centos:6 reg.ctnrs.com/library/centos:6
3、上传
docker push reg.ctnrs.com/library/centos:6
4、下载
docker pull reg.ctnrs.com/library/centos:6
