1. 虚拟主机概念
在Web服务里面虚拟主机就是一个独立的网站站点,这个站点对应独立的域名(也可能是IP或端口),具有独立的程序及资源目录,可以独立地对外提供服务供用户访问。
2. 虚拟主机类型
2.1. 基于域名的虚拟主机
不同虚拟主机对应一个独立的域名
2.2. 基于端口的虚拟主机
不同虚拟主机端口号不同。也可以是同一个域名或同一个IP,但端口号不同
2.3. 基于IP的虚拟主机
不同虚拟主机IP地址也不同
3. 虚拟主机配置
3.1. 基于域名的虚拟主机
切换到nginx配置目录下面
cd /application/nginx/conf过滤掉包含#号和空行,生成新的配置文件
egrep -v "#|^$" nginx.conf.default > nginx.conf更改配置文件nginx.conf
worker_processes  1;
events {
    worker_connections  1024;
}
http {
    include       mime.types;
    default_type  application/octet-stream;
    sendfile        on;
    keepalive_timeout  65;
    server {
        listen       80; # 端口,默认就是80
        server_name  www.ljmict.com;  # 域名
        location / {
            root   html/www;
            index  index.html index.htm;
        }
    }
}创建域名www.ljmict.com对应的站点目录及文件
mkdir /application/nginx/html/www
echo "http://www.ljmict.com" > ../html/www/index.html查看www.ljmict.com对应的首页文件index.html
cat ../html/www/index.html
# 查看结果
http://www.ljmict.com
检查修改过的nginx文件配置是否有语法问题
/application/nginx/sbin/nginx -t重新启动nginx服务
/application/nginx/sbin/nginx -s reload客户端测试
在客户端测试之前,需要更改客户端的hosts文件,MAC和Linux的hosts文件都在/etc/hosts文件,如果是windows系统hosts文件在C:\Windows\System32\drivers\etc目录下。
echo "172.16.1.10 www.ljmict.com" >> /etc/hosts
curl www.ljmict.com
# 结果
http://www.ljmict.com3.1.1. 配置多个基于域名的虚拟主机
更改nginx配置文件
worker_processes  1;
events {
    worker_connections  1024;
}
http {
    include       mime.types;
    default_type  application/octet-stream;
    sendfile        on;
    keepalive_timeout  65;
    server {
        listen       80;
        server_name  www.ljmict.com;
        location / {
            root   html/www;
            index  index.html index.htm;
        }
    }
    server {
        listen       80;
        server_name  bbs.ljmict.com;
        location / {
            root   html/bbs;
            index  index.html index.htm;
        }
    }
    server {
        listen       80;
        server_name  blog.ljmict.com;
        location / {
            root   html/blog;
            index  index.html index.htm;
        }
    }
}
创建对应的站点目录及文件
mkdir /application/nginx/html/bbs
echo "http://bbs.ljmict.com" > /application/nginx/html/bbs/index.html
mkdir /application/nginx/html/blog
echo "http://blog.ljmict.com" > /application/nginx/html/blog/index.html
重新启动nginx服务
/application/nginx/sbin/nginx -s reload添加hosts记录
echo "172.16.1.10 bbs.ljmict.com" >> /etc/hosts
echo "172.16.1.10 blog.ljmict.com" >> /etc/hosts3.2. 基于端口的虚拟主机
更改nginx配置文件
worker_processes  1;
events {
    worker_connections  1024;
}
http {
    include       mime.types;
    default_type  application/octet-stream;
    sendfile        on;
    keepalive_timeout  65;
    server {
        listen       80;   # 端口保持不变
        server_name  www.ljmict.com;
        location / {
            root   html/www;
            index  index.html index.htm;
        }
    }
    server {
        listen       81;  # 端口更改成81
        server_name  bbs.ljmict.com;
        location / {
            root   html/bbs;
            index  index.html index.htm;
        }
    }
    server {
        listen       82;  # 端口更改成82
        server_name  blog.ljmict.com;
        location / {
            root   html/blog;
            index  index.html index.htm;
        }
    }
}
重启nginx服务
/application/nginx/sbin/nginx -s reload3.3. 基于IP的虚拟主机
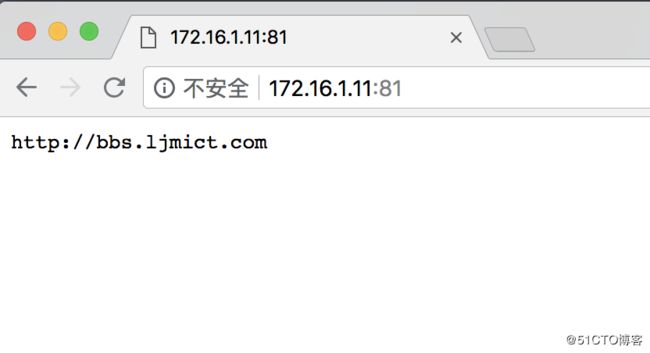
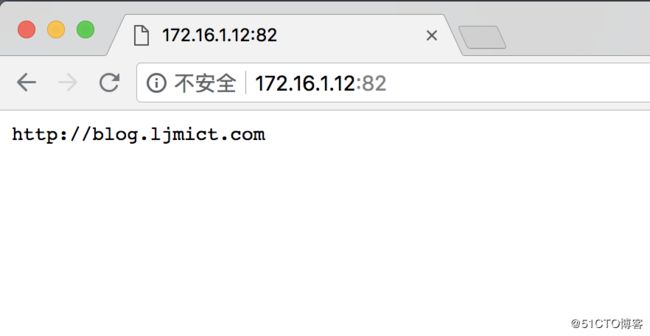
如果要配置基于IP的虚拟主机,就需要让每个虚拟主机有不同的IP地址,在这里我临时在ens37网卡上增加2个不同的IP
ip addr add 172.16.1.11/24 dev ens37
ip addr add 172.16.1.12/24 dev ens37
# 注意:根据自己的网卡名称来配置IP
更改nginx配置文件
worker_processes  1;
events {
    worker_connections  1024;
}
http {
    include       mime.types;
    default_type  application/octet-stream;
    sendfile        on;
    keepalive_timeout  65;
    server {
        listen       80;
        server_name  172.16.1.10;
        location / {
            root   html/www;
            index  index.html index.htm;
        }
    }
    server {
        listen       81;
        server_name  172.16.1.11; # 临时配置的IP
        location / {
            root   html/bbs;
            index  index.html index.htm;
        }
    }
    server {
        listen       82;
        server_name  172.16.1.12; # 临时配置的IP
        location / {
            root   html/blog;
            index  index.html index.htm;
        }
    }
}
重新启动nginx服务
/application/nginx/sbin/nginx -s reload


