一.Flutter布局
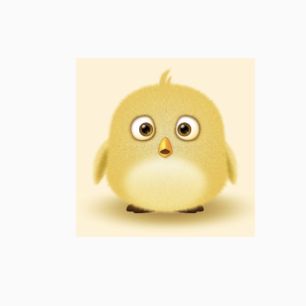
1. ClipOval() 设置圆角: 将里面的布局裁剪成圆形的组件
ClipOval(
  // 将里面的布局裁剪成圆形的组件
  child: SizedBox(
    // SizedBox 组件可有可无, 大部分组件都支持设置大小
    width: 100,
    height: 100,
    child: Image.network(
      'https://img1.360buyimg.com/pop/jfs/t1/14610/34/11366/75013/5c8f33aeEe49fc408/994569681f21d28c.jpg',
      fit: BoxFit.cover, // 图片填充模式
    ),
  ),
)
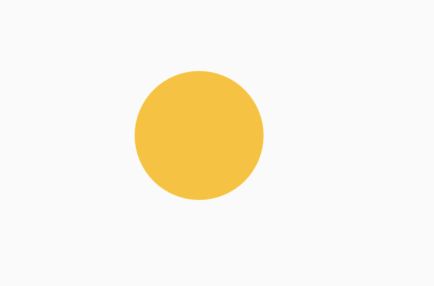
当然设置球形也可以使用 BorderRadius.circular(xx)
child: Container(
  width: 72,
  height: 72,
  decoration: BoxDecoration(
      color: Colors.amber,
      borderRadius: BorderRadius.circular(36) // 设置半径
  ), // 设置球形
)
还有CircleAvatar()也可以绘制圆形
child: CircleAvatar(
  backgroundColor: Colors.amber,
),
2. ClipRRect() 设置一定圆角的组件
Padding(
  padding: EdgeInsets.all(10),
  child: ClipRRect(
    borderRadius: BorderRadius.all(Radius.circular(10)), // 设置指定位置指定大小的圆角
    child: Opacity(
      opacity: 0.6, // 60%透明度
      child: Image.network(
        'https://img1.360buyimg.com/pop/jfs/t1/14610/34/11366/75013/5c8f33aeEe49fc408/994569681f21d28c.jpg',
        fit: BoxFit.cover,
        width: 100,
        height: 100,
      ),
    ),
  ),
)
3. PhysicalModel() 同上面的设置圆角一样
Container(
  height: 100,
  margin: EdgeInsets.only(top: 10),
  decoration: BoxDecoration(color: Colors.transparent),
  child: PhysicalModel( // 圆角PhysicalModel组件
    color: Colors.transparent, // 设置颜色透明
    borderRadius: BorderRadius.circular(6), // 设置圆角大小
    clipBehavior: Clip.antiAlias, // 抗锯齿, hardEdge 有锯齿
    child: PageView( // 子组件
      children: [_item('Page1', Colors.deepOrangeAccent), _item('Page2', Colors.orange), _item('Page3', Colors.red)],
    ),
  ),
)
4. FractionallySizedBox() 其内部组件内容充满屏幕宽度(减去padding/margin)
由于Container()容器组件内的Text()组件内容不能撑满整个屏幕的宽度
Container(
  margin: EdgeInsets.all(10),
  decoration: BoxDecoration(color: Colors.orange),
  child: Text('宽度撑满屏幕宽度', style: TextStyle(fontSize: 20),),
)
FractionallySizedBox() 可以使内部组件充满屏幕指定方向的宽度
FractionallySizedBox(
  widthFactor: 1, // 设置宽度充满屏幕
  child: Container(
    margin: EdgeInsets.all(10),
    decoration: BoxDecoration(color: Colors.orange),
    child: Text('宽度撑满屏幕宽度', style: TextStyle(fontSize: 20),),
  ),
)
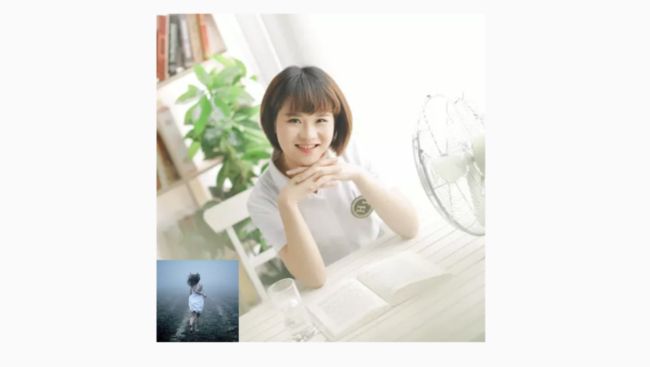
5. Stack() 可使该容器内的组件重叠布局, 类似于H5中的绝对定位
Stack(
  children: [
    Image.network(
      'https://upload-images.jianshu.io/upload_images/3289907-3a5ee308f6ca2295.jpg?imageMogr2/auto-orient/strip%7CimageView2/2/w/700/format/webp',
      width: 200,
      height: 200,
      fit: BoxFit.cover,
    ),
    Positioned(
        left: 0, // 指定位置
        bottom: 0, // 指定底部位置
        child: Image.network(
          'https://upload-images.jianshu.io/upload_images/4097754-9f1a263534c77db7.jpg?imageMogr2/auto-orient/strip%7CimageView2/2/w/500/format/webp',
          width: 50,
          height: 50,
          fit: BoxFit.cover,
        ))
  ],
)
6. Wrap() 内容自动换行容器组件
Wrap(
  spacing: 8, // 水平间距
  runSpacing: 6, // 垂直间距
  children: [
    _chip("Flutter"),
    _chip("iOS"),
    _chip("Android"),
    _chip("Java"),
    _chip("C++"),
  ],
)

*******************
_chip(String label) {
  return Chip(
      label: Text(label),
      avatar: CircleAvatar(
        backgroundColor: Colors.blue.shade900, // 蓝色透明度900
        child: Text(
          label.substring(0, 1),
          style: TextStyle(fontSize: 10),
        ),
      ));
}
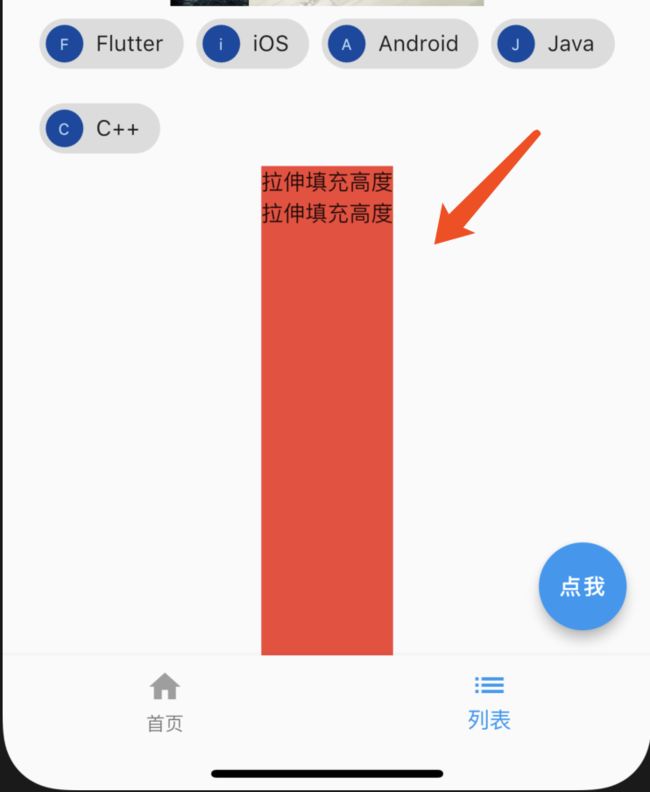
7. Expanded() 可使内容垂直方向上充满剩余高度
由于Container的内容不能充满屏幕高度
Container(
  decoration: BoxDecoration(color: Colors.red),
  child: Text('拉伸填充高度'),
)
Expanded() 从根本上解决了这个问题
Expanded(
    child: Container(
  decoration: BoxDecoration(color: Colors.red),
  child: Text('拉伸填充高度'),
))
二. Flutter的路由和导航
- 路由跳转
a) 在根视图创建路由:
routes: {
  'plugin': (BuildContext context) => PluginUse(),
  'less': (BuildContext context) => LessGrouppage(),
  'ful': (BuildContext context) => StateFullGroup(),
  'layout': (BuildContext context) => FlutterLayoutPage(),
},
b) 点击跳转
Navigator.pushNamed(context, 'plugin');
- 导航跳转
导航跳转不用创建路由, 直接通过页面导航
// 跳转到 PluginUse() 页面
Navigator.push(context, MaterialPageRoute(builder: (context) => PluginUse()));
- 页面返回全部通过
Navigator.pop(context);
三. 如何导入和使用Flutter的资源文件
a). 在pubspec.yaml文件中,配置文件资源
  # To add assets to your application, add an assets section, like this:
  # 报这个 Expected a key while parsing a block mapping 错误时, 一般是 assets 左侧多了个空格
  # 详见:https://juejin.im/post/5bd832efe51d4576711bbb73
  assets:
   - images/IMG_6218.JPG
   - images/lufei.jpg
b). 使用AssetImage()访问本地资源文件
Image(
    width: 100,
    height: 100,
    image: AssetImage('images/IMG_6218.JPG')
)
三. 如何打开第三方app
使用第三方插件 url_launcher
RaisedButton(
  onPressed: ()=>_launchURL(),
  child: Text('打开浏览器'),
)
************************
_launchURL() async {
  const url = 'https://www.baidu.com';
  if (await canLaunch(url)) {
    await launch(url);
  } else {
    throw 'Could not launch $url';
  }
}
四. 动画
调试
1.调试
通过Android Studio 顶部的 按钮进行调试
编辑器自动导入头文件 / 创建函数等快捷键
option + enter
底部模态弹出选择器组件
showModalBottomSheet(
        context: context,
        builder: (context) => Container(
              height: 160,
              child: Column(
                children: [
                  _item('拍照', true),
                  Divider(
                    color: Colors.black54,
                  ),
                  _item('从相册选择', false),
                ],
              ),
            ));
  _item(String title, bool isTakePhoto) {
    return GestureDetector(
      child: ListTile(
        leading: Icon(isTakePhoto ? Icons.camera_alt : Icons.photo_library),
        title: Text(title),
        onTap: () => getImage(isTakePhoto),
      ),
    );
  }
