本文接 iOS UIBezierPath 类绘图,是上文的延伸。
UIImage, UIBezierPath 和 NSString 都提供了至少一种在 drawRect: 绘图的方法,这些方法会在 drawRect: 执行时分别将图像、图形和文本绘制到视图的图层中。
Core Graphics 是一套提供 2D 绘图功能的 C 语言 API. 绘制阴影和渐变效果,需要用 Core Graphics.
例如,下面两段代码效果是相同的:
[[UIColor colorWithRed:1.0 green:0.0 blue:1.0 alpha:1.0] setStroke];

UIBezierPath *path = [UIBezierPath bezierPath];
[path moveToPoint:a];
[path addLineToPoint:b];

[path stroke];
直接使用 Core Graphics 函数完成:
CGContextSetRGBStrokeColor(currentContext, 1, 0, 0, 1);

CGMutablePathRef path = CGPathCreateMutable();
CGPathMoveToPoint(path, NULL, center.x, center.y);
CGPathAddLineToPoint(path, NULL, center.x + 100, center.y + 100);
CGContextAddPath(currentContext, path);

CGContextStrokePath(currentContext);
CGPathRelease(path);
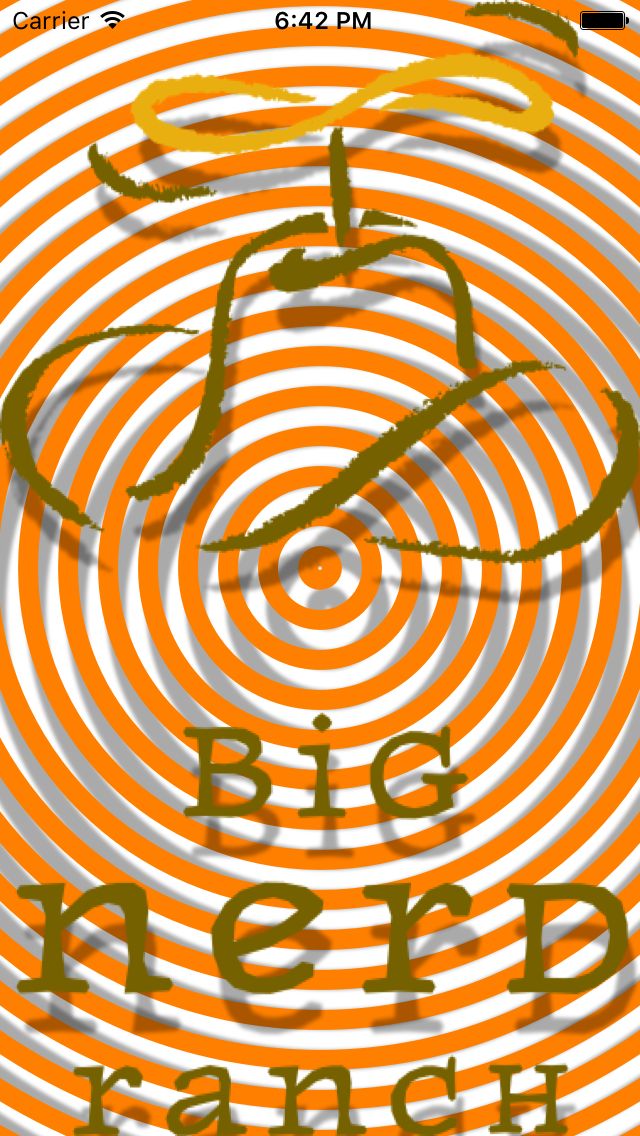
- 阴影效果
效果如图:
示例代码:
CGContextRef currentContext = UIGraphicsGetCurrentContext();

CGContextSaveGState(currentContext);
CGContextSetShadow(currentContext, CGSizeMake(4, 20), 2);
// 这里的图像会有阴影效果

CGContextRestoreGState(currentContext);
// 这里的图像无阴影效果
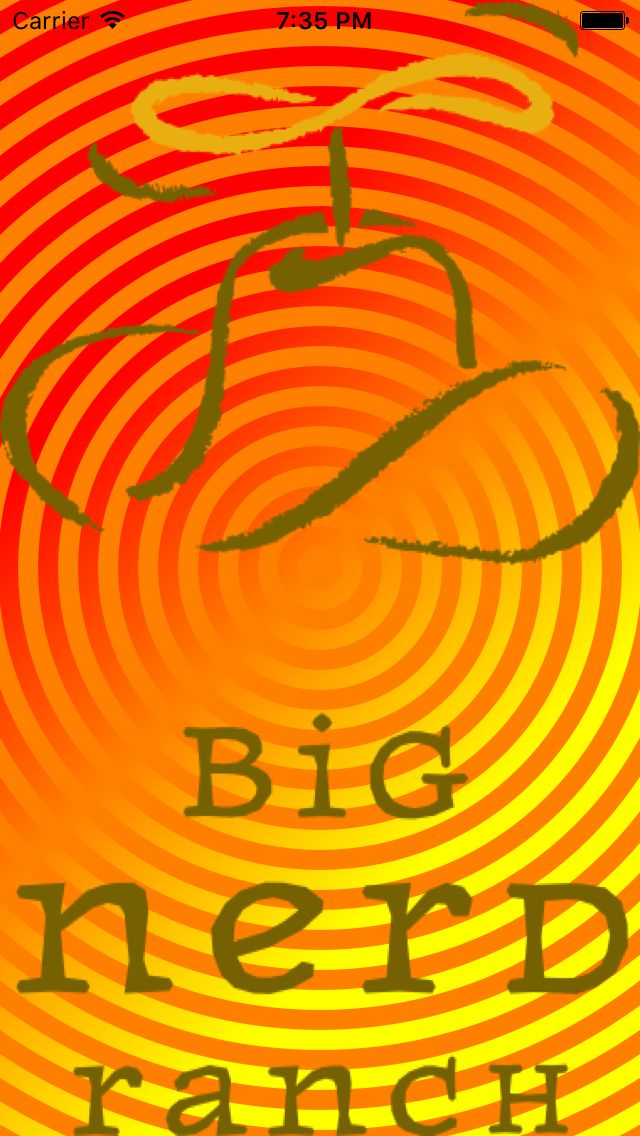
- 渐变效果
效果如下图所示:
CGFloat location[2] = {0.0, 1.0};
CGFloat components[8] = {1.0, 0.0, 0.0, 1.0, //起始颜色为红色
                            1.0, 1.0, 0.0, 1.0}; //终止颜色为黄色
CGColorSpaceRef colorspace = CGColorSpaceCreateDeviceRGB();
CGGradientRef gradient = CGGradientCreateWithColorComponents(colorspace, components, location, 2);
CGPoint startPoint = ...;
CGPoint endPoint = ...;
CGContextDrawLinearGradient(currentContext, gradient, startPoint, endPoint, 0);

CGGradientRelease(gradient);
CGColorSpaceRelease(colorspace);
PS:CGGradientCreateWithColorComponents 函数的最后一个参数用来设置起始位置和终止位置之外的绘制区域的颜色填充方式。可用 kCGGradientDrawsBeforeStartLocation 或 kCGGradientDrawsAfterEndLocation, 或二者结合使用。
代码地址:
https://github.com/Ranch2014/iOSProgramming4ed/tree/master/04-ViewsAndViewHierarchy/Hypnosister
《iOS编程(第4版)》 笔记

