前言
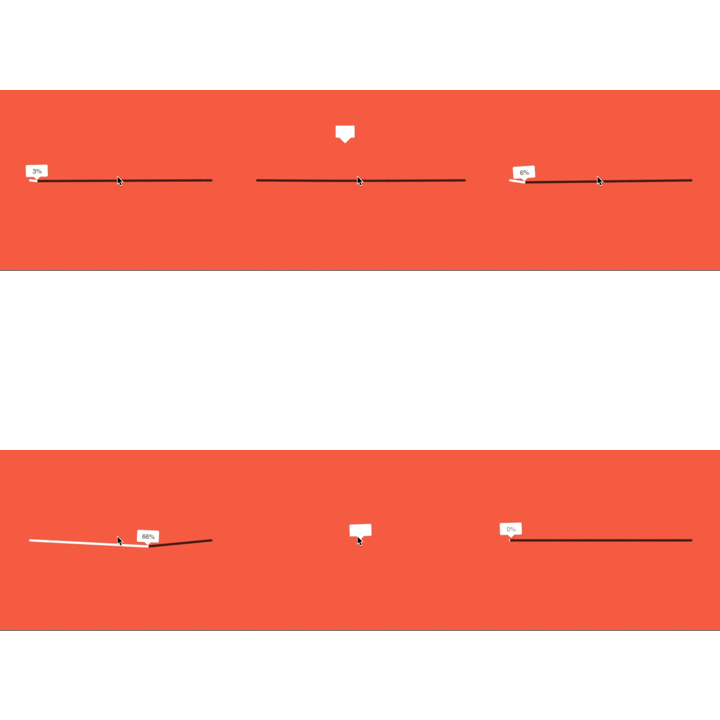
- 前段时间看到一个挺有趣的动画效果,于是就想着实现一下,顺便练下手,这里是第一篇教程,介绍了启动动画的制作,示例代码放在这里,完整的demo会在最后一篇教程放出
动画引擎的选择
- 使用Facebook开源的pop以及iOS自带的CoreAnimation
实现指示牌开始阶段的动画
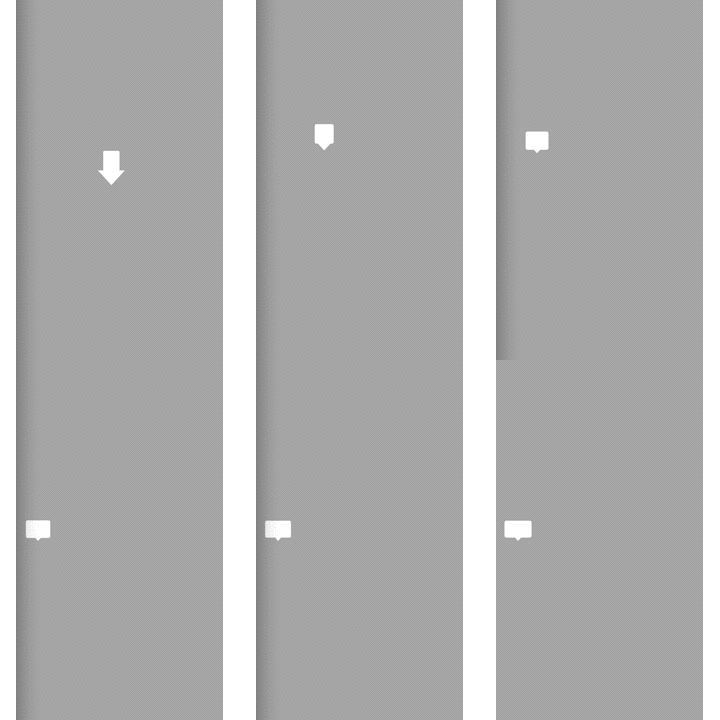
实现思路是使用一个CALayer作为容器,也就是containerLayer,在容器当中再放置两个layer,一个矩形rectLayer与一个三角形triLayer组成一个指示牌,形变的动画由容器内部的layer来执行,而位移的动画由containerLayer来执行
-
具体的代码如下:
- (void)initRectLayer{
  self.rectLayer = [CALayer layer];
  self.rectLayer.backgroundColor = [UIColor colorWithWhite:1 alpha:1].CGColor;
  self.rectLayer.position = CGPointMake(self.containerLayer.frame.size.width/2,       self.containerLayer.frame.size.height/4);
  self.rectLayer.bounds = CGRectMake(0, 0, 24, 30);
  self.rectLayer.cornerRadius = 2.f;
  [self.containerLayer addSublayer:self.rectLayer];
}
- (void)initTriLayer{
  self.triLayer = [CAShapeLayer layer];
  [self.containerLayer addSublayer:self.triLayer];
  UIBezierPath *bottomBezierPath = [UIBezierPath bezierPath];
  self.triLayer.position = CGPointMake(self.containerLayer.frame.size.width/2-20, self.containerLayer.frame.size.height/70);
  [bottomBezierPath moveToPoint:CGPointMake(0, 28)];
  [bottomBezierPath addLineToPoint:CGPointMake(40, 28)];
  [bottomBezierPath addLineToPoint:CGPointMake(20, 50)];
  [bottomBezierPath closePath];
  self.triLayer.path = bottomBezierPath.CGPath;
  self.triLayer.fillColor = [UIColor whiteColor].CGColor;
}
- (void)initContainerLayer{
  self.containerLayer = [CALayer layer];
  self.containerLayer.position = CGPointMake(self.worksheetView.frame.size.width/2, self.worksheetView.frame.size.height/2);
  self.containerLayer.bounds = CGRectMake(0, 0, 60, 60);
  self.containerLayer.backgroundColor = [UIColor clearColor
                                   ].CGColor;
  [self.worksheetView.layer addSublayer:self.containerLayer];
}
- (void)rectLayerAnimation{
   POPBasicAnimation *topScaleAnim = [POPBasicAnimation animationWithPropertyNamed:kPOPLayerSize];
   topScaleAnim.toValue = [NSValue valueWithCGSize:CGSizeMake(40, 25)];
   topScaleAnim.duration = 1;
   POPBasicAnimation *topPositionAnim = [POPBasicAnimation    animationWithPropertyNamed:kPOPLayerPosition];
   topPositionAnim.toValue = [NSValue valueWithCGPoint:CGPointMake(24, 40)];
   topPositionAnim.duration = 0.5;
   POPBasicAnimation *topCornerAnim = [POPBasicAnimation animationWithPropertyNamed:kPOPLayerCornerRadius];
   topCornerAnim.toValue = @3.f;
   topCornerAnim.duration = 0.5;
   POPSpringAnimation *shakeAnim = [POPSpringAnimation animationWithPropertyNamed:kPOPLayerRotation];
  shakeAnim.toValue = @(0.5);
  shakeAnim.springBounciness = 20;
  [self.rectLayer pop_addAnimation:topScaleAnim forKey:@"IndiReadyStyleTopScaleAnim"];
  [self.rectLayer pop_addAnimation:topCornerAnim forKey:@"IndiReadyStyleTopCornerAnim"];
}
- (void)triLayerAnimation{
    POPBasicAnimation *bottonScaleAnimation = [POPBasicAnimation     animationWithPropertyNamed:kPOPLayerScaleXY];
    bottonScaleAnimation.toValue = [NSValue valueWithCGSize:CGSizeMake(0.25, 0.25)];
    bottonScaleAnimation.duration = 0.5;
    POPBasicAnimation *bottonPosition1stAnimation = [POPBasicAnimation animationWithPropertyNamed:kPOPLayerPosition];
    bottonPosition1stAnimation.toValue = [NSValue valueWithCGPoint:CGPointMake(self.worksheetView.frame.size.width/2-50, self.worksheetView.frame.size.height/2-50)];
    bottonPosition1stAnimation.duration = 0.5;
    POPBasicAnimation *bottonPositionAnimation = [POPBasicAnimation animationWithPropertyNamed:kPOPLayerPosition];
    bottonPositionAnimation.toValue = [NSValue valueWithCGPoint:CGPointMake(self.triLayer.position.x + 15, self.triLayer.position.y+19)];
    bottonPositionAnimation.duration = 0.5;
    [self.triLayer pop_addAnimation:bottonScaleAnimation forKey:@"IndiReadyStyleBottomScaleAnim"];
    [self.triLayer pop_addAnimation:bottonPositionAnimation forKey:@"IndiReadyStyleBottomPositionYAnim"];
}
 - (void)containerLayerAnimation{
    CGPoint originPoint = self.containerLayer.position;
    POPCustomAnimation *customAnimation = [POPCustomAnimation animationWithBlock:^BOOL(id target, POPCustomAnimation *animation) {
    self.containerLayer.position = CGPointMake(self.containerLayer.position.x - 3, self.containerLayer.position.y - 3);
    BOOL downSwitch;
    if (self.containerLayer.position.x - originPoint.x <= -80) {
        downSwitch = YES;
    }
    if (downSwitch) {
        self.containerLayer.position = CGPointMake(self.containerLayer.position.x, self.containerLayer.position.y+10);
    }
    if (self.containerLayer.position.y >= originPoint.y + 41) {
        return NO;
    }else{
        return YES;
    }
  }];
  [self.containerLayer pop_addAnimation:customAnimation forKey:@"IndiReadyStyleOutSizeLayerAnim"];
}
实现开始阶段圆变成线的效果
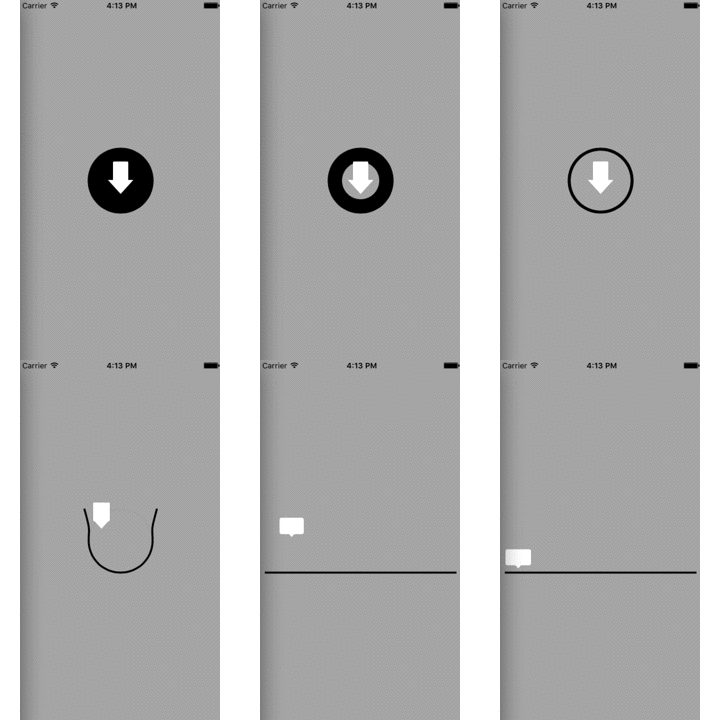
这里实际上分成两个阶段,一个由实心圆开始变化,从实心圆开始变化成一个圆环最后消失;消失的一瞬间替换成贝塞尔曲线,后面就是对贝塞尔曲线进行操纵了
-
先说从实心圆变成圆环的效果,这个只需要借助pop对圆的borderwidth属性进行动画便可,非常简单
- (void)innerCircleLayerAnimation{ POPBasicAnimation *circleLayerBorderWidthAnimation = [POPBasicAnimation animationWithPropertyNamed:kPOPLayerBorderWidth]; circleLayerBorderWidthAnimation.toValue = @(2); circleLayerBorderWidthAnimation.duration = 1.f; [self.innerCircleLayer pop_addAnimation:circleLayerBorderWidthAnimation forKey:@"IndiReadyStyleInnerLayerBorderWidthAnim"]; } -
接下来是圆变成线的效果,消失之后的圆环会被贝塞尔曲线所取代,实际上是由四段贝塞尔曲线拼接成的圆,只要画出贝塞尔曲线几个关键的变形状态便可以使用CoreAnimation来制作过渡的变化效果,最终实现效果如下:
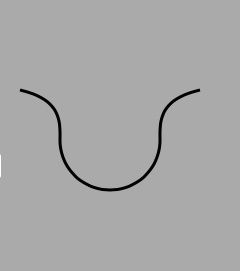
需要画出贝塞尔曲线展开过程的两个关键状态,一个是展开到一半的状态,另一个是完全展开成一条直线的状态
-
展开成一半的贝塞尔曲线效果如图:
-
展开成一条直线效果如图:

-
关键的代码如下:
- (void)initFancyPath{
    self.outSizeRectLayer = [CALayer layer];
    self.outSizeRectLayer.position = CGPointMake(self.worksheetView.frame.size.width/2,self.worksheetView.frame.size.height/2);
    self.outSizeRectLayer.bounds = CGRectMake(0, 0, 100, 100);
    self.outSizeRectLayer.backgroundColor = [UIColor clearColor].CGColor;
    [self.worksheetView.layer addSublayer:self.outSizeRectLayer];

    CGFloat originX = self.containerLayer.bounds.origin.x;
    CGFloat originY = self.containerLayer.bounds.origin.y;
    CGFloat originWidth = 100;
    CGFloat originHeight = 100;

    self.rectCenter = CGPointMake(originX + originWidth/2, originY + originHeight/2);
    CGFloat extraX = 0;
    CGFloat extraY = 0;
    CGFloat offset = originWidth / 3.6;

    self.pointA = CGPointMake(self.rectCenter.x + extraX, originY + extraY);
    self.pointB = CGPointMake(originX + originWidth + extraX, self.rectCenter.y + extraY);
    self.pointC = CGPointMake(self.rectCenter.x + extraX, originY + originHeight + extraY);
    self.pointD = CGPointMake(originX + extraX, self.rectCenter.y + extraY);
    self.pointE = CGPointMake(self.rectCenter.x + extraX, originY + extraY);

    self.c1 = CGPointMake(self.pointA.x + offset, self.pointA.y);
    self.c2 = CGPointMake(self.pointB.x, self.pointB.y - offset);

    self.c3 = CGPointMake(self.pointB.x, self.pointB.y + offset);
    self.c4 = CGPointMake(self.pointC.x + offset, self.pointC.y);

    self.c5 = CGPointMake(self.pointC.x - offset, self.pointC.y);
    self.c6 = CGPointMake(self.pointD.x, self.pointD.y + offset);

    self.c7 = CGPointMake(self.pointD.x, self.pointD.y - offset);
    self.c8 = CGPointMake(self.pointA.x - offset, self.pointA.y);

    self.fancyLine = [UIBezierPath bezierPath];
    self.fancyShape = [CAShapeLayer layer];
    [self.fancyLine moveToPoint: self.pointA];
    [self.fancyLine addCurveToPoint:self.pointB controlPoint1:self.c1 controlPoint2:self.c2];
    [self.fancyLine addCurveToPoint:self.pointC controlPoint1:self.c3 controlPoint2:self.c4];
    [self.fancyLine addCurveToPoint:self.pointD controlPoint1:self.c5 controlPoint2:self.c6];
    [self.fancyLine addCurveToPoint:self.pointE controlPoint1:self.c7 controlPoint2:self.c8];
    [self.fancyLine closePath];

    self.fancyShape.path = self.fancyLine.CGPath;
    self.fancyShape.position = CGPointMake(self.rectCenter.x, self.rectCenter.y);
    self.fancyShape.bounds = CGPathGetBoundingBox(self.fancyShape.path);
    self.fancyShape.strokeColor = [UIColor blackColor].CGColor;
    self.fancyShape.fillColor = [UIColor clearColor].CGColor;
    self.fancyShape.lineWidth = 3.0;
    [self.outSizeRectLayer addSublayer:self.fancyShape];
  }
- (void)bezierPathAnimation{
    CGPoint pointAm = CGPointMake(self.pointA.x + 90, self.pointA.y);
    CGPoint pointEm = CGPointMake(self.pointE.x - 90, self.pointE.y);
    CGPoint pointBm = CGPointMake(self.pointB.x, self.pointB.y);
    CGPoint pointDm = CGPointMake(self.pointD.x, self.pointD.y);
    CGPoint c1m = CGPointMake(self.c1.x + 20, self.c1.y + 10);
    CGPoint c2m = CGPointMake(self.c2.x, self.c2.y + 10);
    CGPoint c7m = CGPointMake(self.c7.x, self.c7.y + 10);
    CGPoint c8m = CGPointMake(self.c8.x - 20, self.c8.y + 10);

    UIBezierPath *crazyPath = [UIBezierPath bezierPath];
    [crazyPath moveToPoint:pointAm];
    [crazyPath addCurveToPoint:pointBm controlPoint1:c1m controlPoint2:c2m];
    [crazyPath addCurveToPoint:self.pointC controlPoint1:self.c3 controlPoint2:self.c4];
    [crazyPath addCurveToPoint:pointDm controlPoint1:self.c5 controlPoint2:self.c6];
    [crazyPath addCurveToPoint:pointEm controlPoint1:c7m controlPoint2:c8m];

    self.fancyShape.path = crazyPath.CGPath;
    CABasicAnimation *morph = [CABasicAnimation animationWithKeyPath:@"path"];
    morph.duration = 0.3;
    morph.delegate = self;
    morph.toValue = (id)crazyPath;
    [self.fancyShape addAnimation:morph forKey:nil];
  }

- (void)animationDidStop:(CAAnimation *)anim finished:(BOOL)flag{
    CGPoint pointAfin = CGPointMake(self.pointA.x + self.worksheetView.frame.size.width/2 - 10, self.pointA.y + 100);
    CGPoint pointBfin = CGPointMake(self.pointB.x, self.pointB.y + 50);
    CGPoint pointCfin = CGPointMake(self.pointC.x,self.pointC.y);
    CGPoint pointDfin = CGPointMake(self.pointD.x, self.pointD.y + 50);
    CGPoint pointEfin = CGPointMake(self.pointE.x - self.worksheetView.frame.size.width/2 + 10, self.pointE.y + 100);

    CGPoint c1fin = CGPointMake(self.c1.x + 100, self.c1.y + 100);
    CGPoint c2fin = CGPointMake(self.c2.x + 80, self.c2.y + 50 + 100/3.6);
    CGPoint c3fin = CGPointMake(self.c3.x - 5, self.c3.y + 50 - 100/3.6);
    CGPoint c4fin = CGPointMake(self.c4.x, self.c4.y);
    CGPoint c5fin = CGPointMake(self.c5.x, self.c5.y);
    CGPoint c6fin = CGPointMake(self.c6.x + 5, self.c6.y + 50 - 100/3.6);
    CGPoint c7fin = CGPointMake(self.c7.x - 80, self.c7.y + 50 + 100/3.6);
    CGPoint c8fin = CGPointMake(self.c8.x - 100, self.c8.y + 100);

    UIBezierPath *lineFinalPath = [UIBezierPath bezierPath];
    [lineFinalPath moveToPoint:pointAfin];
    [lineFinalPath addCurveToPoint:pointBfin controlPoint1:c1fin controlPoint2:c2fin];
    [lineFinalPath addCurveToPoint:pointCfin controlPoint1:c3fin controlPoint2:c4fin];
    [lineFinalPath addCurveToPoint:pointDfin controlPoint1:c5fin controlPoint2:c6fin];
    [lineFinalPath addCurveToPoint:pointEfin controlPoint1:c7fin controlPoint2:c8fin];

    self.fancyShape.path = lineFinalPath.CGPath;
    CABasicAnimation *morph = [CABasicAnimation animationWithKeyPath:@"path"];
    morph.duration = 0.3;
    morph.toValue = (id)lineFinalPath;
    [self.fancyShape addAnimation:morph forKey:nil];
}
曲线的坐标计算借助了一个外接矩形进行辅助定位
ok,第一篇教程就到此结束了,第二篇将介绍下载过程指示牌移动的动画


