介绍两款好用的接口文档生成工具 apidoc & swagger
曾经看过这样一个笑话:程序员最讨厌写文档,比这个还讨厌的事情就是,别人居然不写文档。
哈哈哈哈哈哈嗝!看来文档的确是个令猿头疼的东西哇,但是文档的重要性也是不言而喻。这里就给大家安利两款比较好用的接口文档生成工具:
1. apidoc
简介
apidoc是一款可以由源代码中的注释直接自动生成api接口文档的工具,它几乎支持目前主流的所有风格的注释。
使用
首先你的环境必须要安装了node.js.然后通过以下的命令安装apidoc:
npm install apidoc -g
在你的项目根目录下添加apidoc.json文件,这个文件主要包含一些项目的描述信息,例如标题、介绍、版本等。
{
  "name": "example",
  "version": "0.1.0",
  "description": "apiDoc basic example",
  "title": "Custom apiDoc browser title",
  "url" : "https://api.github.com/v1"
}
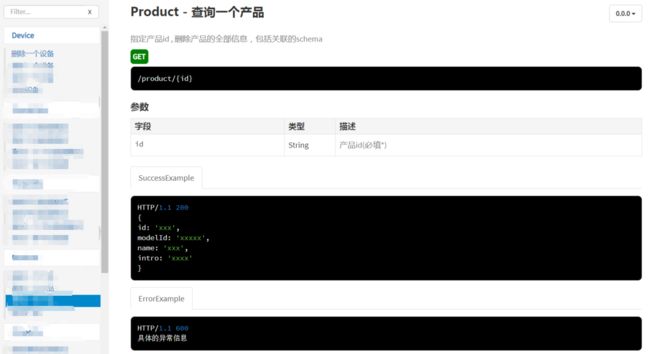
在你的代码注释里加入apidoc的注解,例如这样子:
    /**
     * @apiGroup Product
     * @api {GET} /product/{id}  查询一个产品
     * @apiDescription 指定产品id , 删除产品的全部信息,包括关联的schema
     * @apiParam {String} id 产品id(必填*)
     * @apiSuccessExample SuccessExample
     * HTTP/1.1 200
     * {
     * id: 'xxx',
     * modelId: 'xxxxx',
     * name: 'xxx',
     * intro: 'xxxx'
     * }
     * @apiErrorExample ErrorExample
     * HTTP/1.1 600
     * 具体的异常信息
     */
    @GetMapping("/{id}")
    public Product getOneProduct(@PathVariable String id)
    {
        return productServ.findOne(id);
    }
常用的一些注解如下:
@api 定义API的请求方法、路径和名字
@apiDescription 定义API的描述
@apiGroup 定义API的分组
@apiParam 定义API的参数
@apiParamExample 参数请求的事例
@apiVersion 版本
@apiErrorExample API错误示例
@apiSuccessExample API正常示例
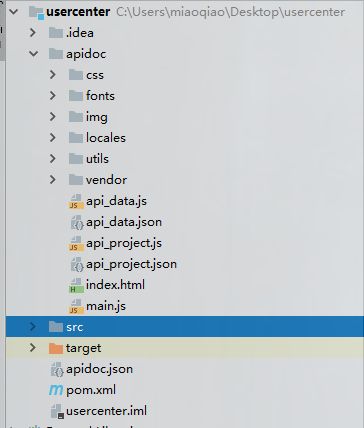
然后当前目录下会生成一个新的apidoc目录,就是新生成的接口文档文件。

2. swagger
在这里俺用 springBoot 整合swagger2 做了个Restful Api 的接口小demo
github 源码传送门☛☛☛
首先项目中得添加swagger2的依赖:
    io.springfox
    springfox-swagger2
    2.8.0


    io.springfox
    springfox-swagger-ui
    2.8.0
创建swagger2 的配置类:
@Configuration
@EnableSwagger2
public class SwaggerConfig
{
    public Docket createApi(){
        return new Docket(DocumentationType.SWAGGER_2)
                .apiInfo(apiInfo())
                .select()
                .apis(RequestHandlerSelectors.basePackage("com.miao.springbootswagger"))
                .paths(PathSelectors.any())
                .build();
    }

    // 创建api的基本信息
    private ApiInfo apiInfo(){
        return new ApiInfoBuilder()
                .title("springBoot 整合 Swagger2 实例")
                .description("更多技术内容分享见博客:https://blog.csdn.net/qq_24871519")
                .termsOfServiceUrl("https://blog.csdn.net/qq_24871519")
                .version("1.0")
                .build();
    }
}
为接口添加swagger的注解:
@RestController
@RequestMapping("/user")
public class UserController
{
    private static Map users=new ConcurrentHashMap<>();

    @ApiOperation(value = "添加用户", notes = "添加一条用户信息")
    @ApiImplicitParam(name = "user", value = "用户详细实体user", required = true, dataType = "User")
    @PostMapping("/add")
    public User add(User user){
        String id=UUID();
        while(users.containsKey(id)){
            id=UUID();
        }
        user.setId(id);
        users.put(id, user);
        return user;
    }

    @ApiOperation(value = "获取一个用户", notes = "根据用户id获取用户信息")
    @ApiImplicitParam(name = "id", value = "用户ID", required = true, dataType = "String")
    @GetMapping("/{id}")
    public User getOne(@PathVariable String id){
        if(!users.containsKey(id)){
            return null;
        }
        return users.get(id);
    }

    @ApiOperation(value = "获取所有用户信息列表")
    @GetMapping("/")
    public List getUsers(){
        return new ArrayList<>(users.values());
    }

    @ApiOperation(value = "更新用户信息")
    @ApiImplicitParam(name = "user", value = "用户信息实体",required = true, dataType = "User")
    @PutMapping("/")
    public User updateOne(User u){
        User tmp = users.get(u.getId());
        if(tmp == null){
            return null;
        }
        if(u.getName()!=null){
            tmp.setName(u.getName());
        }
        if(u.getAge() != null){
            tmp.setAge(u.getAge());
        }
        return tmp;
    }

    @ApiOperation(value = "删除用户")
    @ApiImplicitParam(name = "id", value = "用户ID", required = true, dataType = "String")
    @DeleteMapping("/{id}")
    public void delete(@PathVariable String id){
        if(users.containsKey(id)){
            users.remove(id);
        }
    }

    private String UUID(){
        return UUID.randomUUID().toString().replace("-", "");
    }
}
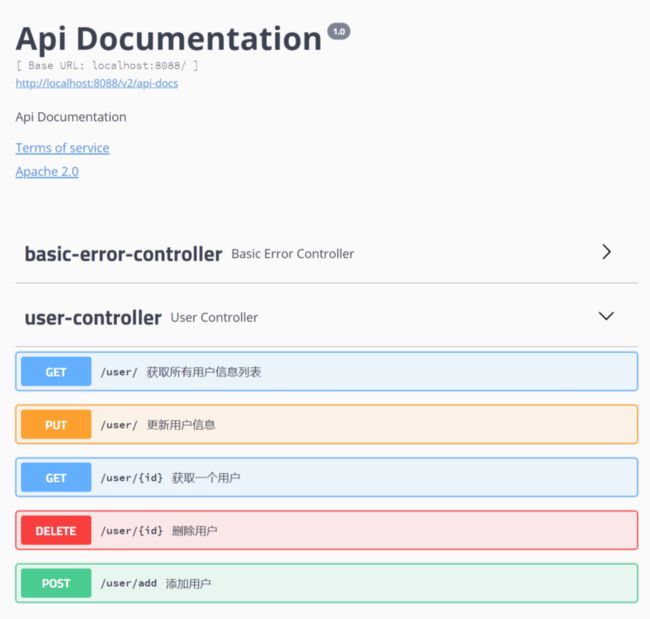
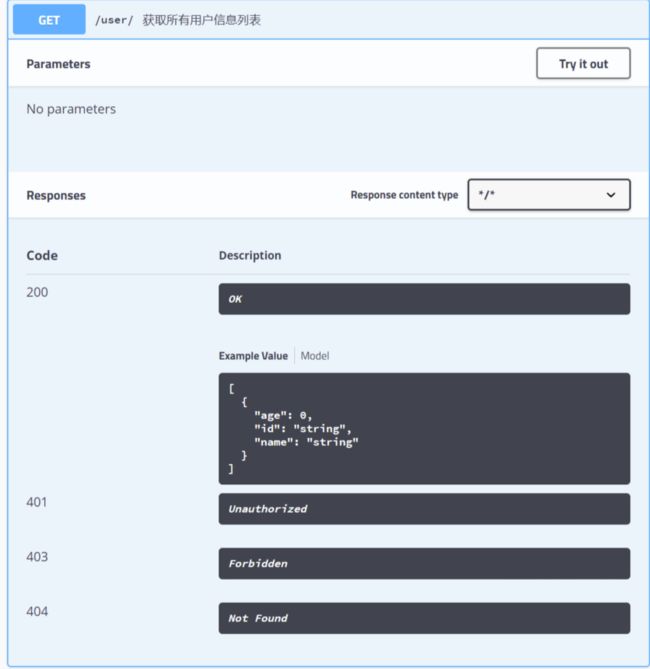
上述都完成后,启动springBoot 项目,访问 http://localhost:/swagger-ui.html 即可访问接口文档页面,具体页面如下:


